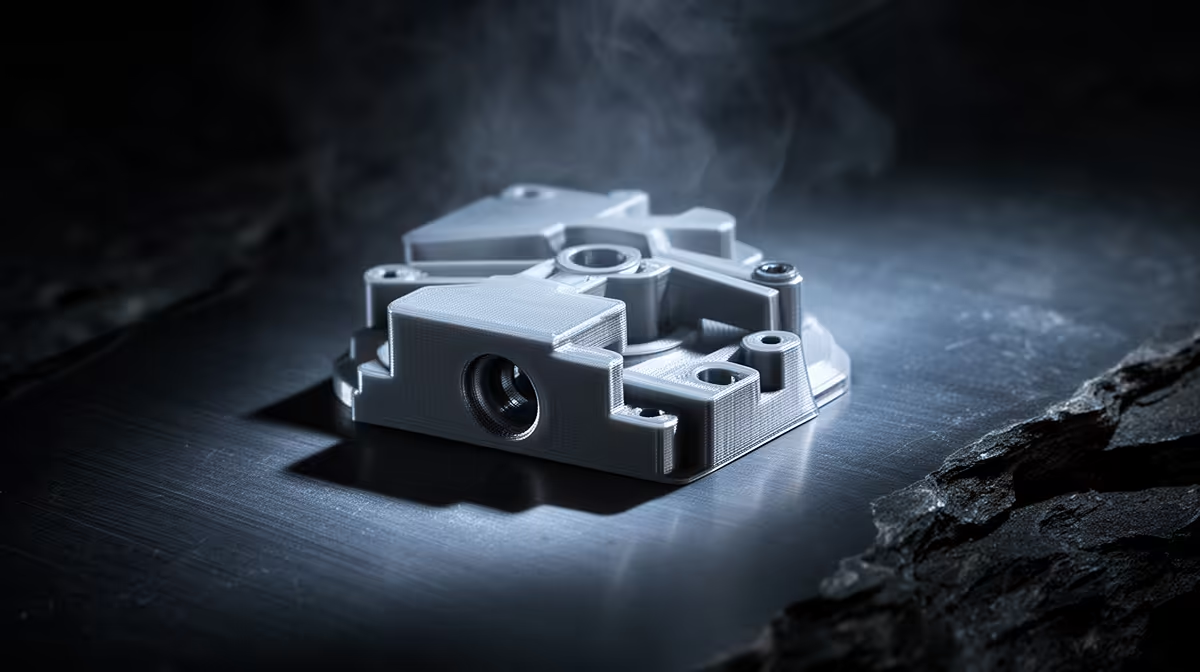
A part that measures perfectly in your CAD software but refuses to slot together off the print bed is almost always a sizing problem, not a design problem. XY size compensation is the slicer setting that fixes it, nudging every wall inwards or outwards by a fraction of a millimetre so a 20mm cube actually comes out at 20mm. FDM printers tend to grow features slightly because of how molten plastic spreads and cools, and on press-fit or threaded parts a 0.1mm error stacks up until nothing fits.
Quick Answer
Print a 20mm calibration cube, measure X, Y and Z with calipers, then enter the average over-size as a negative XY size compensation value (for example -0.08mm) in your slicer. Most FDM prints run 0.05mm to 0.15mm oversized on outer walls, so a small negative offset usually lands you inside a 0.1mm tolerance.
Why parts print oversized in the first place
When the nozzle lays down a perimeter, the soft plastic squashes slightly wider than the programmed path and the outer edge drifts outward as it sets. The effect is small on a single wall but doubles across a dimension because both sides expand. Holes do the opposite: the walls grow inwards, so a 10mm hole prints closer to 9.8mm or 9.85mm. That is why a shaft that should drop into a bearing seat ends up needing a hammer, and why two halves of an enclosure leave a visible gap. The error is consistent on a given printer and filament, which is exactly what makes it correctable.
Step 1: Print and measure a calibration cube
Slice a standard 20mm cube at your normal layer height, speed and temperature, because changing any of those later shifts the result. Use the same filament you plan to print your real part in, since PLA, PETG and ABS each behave differently. Once it is printed and cool, measure all three axes with a digital caliper, taking each reading two or three times and averaging. You can browse the 3D printing hardware at Evetech through the components and 3D printer range if you still need a machine that holds tolerances well enough to bother calibrating.
Reading the numbers correctly
Note X and Y separately, because some printers are off more on one axis. If X reads 20.10mm and Y reads 20.08mm, your average over-size is about 0.09mm. Z height is set by the leadscrews and layer count, not by XY compensation, so if Z is off you fix that with a separate steps-per-mm or first-layer adjustment, not with this setting.
Step 2: Apply XY size compensation
In your slicer find the field labelled XY Size Compensation (PrusaSlicer and Orca) or Horizontal Expansion (Cura), under the advanced or quality settings. Enter a negative value equal to your average over-size, so 0.09mm of growth becomes -0.09mm. A negative value shrinks the outer perimeters slightly and, helpfully, widens holes at the same time, which is why it tends to fix both fit problems at once. Reslice, reprint the cube, and confirm it now measures within 0.05mm of nominal.
Step 3: Fine-tune holes and contours separately
If your outer dimensions are now correct but holes are still too tight, use a dedicated hole compensation or contour offset where your slicer offers one. A printed test with a row of slots offset between 0.1mm and 0.5mm tells you exactly how much clearance your filament needs for a sliding fit versus a press fit. Keep a small notebook of values per filament, because PETG typically needs a touch more clearance than PLA. The right calipers and finishing tools live in the measurement and accessories best sellers if your current set lacks the resolution to read to two decimal places.
Frequently Asked Questions
What is the difference between XY size compensation and Z calibration?
XY size compensation corrects width and depth errors caused by how plastic spreads on the bed. Z accuracy is governed by layer height and leadscrew steps, so a short or tall part is fixed with first-layer and steps-per-mm settings, not with this offset.
Should the value be positive or negative?
Almost always negative, because FDM parts print oversized on their outer walls. A negative value shrinks the perimeters and simultaneously opens up holes, which is why it corrects tight fits.
Does this setting change my CAD model?
No. XY size compensation is applied at slice time only. Your model file stays exactly as designed, so you can keep the same offset for one filament and reset it for another without re-exporting anything.
How often do I need to recalibrate?
Recalibrate when you change filament type or brand, swap the nozzle, or notice fits drifting. A given machine and filament combination stays stable for a long time, so it is usually a once-per-spool check rather than a daily task.
Why are my holes still too small after fixing the cube?
Holes shrink more than flat walls because of how curved perimeters lay down. After your outer dimensions are correct, add a dedicated hole or contour offset, or design holes slightly larger in CAD to leave assembly clearance.
Ready to print parts that actually fit first time? Explore the 3D printers and calibration accessories at https://www.evetech.co.za/components/3d-printers-130 and dial in your tolerances properly.