



Best Wireless Gaming Headset in South Africa - Updated July 2026
Wireless gaming headsets are available at Evetech from R499 including VAT, with 75 models in stock. The range runs to R999 for console-specific PDP Phantom Air models.
Read moreInstalling home assistant os on a raspberry pi or mini pc with raspberry pi imager uses the built-in Home Assistant OS option under Other Specific-Purpose OS to flash HAOS. The process takes under 10 minutes, with onboarding opening at homeassistant.local:8123.
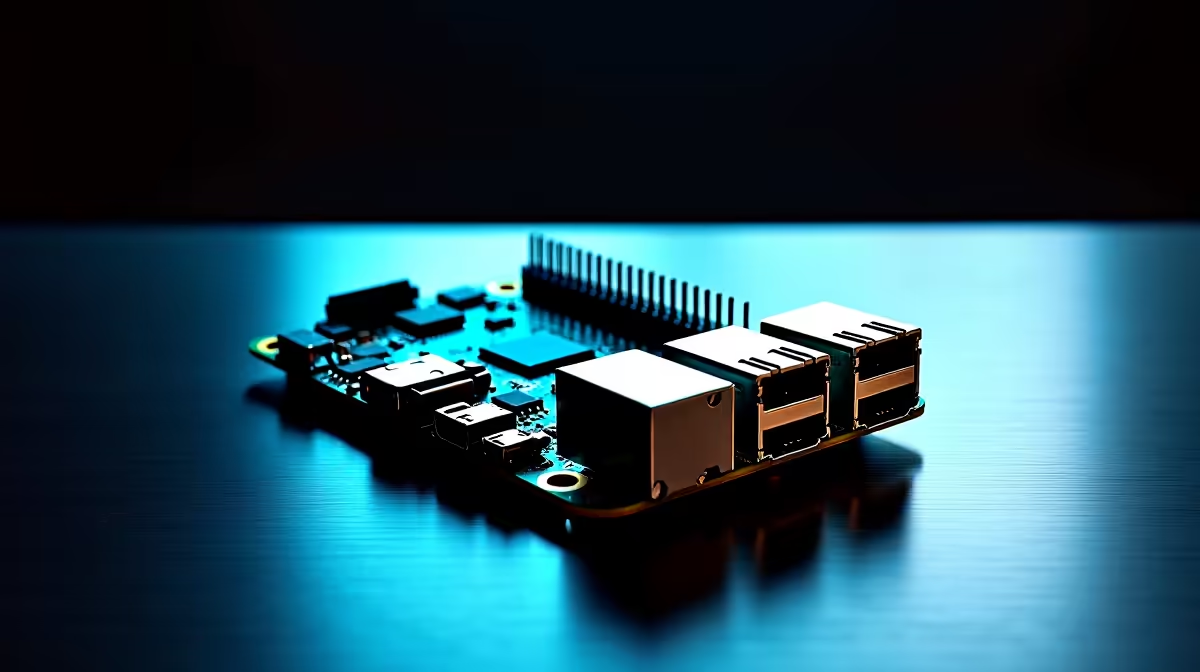
Getting Home Assistant OS onto a Raspberry Pi used to mean fiddling with image files and command-line flashers. Now the official Raspberry Pi Imager has a built-in option that does the whole job, and the same approach works on a mini PC. From a blank SD card or SSD to the onboarding screen at homeassistant.local:8123 takes well under ten minutes of actual work, most of which is just waiting for the write to finish.
Use Raspberry Pi Imager, pick Home Assistant OS under Other specific-purpose OS, write it to your SD card or SSD, then boot the Pi on Ethernet and open homeassistant.local:8123. The whole flash-and-boot process takes under ten minutes, after which onboarding walks you through the rest. An SSD is strongly preferred over an SD card for durability.
Gather the parts so the install runs without interruption.
Ethernet for the first boot saves a lot of grief, because it gets the device on the network reliably while you complete setup. An SSD is the better long-term choice: Home Assistant writes to a database constantly, and an SD card under that load often fails within a year or two, while an SSD is faster and far more durable.
The Imager handles everything, so there is no separate download or extraction to manage.
That is the entire flashing process. There is no need to manually fetch an .img file or unzip anything, because the Imager pulls the correct build directly.
Now bring the device to life on your network.
If homeassistant.local does not resolve on your network, you can reach it by the Pi's IP address on port 8123 instead. Once onboarding finishes, Home Assistant starts discovering compatible smart devices on your network automatically. To grow the system from there, the smart home and connected device range covers sensors, plugs, and hubs that integrate cleanly.
It is worth repeating because it is the most common regret. Home Assistant's constant database writes wear out SD cards quickly, and a corrupted card means a dead smart home until you reflash. An SSD removes that failure mode and makes the whole system noticeably snappier, especially on a busy setup with many devices and automations. For boot drives, adapters, and the other bits a clean build needs, the best-selling accessories are a useful shortlist.
Yes. Recent versions of Raspberry Pi Imager include Home Assistant OS under Other specific-purpose OS, so you select it, choose your storage, and write. There is no separate image download or flashing tool required.
An SSD, without much doubt. Home Assistant writes to its database constantly, which wears SD cards out, often within a year or two. An SSD is faster, more reliable, and avoids the corruption that plagues card-based installs.
The first boot takes a few minutes to prepare, so wait before assuming it failed. If the hostname still does not resolve, some networks block it, in which case use the Pi's IP address followed by :8123 to reach the onboarding screen.
Yes. Home Assistant OS runs on compatible mini PCs as well as Raspberry Pi boards. The flashing principle is the same, writing the OS image to the boot drive, though a mini PC may need its image written to the internal drive rather than via Imager's Pi flow.
Once you create your account, Home Assistant automatically scans your network for compatible devices and offers to add them. From there you build dashboards and automations, adding more sensors and smart devices over time.
Your smart-home hub is ten minutes away. Flash it, boot it, and start automating, then explore compatible devices in the smart home range at Evetech.
Yes. Recent versions of Raspberry Pi Imager include Home Assistant OS under Other specific-purpose OS, so you select it, choose your storage, and write. There is no separate image download or flashing tool required.
An SSD, without much doubt. Home Assistant writes to its database constantly, which wears SD cards out, often within a year or two. An SSD is faster, more reliable, and avoids the corruption that plagues card-based installs.
The first boot takes a few minutes to prepare, so wait before assuming it failed. If the hostname still does not resolve, some networks block it, in which case use the Pi's IP address followed by :8123 to reach the onboarding screen.
Yes. Home Assistant OS runs on compatible mini PCs as well as Raspberry Pi boards. The flashing principle is the same, writing the OS image to the boot drive, though a mini PC may need its image written to the internal drive rather than via Imager's Pi flow.
Once you create your account, Home Assistant automatically scans your network for compatible devices and offers to add them. From there you build dashboards and automations, adding more sensors and smart devices over time.
Wireless gaming headsets are available at Evetech from R499 including VAT, with 75 models in stock. The range runs to R999 for console-specific PDP Phantom Air models.
Read more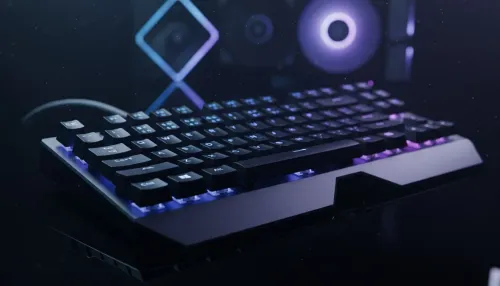
Gaming keyboards are available at Evetech from R399 including VAT, with 41 models in stock. The best keyboards run from R3,999 analog and Hall-effect boards up to R6,699 flagships.
Read more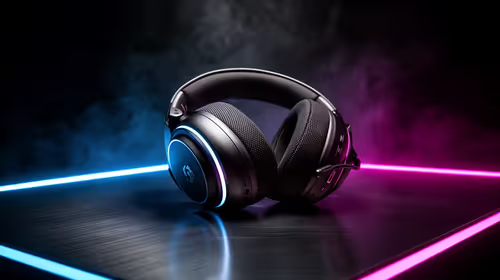
Gaming headsets are available at Evetech from R329 including VAT, with 120 models in stock. The best headsets open at R6,499 and run to R15,499 for the Arctis Nova Elite.
Read more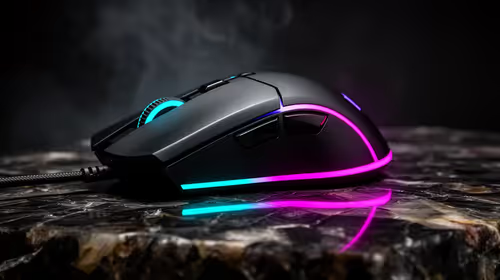
Gaming mice are available at Evetech from R199 including VAT, with 105 models in stock. The best mice start at R3,699 for the Razer DeathAdder V3 Pro and run to R4,199.
Read more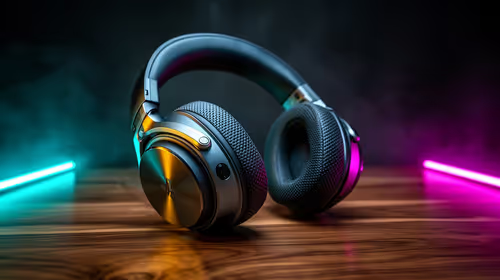
Gaming headsets are available at Evetech from R329 including VAT, and within a R1,000 ceiling the best options run from R899 wired up to R999 for wireless PDP Phantom Air.
Read more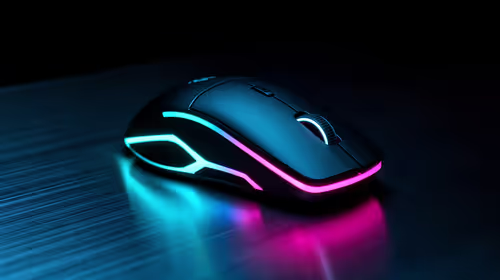
Gaming mice are available at Evetech from R199 including VAT, with 25 models in stock under R500. The strongest options run from R399 up to R499 wireless tri-mode mice.
Read more
Wi-Fi 7 vs Wi-Fi 6e for cinematic story games comes down to router support, latency goals, device compatibility, and coverage. SA buyers should match the choice to the real network setup.
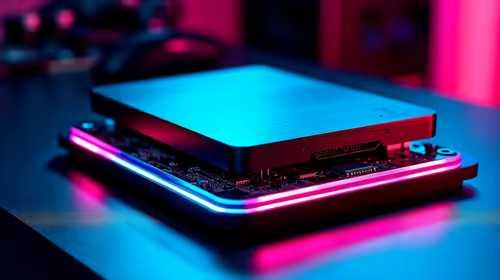
The real world difference between PCIe 5.0 and PCIe 4.0 for MMO and live-service games is usually about loading, patches, and headroom. SA players should weigh NVMe speed, GPU lanes, CPU limits, and platform cost.
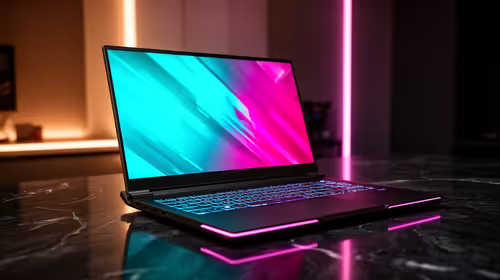
Windows 11 gaming laptop dead pixel checks begin with a full-screen colour test. This how to fix dead pixel windows 11 gaming laptop guide helps SA users compare settings, drivers, external screens, and warranty routes.
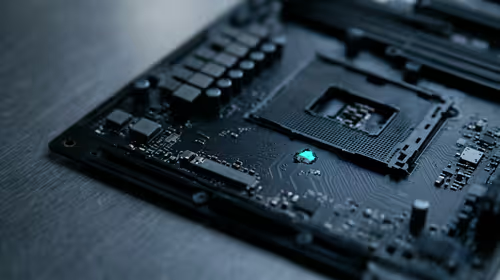
AM5 motherboard stuck pixel fixes in South Africa start with panel, cable, GPU output, and Windows checks. Use a clean test path before blaming the motherboard or replacing screen hardware.
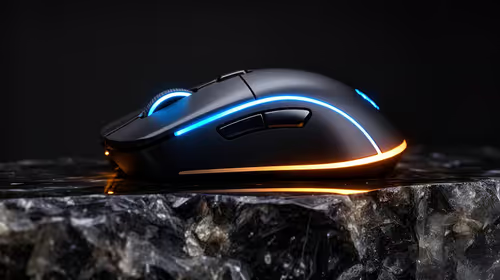
FPS drops blamed on a wireless mouse often point to input, driver, USB, network, or system-load checks. Use a quick SA-friendly troubleshooting flow to isolate software, firmware, thermals, storage, and game settings before replacing hardware.
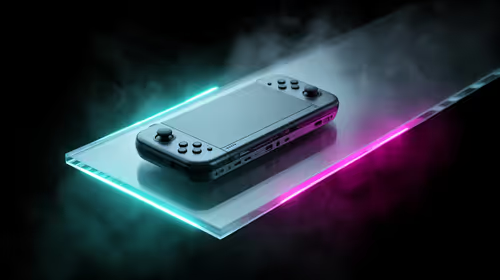
How to fix fps drops on steam deck starts with power profile, shader cache, storage health, and per-game settings. For South Africa, check charger quality, heat, and download stability before assuming the handheld needs repair. Retest after updates.
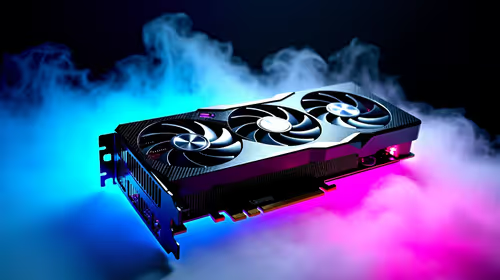
How to fix low FPS after an RTX 5080 build upgrade starts with driver cleanup, display settings, thermals, and power mode. For SA gamers, verify GPU usage, PCIe speed, RAM profile, and CPU limits before changing parts.
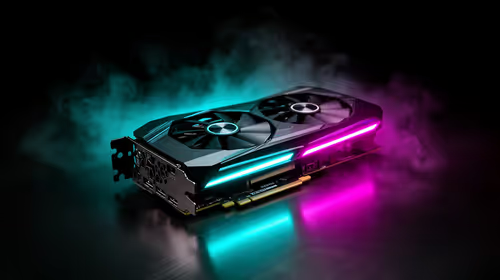
Hollow Knight Silksong at 4K needs a GPU matched to settings, VRAM, CPU balance, and monitor goals. Use this SA guide to compare tiers without treating FPS target or prices as fixed.
Wireless gaming headsets are available at Evetech from R499 including VAT, with 75 models in stock. The range runs to R999 for console-specific PDP Phantom Air models.
Gaming keyboards are available at Evetech from R399 including VAT, with 41 models in stock. The best keyboards run from R3,999 analog and Hall-effect boards up to R6,699 flagships.
Gaming headsets are available at Evetech from R329 including VAT, with 120 models in stock. The best headsets open at R6,499 and run to R15,499 for the Arctis Nova Elite.
Gaming mice are available at Evetech from R199 including VAT, with 105 models in stock. The best mice start at R3,699 for the Razer DeathAdder V3 Pro and run to R4,199.