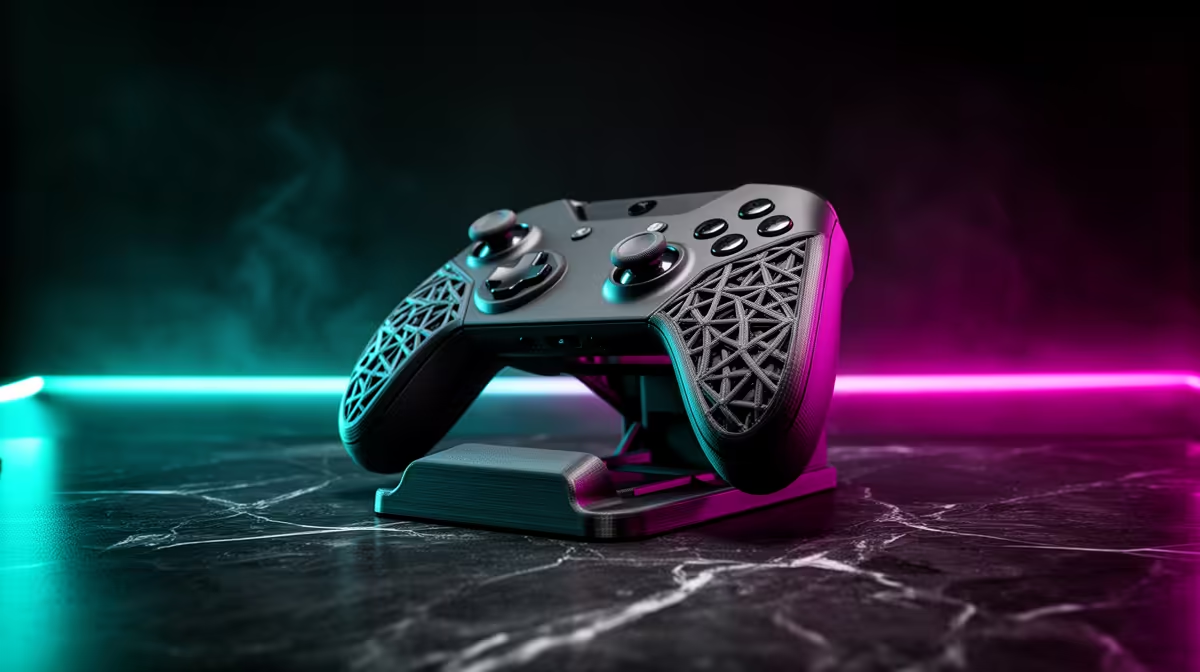
A 3D printed controller stand is the kind of first project that pays off immediately: it clears desk clutter, gives your pad a proper home, and prints flat on the bed in PLA without a single support. If you have an FDM printer and an afternoon, this is one of the cleanest wins in the whole hobby, and the result looks far tidier than a controller dumped next to the keyboard.
Quick Answer
Print a controller stand in PLA, oriented so the cradle faces up and the base sits flat on the bed. PLA gives enough rigidity for a stable hold, no supports are needed if you design the cradle angle correctly, and a typical stand uses under 50g of filament and prints in roughly two to four hours.
Designing or Choosing the Model
You have two routes: download a ready-made stand or model your own. For most people, a free or paid STL from a model library is the fastest path. If you want a custom fit for a specific pad, the geometry is simple enough to model in a beginner CAD tool.
A good controller stand has three features:
- A wide, weighted base so it does not tip when you lift the controller out.
- A contoured cradle that matches the curve of the grips, holding the pad at a slight backward lean.
- A cable channel or notch if you charge the controller while it sits in the stand.
Keep the cradle angle under about 60 degrees from horizontal so the overhang prints cleanly without supports. Steeper than that and you will start to see drooping on the underside.
Slicing It for a Support-Free Print
Orientation is everything here. Place the model so the flat base sits on the build plate and the open cradle faces upward. This puts every overhang within the angle FDM can bridge on its own.
Recommended slicer settings for a sturdy, quick stand:
- Layer height: 0.2mm is the sweet spot. Drop to 0.16mm only if you want a smoother visible face.
- Infill: 15 to 20 percent gyroid. The base needs mass and rigidity, not solid fill.
- Walls: 3 perimeters so the cradle edges resist flexing.
- Supports: off. If your chosen model needs them, reorient it or pick a better design.
- Adhesion: a brim helps if the base footprint is small, but most stands have enough contact area to skip it.
You can browse machines suited to exactly this kind of project in the 3D printer range at Evetech, where the entry-level FDM units handle PLA stands comfortably.
Material Choice: Why PLA Wins Here
PLA is the right call for an indoor desk accessory. It is rigid, prints at low temperature, holds fine detail and does not warp the way ABS can on an open-frame printer. The only PLA weakness, softening in heat, is irrelevant on a desk that never gets near 50 degrees Celsius.
Skip PETG or ABS unless the stand will sit in a hot car or near a window in full Cape Town summer sun. For everything else, a roll of decent PLA does the job and costs little.
Finishing and Mounting
Once printed, a controller stand needs almost no post-work. Knock off any stringing with a quick pass of a craft knife, and add a few self-adhesive rubber feet to the base for grip and to protect the desk surface. If the cradle grips the pad too tightly, a light sand on the contact points loosens the fit.
For the small extras like rubber feet, spare nozzles and PLA itself, the current accessories best sellers at Evetech are worth a scroll to see what is in stock and moving.
Frequently Asked Questions
Do I need supports to print a controller stand?
No, not if the model is designed correctly and oriented base-down with the cradle facing up. Keeping cradle overhangs under roughly 60 degrees lets FDM bridge them cleanly without any support material.
What filament is best for a controller stand?
PLA is ideal for an indoor desk stand. It is rigid, easy to print, holds detail well and does not warp on an open-frame printer. Reserve PETG or ABS for stands exposed to heat.
How much filament and time does a controller stand use?
A typical single-controller stand uses under 50g of PLA and prints in roughly two to four hours at 0.2mm layer height with 15 to 20 percent infill.
Will a PLA stand be strong enough to hold the controller securely?
Yes. With three perimeters and a weighted base, PLA gives more than enough rigidity for a stable cradle. Adding rubber feet to the base improves grip so it will not slide or tip.
Can I charge my controller while it sits in the stand?
Yes, if you choose or design a model with a cable notch or channel routed to the cradle. This lets the charging cable reach the controller while it rests in the stand.
Got a printer ready to go, or shopping for your first one? Explore the FDM printers and filament at https://www.evetech.co.za/components/3d-printers-130 and print your controller stand this weekend.