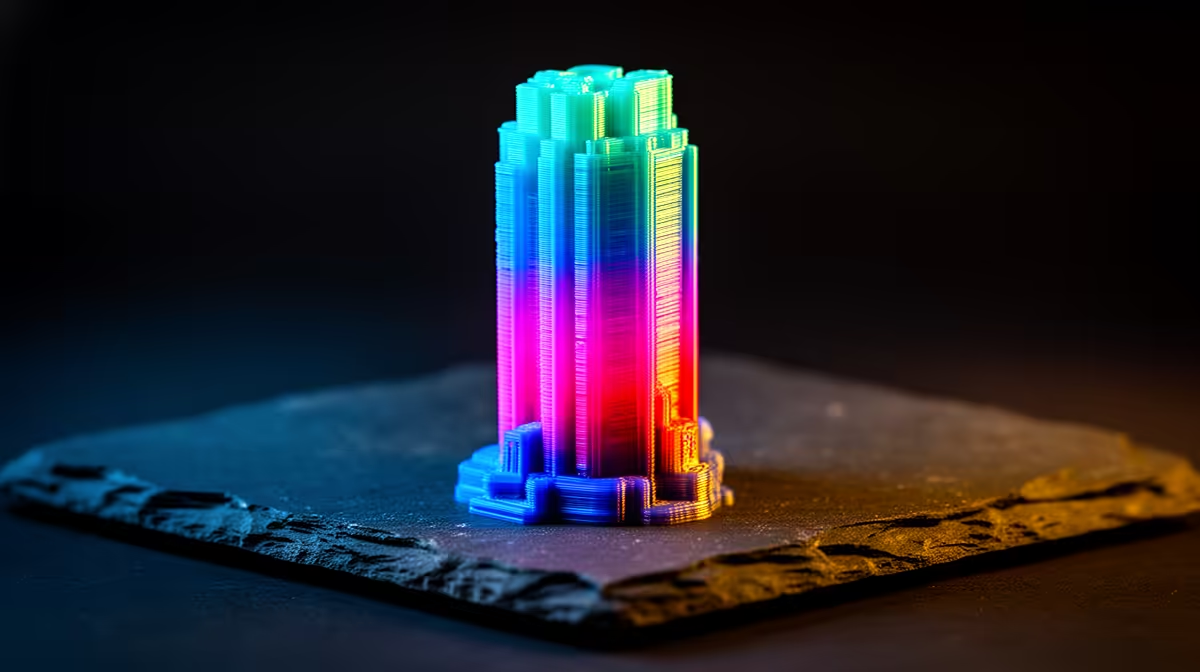
Filament that prints beautifully at one temperature can string, bridge badly, or delaminate at another, and the only honest way to find the sweet spot is to test it on the printer that will use it. A temperature tower does exactly that: a single tall model split into stacked blocks, each printed at a different nozzle temperature, so you can read off the best result with your own eyes instead of guessing from the spool label.
Quick Answer
Print one temperature tower per new filament, stepping the nozzle in 5C increments across the maker's stated range (commonly 190C to 220C for PLA, 230C to 260C for PETG). Pick the block with the cleanest bridging, least stringing, and solid layer adhesion. Temperature is the first calibration you do, before flow, pressure advance, and retraction.
Why temperature comes first
Every other calibration sits on top of temperature. If the nozzle is too cool the plastic does not flow fully and layers peel apart under light force. Too hot and it oozes, leaving wisps between features and sagging on overhangs. Dial flow or retraction on a badly tempered profile and you are tuning around a moving target. Get temperature right first and the rest of the chain (flow, then pressure advance, then retraction) behaves predictably.
The order matters because each step assumes the one before it is settled. A retraction test run at the wrong temperature will tell you the wrong distance. So the sequence is fixed: temperature, flow, pressure advance, retraction.
How a temperature tower works
The model is a vertical stack of identical blocks, usually with overhangs, a small bridge, and a couple of fine pillars on each level to expose stringing. Your slicer changes the nozzle temperature at the start of each block using a script, so block one might print at 220C, the next at 215C, and so on down the spool's range. Because every block is the same geometry, differences in surface quality are caused only by temperature.
You end up with a single object that is effectively five or six test prints in one, printed back to back, using a few grams of filament and under an hour of machine time.
Setting it up in your slicer
Most slicers ship a tower generator or accept a community model with the temperature changes already built in.
Cura
Add the "ChangeAtZ" or temperature tower post-processing script under Extensions, Post Processing, Modify G-Code. Set the starting temperature, the change per block, and the layer height at which each change happens. Match those layer numbers to the block heights of the model you loaded.
PrusaSlicer and OrcaSlicer
OrcaSlicer has a calibration menu with a temperature tower built in: choose the filament type, set the range, and it generates the model and the temperature steps for you. PrusaSlicer uses custom G-code per height range to do the same thing manually.
Whichever tool you use, print on the surface and with the cooling settings you will actually use day to day, because both affect adhesion and bridging.
Reading the result
Run a finger and an eye down the tower from top to bottom and judge three things on each block.
- Layer adhesion: try to snap or twist the block gently. The good ones resist; underheated blocks split cleanly along a layer line.
- Bridging: look at the underside of the small span on each level. The best temperature gives flat, taut strands with little droop.
- Stringing: check between the pillars. Hot blocks leave hair-like wisps; cooler blocks come out clean but may be brittle.
The winning block balances all three. If two are close, lean toward the cooler one for less stringing, or the warmer one if you need stronger parts. A solid set of nozzles and cleaning needles, like the kit options in the 3D printing tools and accessories at Evetech, keeps the nozzle clear so the test reflects the filament and not a partial clog.
Once you have your number, save it into a dedicated filament profile so you never have to retest that spool. New brand, new colour, even a new batch of the same colour can shift the ideal by a few degrees, so a quick tower per spool pays for itself in failed prints avoided. When you are ready to step up the hardware itself, the printer range and starter bundles in the components 3D printing section cover entry machines through to larger enclosed units.
Frequently Asked Questions
How long does a temperature tower take to print?
A typical six-block tower prints in 30 to 50 minutes and uses only a few grams of filament. It is one of the fastest calibration prints you can run, which is why it sits first in the sequence.
What increment should I use between blocks?
Five degrees Celsius per block is the standard. It is fine enough to spot the difference but coarse enough to cover a full 30C range in six blocks. Drop to 3C steps only if two adjacent blocks look equally good and you want to split the difference.
Do I need a new tower for every spool?
For every new filament type and brand, yes. Different additives and colours change the ideal temperature, sometimes by 10C. The same brand and colour across batches is usually consistent enough to reuse the profile, but a quick retest costs almost nothing.
My whole tower looks bad. What now?
Check the basics before blaming temperature: a partially clogged nozzle, wet filament, or a bad first layer will ruin every block equally. Dry the filament, clear the nozzle, and confirm bed adhesion, then reprint the tower.
Which slicer makes this easiest?
OrcaSlicer has the most hands-off workflow with its built-in calibration menu that generates the model and the temperature steps together. Cura needs a post-processing script, and PrusaSlicer uses manual per-height G-code.
Found your number? Lock it into a filament profile, then browse printers, spares, and tools to keep your machine dialled in. Start with the 3D printing range at Evetech.