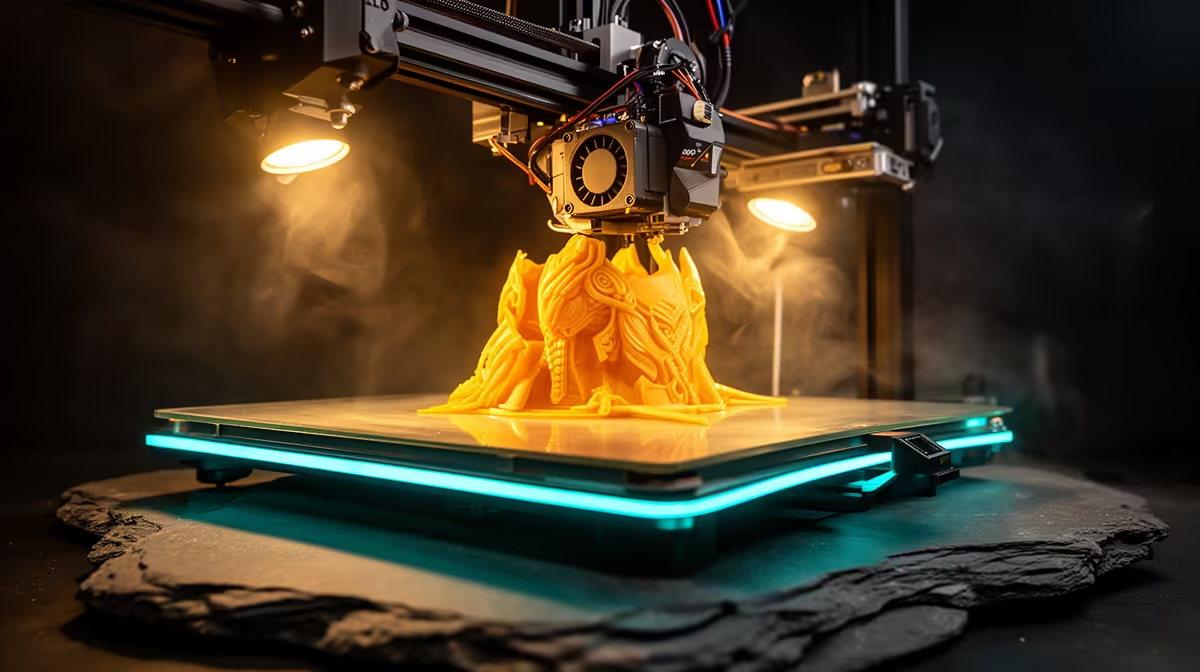
Turning a digital helmet model into a wearable prop comes down to three things: a bed big enough to print large shells, a filament that survives being worn, and slicer settings that keep the weight off your neck. Printing cosplay armour and helmets on a large-format FDM printer is straightforward once you treat each piece as a thin, low-infill shell rather than a solid block of plastic.
Quick Answer
Print cosplay armour on a printer with a 300 x 300mm or larger bed using PLA for rigid display pieces or PETG for parts that flex and take heat. Slice helmets as shells at 15 to 20 percent infill with 3 to 4 wall loops, which keeps a full helmet under roughly 600 to 800g so it stays comfortable to wear for hours.
Step 1: Choose your printer and bed size
A 300 x 300 x 400mm bed prints a helmet crown in two halves and most chest or shoulder plates in a single piece, which means fewer seams to glue and sand later. Smaller beds force you to slice every part into more sections, multiplying the post-processing work. If you are choosing a machine for prop work specifically, the large-format options in the 3D printer range at Evetech make it easy to compare build volumes before you commit.
Step 2: Pick PLA or PETG for the job
Decide by where the part lives. PLA is stiff, prints cleanly and sands to a glassy finish, ideal for display armour and helmets that will not sit in a hot car. PETG flexes slightly instead of cracking, tolerates heat better, and suits forearm bracers, knee guards or any piece that takes knocks at a con. Many builders mix the two: PLA for the showpiece helmet, PETG for the joints that move.
Step 3: Slice helmets and armour as shells
This is where weight is won or lost. Set infill to 15 to 20 percent, use 3 to 4 perimeter walls for strength, and add 4 to 5 top and bottom layers. A helmet sliced this way is rigid enough to handle daily wear but light enough that you forget you have it on. Solid infill would double the weight and the print time for no real benefit on a hollow prop.
Turn on supports only where overhangs exceed roughly 50 degrees, and orient the part so the visible face sits away from the support scarring. A 0.4mm nozzle at 0.2mm layer height balances detail against print duration for most armour panels.
Step 4: Plan your splits and joints
Large props rarely print in one go. Split parts along natural panel lines so seams hide in the design rather than across a smooth surface. Add registration pegs or flat overlap tabs in your slicer or modelling tool so the halves align cleanly when you glue them. For a helmet, splitting the crown from the faceplate gives you a seam you can sand and fill invisibly.
Step 5: Bonding, filling and finishing
Join PLA parts with cyanoacrylate plus a kicker for instant tacking, then reinforce the inside seam with epoxy or fibreglass for strength. Fill the layer lines with a sandable primer-filler, wet-sand from 240 up to 600 grit, then prime and paint. For wearable comfort, line the inside with thin EVA foam at contact points. The sanding blocks, primers and finishing odds and ends you will burn through are in the accessories best sellers.
Step 6: Keep the weight wearable
Tally your spool usage as you go. A full helmet should land in the 600 to 800g range; a chest plate around 1kg. If a part comes out heavier, drop the infill, thin the walls, or hollow more of the internal volume before reprinting. Comfortable armour is armour you can actually wear through a full day of photos.
Frequently Asked Questions
What bed size do I need for a full helmet?
A 300 x 300mm bed prints most helmets in two or three sections. Go to 300 x 300 x 400mm if you want chest plates and pauldrons in single pieces, which cuts down on gluing and sanding.
Is PLA or PETG better for cosplay armour?
PLA is stiffer and sands to a smoother finish, so it suits display helmets and rigid panels. PETG flexes and handles heat better, making it the safer choice for joints, bracers and anything that takes impact at an event.
How do I stop a printed helmet from being too heavy?
Slice it as a shell at 15 to 20 percent infill with 3 to 4 walls rather than printing it solid. This keeps a full helmet under roughly 800g while staying rigid enough for regular wear.
How do I hide the seams between printed sections?
Split parts along design lines, glue with reinforcement on the inside, then fill the seam with sandable primer and wet-sand it flat before painting. Done carefully, the join disappears under paint.
What infill percentage should I use for armour?
Fifteen to 20 percent is the standard for wearable armour. It gives enough rigidity for the shell to hold its shape without adding unnecessary weight or stretching print times.
Building your first full cosplay set? Line up a large-format machine and the filament to feed it at https://www.evetech.co.za/components/3d-printers-130 and start printing parts that are light enough to wear all day.