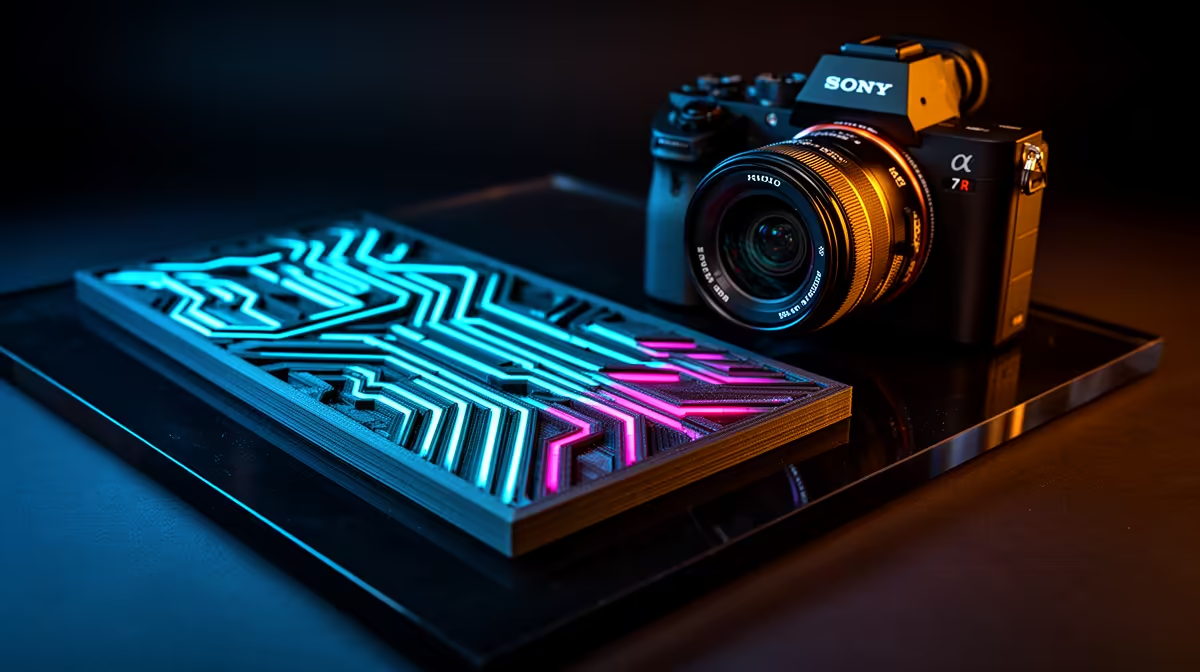
Slot a freshly printed cable comb into a build, leave the rig running a long gaming session, and a PLA part will quietly bow and slump against the side panel. Heat is the enemy of custom PC mod accents, because the inside of a case sits warm for hours and PLA gives up around 55 degrees. Printing accents that hold their shape means reaching for PETG or ASA from the start, then dialling in the few settings that make those plastics behave.
Quick Answer
Print PC mod accents in PETG for most jobs and ASA when the part sits near a hot GPU or in a window-facing case. Both tolerate sustained case heat that warps PLA. Expect to spend an evening printing a set of cable combs, a fan shroud and a badge plate once your slicer profile is dialled in.
Step 1: Pick The Right Filament
PETG is the default for case accents. It handles roughly 70 to 80 degrees before softening, prints without an enclosure, and takes a satin or matte finish that looks deliberate rather than home-made. ASA goes a step further, surviving higher temperatures and UV without yellowing, which matters if your case has a tempered glass side that catches afternoon sun.
Avoid PLA for anything structural or close to heat. It is fine for a decorative badge that sits on the front panel away from airflow, but a cable comb under tension or a shroud near the GPU exhaust will deform. If you are still choosing a machine to print these on, the enclosed and open-frame options live in the 3D printer range at Evetech.
Step 2: Measure Before You Model
The single biggest cause of a useless mod accent is a guessed dimension. Use calipers, not a ruler. Cable combs need the exact spacing of your PSU cables, usually centred on a comb tooth pitch that matches your sleeve width. Fan shrouds must match the fan frame and screw holes precisely. Badge plates want a flat mating surface and, if magnetic, a recess sized to your magnet.
Model in 0.1 mm steps and add a small clearance, around 0.2 mm, on any slot that has to slide over a cable or post. Tight is good, but a part you cannot fit is scrap.
Step 3: Slice For Strength And Finish
PETG and ASA reward slower, hotter printing than PLA. Three settings carry most of the result:
- Temperature. Run PETG nozzle at roughly 235 to 245 degrees and bed at 75 to 85 degrees. ASA wants a touch hotter and strongly prefers an enclosure to stop warping.
- Cooling. Drop fan speed for PETG. Too much cooling weakens layer bonding and makes combs snap under cable tension. Around 30 to 50 percent is a safe band.
- Walls and infill. For load-bearing combs use four perimeters and 40 percent infill. Decorative badges can drop to two walls and 15 percent.
A brim helps ASA stay stuck to the bed. For PETG, clean the bed well, because PETG grips glass hard and can chip it if printed too close.
Step 4: Print, Test Fit, Iterate
Print one comb or one corner of a shroud first, not the whole set. Test the fit cold, then run the PC under load for ten minutes and check the part has not shifted or softened. Only once a single accent passes both checks should you commit to the full batch. This saves a roll of filament and a frustrating evening.
If a comb is too loose, shave 0.1 mm off the slot in your model and reprint. If a shroud rattles, add a thin TPU gasket or increase the flange by 0.2 mm.
Step 5: Finish For That Built Look
Raw PETG layer lines read as cheap. A light sand with 400 then 600 grit, followed by a coat of plastic primer and a satin spray, turns a printed comb into something that looks injection-moulded. ASA sands cleanly and takes paint well. Magnetic badge plates let you swap accents without screws, which is handy if you change the lighting theme often.
Many of the finishing basics, from cutters to fine sandpaper, sit alongside the building tools in the accessories best sellers list, so you can round out the toolkit in one go.
Frequently Asked Questions
Why does PLA fail inside a PC case?
PLA softens at around 55 degrees, and a case interior easily reaches that during long sessions. Parts under tension, like cable combs, or near the GPU exhaust will sag and lose their shape over time.
Is PETG or ASA better for case accents?
PETG suits most accents and prints easily without an enclosure. Choose ASA when the part sits in direct sunlight through a glass panel or very close to a heat source, since it resists higher temperatures and UV.
Do I need an enclosed printer for this?
PETG prints fine on an open-frame machine. ASA is happier in an enclosure because it warps in a draught, so if you plan to print a lot of ASA, an enclosed printer makes the job far easier.
How do I stop cable combs from cracking?
Use four perimeters, 40 percent infill, and reduce part cooling fan to improve layer bonding. Over-cooled PETG bonds poorly and snaps under cable tension.
Can I paint printed PC mod accents?
Yes. Sand lightly, apply a plastic primer, then a satin or matte topcoat. ASA in particular sands and paints cleanly for a finish that hides layer lines.
Got a case theme in mind? Stock up on PETG and ASA and the tools to finish a clean set of mod accents over at Evetech, starting with the 3D printer range (https://www.evetech.co.za/components/3d-printers-130).