



Best Wireless Gaming Headset in South Africa - Updated July 2026
Wireless gaming headsets are available at Evetech from R499 including VAT, with 75 models in stock. The range runs to R999 for console-specific PDP Phantom Air models.
Read moreSetting up a fully local voice assistant in home assistant with assist means enabling the Assist pipeline with an on-device wake-word engine so commands never reach the cloud. A Raspberry Pi 5 runs Whisper and Piper together with under 1-second response times.
Speak a command and have it stay entirely inside your own home, never touching a company's cloud. That is the promise of a fully local voice assistant in Home Assistant, built on the Assist pipeline with on-device wake-word detection, speech-to-text, and text-to-speech. A Raspberry Pi 5 can run the whole chain, Whisper for listening and Piper for speaking, with responses arriving in roughly a second. Here is how the pieces fit and how to set them up.
Set up a local voice assistant by enabling the Assist pipeline in Home Assistant and adding three add-ons: openWakeWord for the wake word, Whisper for speech-to-text, and Piper for text-to-speech. On a Raspberry Pi 5, Piper turns a line of text into spoken audio in under a second, and Whisper transcribes in roughly two to four seconds, so nothing leaves your network. A Pi 5 with a USB microphone and USB speaker is the reliable starting hardware.
Before touching settings, understand the chain a spoken command travels through, because each link is a separate piece you will install. A microphone captures audio. A wake-word engine listens for your chosen phrase and ignores everything else. Speech-to-text turns the spoken command into words. Home Assistant Assist interprets those words and acts. Text-to-speech turns the response back into audio. A speaker plays it. Each block runs as its own add-on, all on your own hardware, which is what keeps the whole thing private.
Start with a capable host. A Raspberry Pi 5 with 4GB of RAM is the recommended entry point, paired with an affordable USB microphone and a USB speaker. Stick with USB audio devices rather than older HAT-based microphones: some HATs like the ReSpeaker 2-Mics have had driver problems since recent Pi 5 kernel updates, whereas USB mics work reliably. Have Home Assistant running on the Pi with a stable network connection before you begin adding voice components.
In Home Assistant, add the Whisper add-on, which handles speech recognition by converting your spoken words into text locally. Choose a model size that suits the Pi: a smaller quantised model such as small-int8 transcribes in roughly two to four seconds on a Pi 5 depending on sentence length, which is a sensible balance of speed and accuracy. Larger models are more accurate but slower, so start small and only move up if recognition struggles.
Add the Piper add-on next. Piper is a local neural engine that converts Home Assistant's text replies into spoken audio, and it runs impressively fast on the Pi 5, producing a second of speech in under a second so replies come without noticeable hesitation. Pick a voice you like from the available options. With Whisper and Piper installed, your assistant can both listen and speak entirely on-device.
To wake the assistant by voice rather than a button, add the openWakeWord add-on. It comes with English wake words ready to go, including "ok nabu", "hey jarvis", and "alexa", so you can pick one and start immediately. The wake-word models are built on an open audio embedding model and fine-tuned using Piper-generated speech, and if you want a custom phrase, community wake words are available through the installer in HACS. Choose your wake word and enable the engine.
Now tie it together. In Home Assistant's voice settings, create an Assist pipeline and assign each stage: openWakeWord for the wake word, Whisper for speech-to-text, and Piper for text-to-speech. This pipeline is the conductor that routes audio through each local component in order. Setting it up explicitly with your own add-ons, rather than any cloud option, is what guarantees commands never leave your network.
Point a microphone-and-speaker device at your new pipeline, whether that is the USB mic and speaker on the Pi itself or a dedicated voice satellite elsewhere in the home. Then test it: say your wake word, give a simple command like turning a light on, and listen for the spoken confirmation. Watch the latency, a second or two is normal on a Pi 5, and adjust the Whisper model size if transcription feels slow or misses words.
As you grow the system with more rooms and devices, Evetech stocks compatible lights, sensors, and switches for your voice commands to control across the smart home and appliances section, and useful extras like USB microphones and speakers appear among the most popular accessories.
The payoff is threefold. Privacy, because your voice never reaches an outside server. Reliability, since the assistant keeps working even if your fibre connection drops. And control, because you choose the wake word, the voice, and exactly what the assistant can do. It takes more setup than plugging in a cloud speaker, but the result is a voice assistant that answers only to you and stays entirely within your walls.
A Raspberry Pi 5 with 4GB of RAM, plus a USB microphone and a USB speaker, is the reliable starting point. Stick with USB audio rather than older microphone HATs, some of which have driver issues on recent Pi 5 kernels.
On a Pi 5, Piper generates a second of speech in under a second, and Whisper transcribes in roughly two to four seconds depending on sentence length. Total response time is usually a second or two, fast enough to feel natural for everyday commands.
Whisper converts your spoken words into text locally, handling all speech recognition on-device. Piper takes Home Assistant's text response and renders it as spoken audio, so the reply comes back through your speaker. Together they let the assistant both understand and reply without any cloud service.
Yes. openWakeWord ships with ready-made English wake words like "ok nabu" and "hey jarvis", and you can add community-made wake words through the installer in HACS. Custom models are trained using Piper-generated speech.
Yes, that is the point. Because the wake word, speech recognition, intent handling, and speech output all run on your own hardware, the assistant keeps working even if your internet connection drops. Only commands needing external data would be affected.
Want voice control that answers only to you and never phones home? Build the local pipeline on a Pi, then expand what it controls with compatible devices from the Evetech smart home section for a private, offline-capable smart home.
A Raspberry Pi 5 with 4GB of RAM, plus a USB microphone and a USB speaker, is the reliable starting point. Stick with USB audio rather than older microphone HATs, some of which have driver issues on recent Pi 5 kernels.
On a Pi 5, Piper generates a second of speech in under a second, and Whisper transcribes in roughly two to four seconds depending on sentence length. Total response time is usually a second or two, fast enough to feel natural for everyday commands.
Whisper converts your spoken words into text locally, handling all speech recognition on-device. Piper takes Home Assistant's text response and renders it as spoken audio, so the reply comes back through your speaker. Together they let the assistant both understand and reply without any cloud service.
Yes. openWakeWord ships with ready-made English wake words like "ok nabu" and "hey jarvis", and you can add community-made wake words through the installer in HACS. Custom models are trained using Piper-generated speech.
Yes, that is the point. Because the wake word, speech recognition, intent handling, and speech output all run on your own hardware, the assistant keeps working even if your internet connection drops. Only commands needing external data would be affected.
Wireless gaming headsets are available at Evetech from R499 including VAT, with 75 models in stock. The range runs to R999 for console-specific PDP Phantom Air models.
Read more
Gaming keyboards are available at Evetech from R399 including VAT, with 41 models in stock. The best keyboards run from R3,999 analog and Hall-effect boards up to R6,699 flagships.
Read more
Gaming headsets are available at Evetech from R329 including VAT, with 120 models in stock. The best headsets open at R6,499 and run to R15,499 for the Arctis Nova Elite.
Read more
Gaming mice are available at Evetech from R199 including VAT, with 105 models in stock. The best mice start at R3,699 for the Razer DeathAdder V3 Pro and run to R4,199.
Read more
Gaming headsets are available at Evetech from R329 including VAT, and within a R1,000 ceiling the best options run from R899 wired up to R999 for wireless PDP Phantom Air.
Read more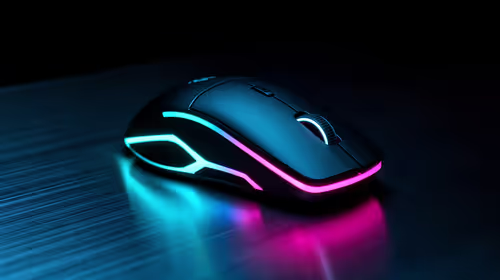
Gaming mice are available at Evetech from R199 including VAT, with 25 models in stock under R500. The strongest options run from R399 up to R499 wireless tri-mode mice.
Read more
Wi-Fi 7 vs Wi-Fi 6e for cinematic story games comes down to router support, latency goals, device compatibility, and coverage. SA buyers should match the choice to the real network setup.
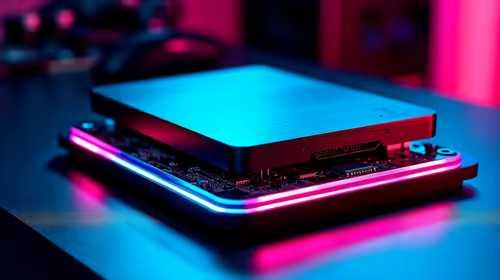
The real world difference between PCIe 5.0 and PCIe 4.0 for MMO and live-service games is usually about loading, patches, and headroom. SA players should weigh NVMe speed, GPU lanes, CPU limits, and platform cost.

Windows 11 gaming laptop dead pixel checks begin with a full-screen colour test. This how to fix dead pixel windows 11 gaming laptop guide helps SA users compare settings, drivers, external screens, and warranty routes.
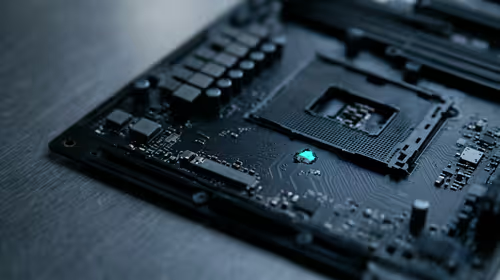
AM5 motherboard stuck pixel fixes in South Africa start with panel, cable, GPU output, and Windows checks. Use a clean test path before blaming the motherboard or replacing screen hardware.

FPS drops blamed on a wireless mouse often point to input, driver, USB, network, or system-load checks. Use a quick SA-friendly troubleshooting flow to isolate software, firmware, thermals, storage, and game settings before replacing hardware.

How to fix fps drops on steam deck starts with power profile, shader cache, storage health, and per-game settings. For South Africa, check charger quality, heat, and download stability before assuming the handheld needs repair. Retest after updates.

How to fix low FPS after an RTX 5080 build upgrade starts with driver cleanup, display settings, thermals, and power mode. For SA gamers, verify GPU usage, PCIe speed, RAM profile, and CPU limits before changing parts.
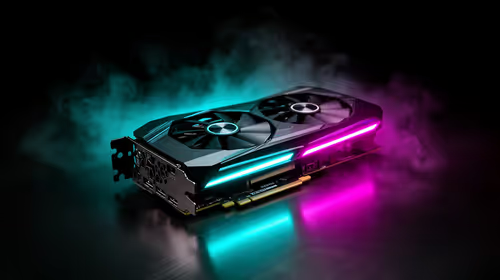
Hollow Knight Silksong at 4K needs a GPU matched to settings, VRAM, CPU balance, and monitor goals. Use this SA guide to compare tiers without treating FPS target or prices as fixed.
Wireless gaming headsets are available at Evetech from R499 including VAT, with 75 models in stock. The range runs to R999 for console-specific PDP Phantom Air models.
Gaming keyboards are available at Evetech from R399 including VAT, with 41 models in stock. The best keyboards run from R3,999 analog and Hall-effect boards up to R6,699 flagships.
Gaming headsets are available at Evetech from R329 including VAT, with 120 models in stock. The best headsets open at R6,499 and run to R15,499 for the Arctis Nova Elite.
Gaming mice are available at Evetech from R199 including VAT, with 105 models in stock. The best mice start at R3,699 for the Razer DeathAdder V3 Pro and run to R4,199.