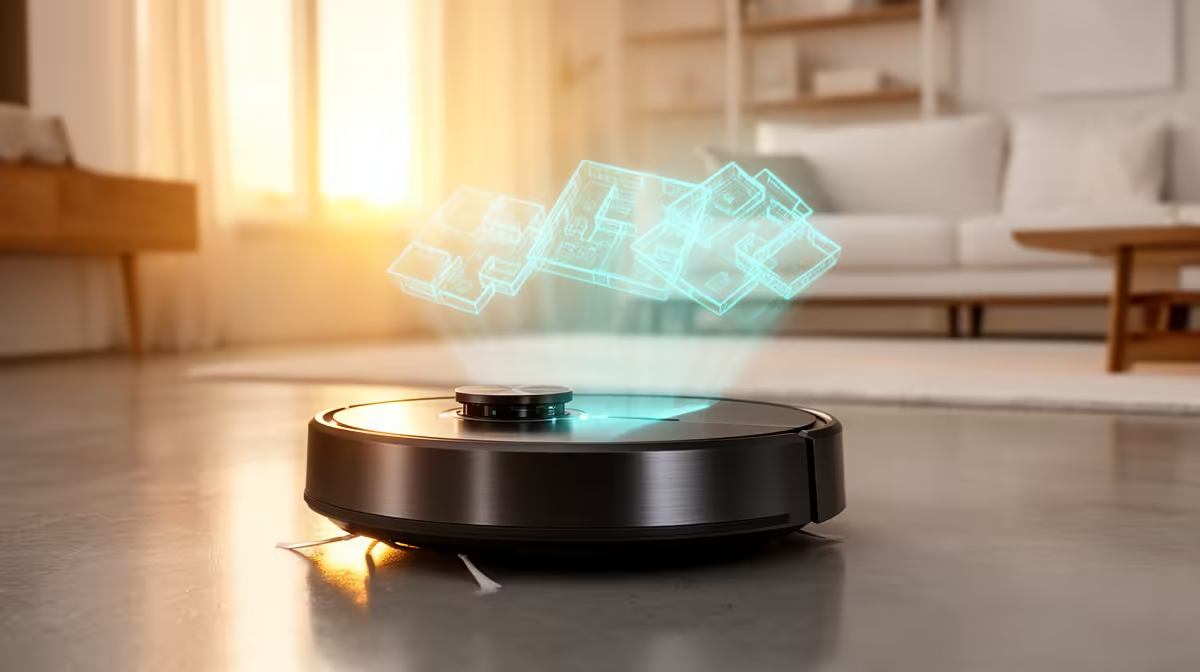
A robot vacuum that cleans the ground floor flawlessly and then bumps helplessly around upstairs is almost always a mapping problem, not a hardware fault. Setting up multi-floor maps correctly tells the robot that your home has more than one level, lets it store a separate plan for each, and means it loads the right one the moment you carry it between floors. Done properly, one robot keeps a double-storey home clean without guesswork.
Quick Answer
Enable multi-map saving in the app, then run one clean mapping pass per floor and label each map clearly, such as Ground and Upstairs. Once both maps are stored, the robot recognises which level it is on, or lets you pick, and cleans accordingly. Without distinct saved maps it treats every floor as the same space and cleans poorly on any floor it has not actually mapped.
Before you start
Two things make the whole process smoother. First, tidy each floor the way you would before any clean, since cables and stray items confuse the initial mapping run. Second, make sure the robot has a full charge, because a complete mapping pass of a floor can take a while and you want it to finish in one go rather than retreating to the dock half-mapped.
Step-by-step setup
1. Turn on multi-map saving
Open your robot's companion app and find the map settings. Look for an option named multi-map, multi-floor, or save multiple maps, and switch it on. This is the single most important step, because many robots default to storing only one map and will simply overwrite it when they map a second floor. With the setting off, you can never hold two floors at once.
2. Map your first floor cleanly
Place the robot on the floor you want to map first, usually the ground level where the dock lives, and start a dedicated mapping run or a normal clean if the robot maps as it cleans. Let it complete the entire floor without interruption. Resist the urge to pick it up or send it back to the dock partway, because a half-finished map leaves gaps the robot will stumble over later. Keep interior doors open so it can reach every room.
3. Save and label the first map
Once the run finishes, save the map and give it a clear name like Ground Floor. Labelling matters more than it sounds, because when you have two near-identical layouts the names are how you and the robot tell them apart. While you are here, set any no-go zones or room divisions on this map, since editing is easiest right after mapping.
4. Carry the robot to the next floor and map it
Pick the robot up, take it upstairs, and place it somewhere open. Start a fresh mapping run for this level. The robot builds a completely new map of the upstairs layout, independent of the ground floor. Again, let it finish the whole floor in one pass and keep doors open so no room is missed.
5. Save and label the second map
Save this map too and name it clearly, for example Upstairs. You now have two distinct maps stored. Set no-go zones, virtual walls around stairwells, and room boundaries for this floor while the map is fresh. Marking the top of any staircase as a no-go zone is a sensible precaution even on robots with drop sensors.
6. Test how the robot recognises each floor
Carry the robot between floors and watch how it behaves. Many models detect which saved map matches their surroundings automatically and load it. Others ask you to pick the floor in the app before cleaning. Confirm which way yours works, because if it relies on manual selection you simply choose the correct map each time before starting a clean.
Getting cleaner, more reliable maps
A few habits keep multi-floor cleaning dependable. Keep furniture roughly in the same positions between cleans, since large rearrangements can confuse the robot's recognition. Re-run a mapping pass after any major change to a room's layout so the stored map stays accurate. And if your robot struggles to tell two similar floors apart, lean on manual selection rather than fighting the automatic detection.
If you are still choosing a machine, it is worth checking which models explicitly support saving several maps, because not every robot does. The robot vacuum and smart-home range at Evetech lists the cleaning gear suited to multi-level homes, and stocking spare brushes and filters from the accessories and best-sellers range keeps each floor's clean consistent over time.
Frequently Asked Questions
How many floors can a robot vacuum map?
Most multi-map robots store several maps, commonly up to four, which covers the vast majority of homes. Check your specific model's limit in the app, since the exact number varies between brands.
Does the robot switch floors automatically?
It depends on the model. Many detect the layout they are placed on and load the matching map by themselves, while others require you to select the floor in the app before cleaning. Test yours to find out which it does.
Why does my robot clean badly on the second floor?
Almost always because that floor was never properly mapped, or multi-map saving was off and the upstairs run overwrote the ground-floor map. Enable multi-map, then run a full mapping pass on each floor.
Should I block off the stairs?
Yes, as a precaution. Even robots with drop sensors benefit from a virtual wall or no-go zone marked at the top of a staircase, which removes any risk of a sensor misreading near the edge.
Do I need to remap after moving furniture?
Minor changes are usually fine, but a major rearrangement of a room can confuse recognition. After a big layout change, run a fresh mapping pass so the saved map matches reality.
Give your robot the maps it needs to clean every level with confidence. Browse the robot vacuums and smart-home cleaning gear at Evetech and pick a model built to remember every floor of your home.