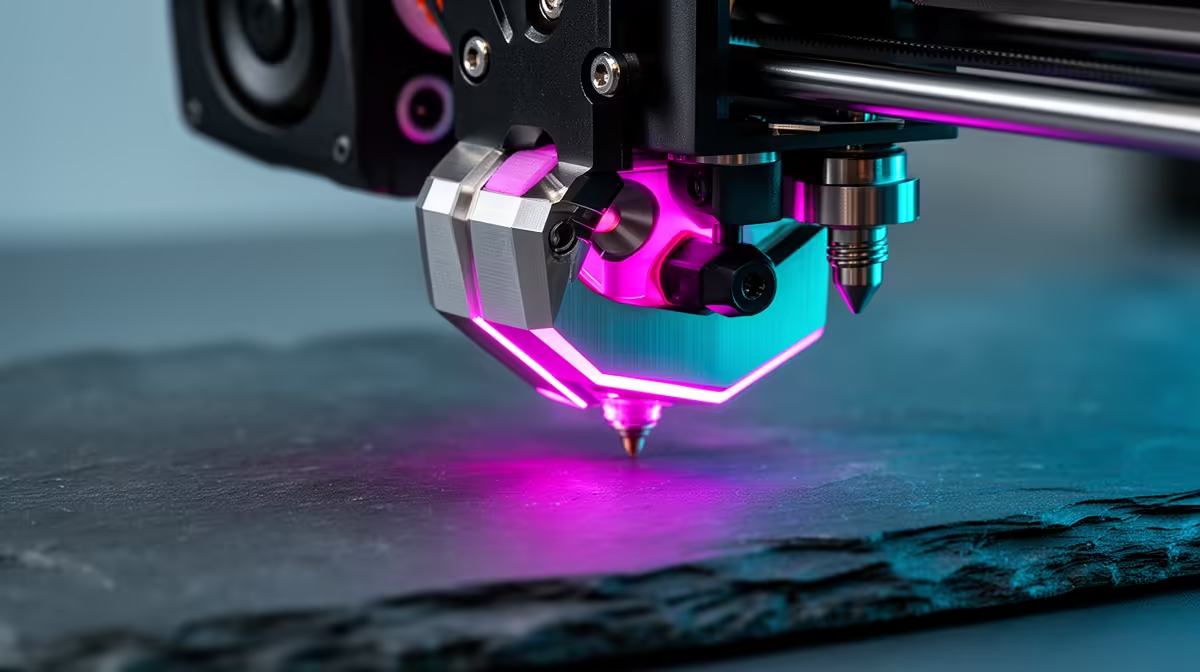
Printing a full plate of small parts in one go is convenient until a single object fails halfway and ruins everything around it. Sequential by-object printing changes that maths. Instead of building every model layer by layer at the same time, the printer finishes one object completely, lifts away, and moves on to the next. If part three peels off the bed, parts one and two are already done and safe. The catch is clearance: the toolhead and gantry have to clear every finished part as they travel to the next one.
Quick Answer
Switch your slicer's print sequence from "by layer" to "by object", then enter your printer's gantry and toolhead clearance values so it never crashes into a completed model. On a typical 220mm bed printer you need parts spaced so the print head can route around finished objects, which usually means fewer parts per plate but far better reliability.
What sequential printing actually does
In normal printing the nozzle lays down layer one across all objects, then layer two, and so on. Sequential mode prints object A from base to top, parks, then starts object B. The benefit is failure isolation: a knocked-over or warped part no longer collides with everything else mid-print. It also reduces stringing between separate models, because the nozzle is not constantly hopping between far-apart islands on every layer.
The trade-off is clearance. Once object A is fully built, it becomes a tall obstacle. The gantry beam, fan duct and any probes on the toolhead must pass over and around it without contact. That single constraint drives every setting below.
Step-by-step setup
- Enable the mode. In OrcaSlicer or PrusaSlicer open the print settings and find the print sequence option (in OrcaSlicer it sits under "Others" or the global print-sequence dropdown). Set it from "By layer" to "By object". The plate view immediately shows a clearance ring around each object.
- Measure your printer's clearances. You need two numbers. Extruder clearance is the radius around the nozzle that the toolhead body occupies, typically 40mm to 50mm on a Bowden setup and more on a bulky direct-drive head. Gantry height clearance is the vertical gap between the bed and the lowest part of the X-gantry beam, often 25mm to 30mm on a bed-slinger.
- Enter the values. Set the extruder clearance radius and gantry height in your slicer's printer settings. The slicer uses these to draw the no-go zones and to refuse arrangements that would cause a crash.
- Arrange parts within limits. Any object taller than your gantry clearance must be printed first or kept clear of the gantry's travel path. Use the slicer's auto-arrange, then check the print order. Most slicers print front-to-back so the head never has to reach over a finished tall part to start a new one.
- Slice and inspect the preview. Step through the preview and confirm the toolhead always approaches each new object from an open side. If the slicer warns of a collision, increase spacing or remove a part.
Getting clearance right without wasting bed space
OrcaSlicer applies clearance uniformly in all directions, which can feel generous and waste bed area. If you find it spaces parts further apart than seems necessary, that is the safety margin doing its job, but you can tighten it by measuring your actual toolhead footprint rather than guessing high. A direct-drive hotend with side fans needs more room than a slim Bowden carriage.
Keep tall parts at the front of the print order so the gantry never has to climb over a finished tower to reach the next slot. When in doubt, fewer parts per plate beats a crash that wastes filament and time. A printer with a clean, well-levelled bed and a good first layer also reduces the chance of an early knock-off that the whole technique is designed to survive.
Stock up on the spares that keep long sequential jobs running, from nozzles to adhesion aids, in the 3D printing accessories at Evetech, and browse current machines in the 3D printer range if you are choosing one with sequential printing in mind.
Frequently Asked Questions
Does sequential printing slow the print down?
Total filament time is similar, but there is extra travel and a pause as the head repositions between objects. The reliability gain usually outweighs the few extra minutes, especially on a plate of small repeated parts.
Why does my slicer refuse to slice in by-object mode?
It has detected a clearance violation. An object is taller than your gantry height, or two parts are spaced too closely for the toolhead to route between them. Increase spacing, lower the part count, or reorder so tall parts print first.
What if I do not know my printer's clearance values?
Measure the vertical gap from bed to the underside of the X-beam for gantry clearance, and measure the widest part of your toolhead from the nozzle for extruder clearance. Round up slightly for safety.
Is by-object printing the same as printing one model at a time manually?
It automates exactly that, in a single job. The printer completes each object fully before starting the next without you reloading the plate, while enforcing clearance so finished parts are never hit.
Can I mix tall and short objects on one plate?
Yes, but the tall ones constrain the layout. Anything taller than your gantry clearance must print before the head needs to pass over its location, so the slicer reorders or rejects layouts that would cause a collision.
Setting up your first FDM machine or upgrading to one that handles long unattended jobs? Browse the current 3D printer lineup at Evetech to find a printer matched to your build volume and budget: https://www.evetech.co.za/components/3d-printers-130