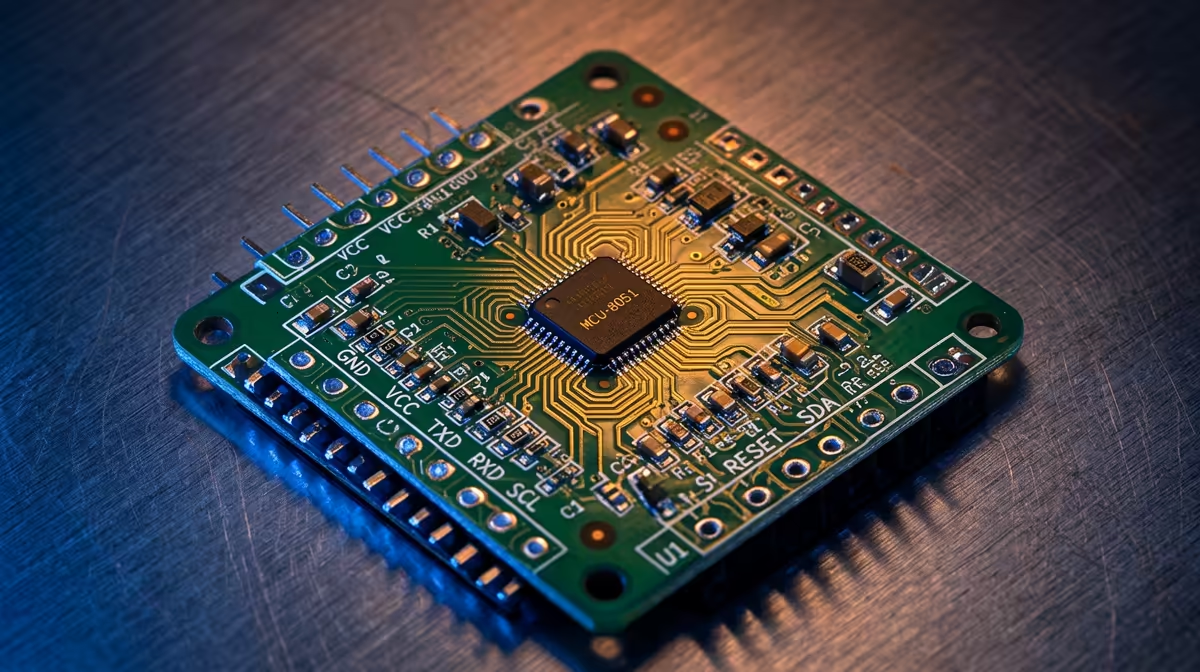
The moment a Raspberry Pi stops being just a tiny computer and becomes a maker tool is when you wire your first LED to the GPIO pins and watch it blink from a few lines of code. That 40-pin header along the edge of the board is the bridge between software and the physical world: power, ground and programmable pins you can switch on, switch off, or read for input. This guide walks you from bare header to a working circuit.
Quick Answer
The GPIO header is the 40-pin strip on the edge of the Pi. It carries 3.3V and 5V power, ground, and 26 programmable pins you control with Python. The fastest way to start is the gpiozero library: a few lines turn an LED on, off, or blinking. Keep all signals at 3.3V, the pins are not 5V tolerant.
Step 1: Understand what is on the header
Before wiring anything, read the layout. The 40-pin header gives you a mix of pin types:
- Power pins: a pair of 5V pins and a pair of 3.3V pins.
- Ground pins: several scattered down both rows, used to complete every circuit.
- GPIO pins: 26 programmable pins you can set high (3.3V) or low (0V), or read as inputs.
The single most important safety rule: the GPIO pins use 3.3V logic and are not 5V tolerant. Feeding 5V into an input pin can permanently damage the board, so never wire a 5V signal straight into a GPIO pin.
Step 2: Know your pin numbering
There are two numbering schemes, and mixing them up is the classic beginner trap. Physical (or BOARD) numbering counts pins by position, 1 to 40. BCM numbering uses the processor's own labels, so physical pin 11 is BCM 17, often written GPIO 17.
The gpiozero library uses BCM numbering exclusively. So when your code says LED(17), it means the pin labelled GPIO 17, not physical pin 17. Keep a printed pinout next to you while you learn.
Step 3: Wire a simple LED circuit
Power down the Pi first. You will need an LED, a resistor of around 220 to 330 ohms to limit current, and two jumper wires.
- Connect the long leg of the LED (the anode) through the resistor to GPIO 17.
- Connect the short leg (the cathode) to any ground pin.
- Double-check the resistor is in the circuit, an LED wired without one can burn out.
That resistor is not optional. It protects both the LED and the pin by keeping current to a safe level.
Step 4: Control it in Python with gpiozero
gpiozero is the Raspberry Pi Foundation's recommended library because it hides the low-level detail behind plain-English objects. Power the Pi back up, open a terminal or your editor, and the core of an LED program is short:
from gpiozero import LED
from time import sleep

led = LED(17)

while True:
    led.on()
    sleep(1)
    led.off()
    sleep(1)
Run it and the LED blinks once a second. Swap the loop for led.blink() and gpiozero handles the timing for you. The same library scales up to buttons, motion sensors and more, all with the same readable style.
Step 5: Where to go next
Once an LED blinks, the path opens quickly: read a push button, fade an LED with PWM, or wire a temperature sensor. Each uses the same gpiozero pattern of creating an object and calling methods on it. A small breadboard and a starter kit of LEDs, resistors and jumper wires make experimenting painless, and you can find compatible boards and add-ons in the mini PC range at Evetech when you are ready to expand a project.
For a sense of what these small boards can grow into, the most popular PCs at Evetech show where a maker hobby often leads once the GPIO basics click.
Frequently Asked Questions
What does GPIO stand for?
GPIO means General Purpose Input/Output. These are the programmable pins on the Raspberry Pi header that you can set as outputs to drive components like LEDs, or as inputs to read buttons and sensors.
Why do I need a resistor with an LED?
A resistor limits the current flowing through the LED. Without it, too much current can burn out the LED or stress the GPIO pin. A 220 to 330 ohm resistor is a safe choice for most LEDs on a 3.3V pin.
What is the difference between BCM and physical pin numbers?
Physical numbering counts pins by their position on the header, 1 to 40. BCM numbering uses the processor's internal labels. The gpiozero library uses BCM numbers, so GPIO 17 in code is BCM 17, which sits at physical pin 11.
Can I damage my Raspberry Pi with the GPIO pins?
Yes, if you wire them wrong. The pins are 3.3V and not 5V tolerant, so feeding 5V into an input, or shorting a pin to ground while it is high, can damage the board. Power down before rewiring and double-check connections.
Why use gpiozero instead of older libraries?
gpiozero is modern, beginner-friendly and officially recommended by the Raspberry Pi Foundation. It wraps low-level detail in readable objects like LED and Button, so you write less code and make fewer mistakes.
Ready to build your first physical-computing project? Explore the boards, kits and add-ons in the mini PC range at Evetech and start wiring up your own GPIO circuits.