Handing a child a robotics kit and hoping coding clicks rarely works on its own. What works is a plan: start with drag-and-block coding that removes typing entirely, then let real skills pull the child toward text code when they are ready. A kit like the Makeblock mBot2 is built for exactly this arc, and a simple build-code-test-extend rhythm keeps a young learner engaged instead of frustrated.
Quick Answer
Start with a Scratch-based robotics kit such as the mBot2, which uses visual drag-and-drop blocks so a child can program behaviour without learning syntax, then progress to Python as confidence grows. A four-step loop of build, code, test, extend turns each session into a small win. Most quality starter kits suit ages eight and up and land in a sensible price band at Evetech.
Step 1: Pick a Kit That Grows With the Child
The single biggest mistake is buying for where a child is rather than where they are heading. A kit that only ever does blocks gets boring within months; a kit that demands typed code on day one gets abandoned in week one.
Look for a Scratch-based platform that also supports Python on the same hardware. That means the robot the child builds at eight is the robot they are still programming, in text, at eleven. The mBot2 fits this because it starts in a block editor and later accepts Python, so the hardware investment carries across years rather than being outgrown. Sensors matter too: a kit with a line follower, an ultrasonic distance sensor and a sound sensor gives you far more projects to teach than a bare motor-and-wheels chassis.
You can see the kind of programmable robotics and smart-build gear that fits this approach in our smart home and robotics range.
Step 2: Build the Robot Together First
Resist the urge to skip straight to code. Assembling the robot is where a child learns what each part does, and that physical understanding makes the programming meaningful later. When they have personally bolted on the distance sensor, the block that reads distance is no longer an abstraction.
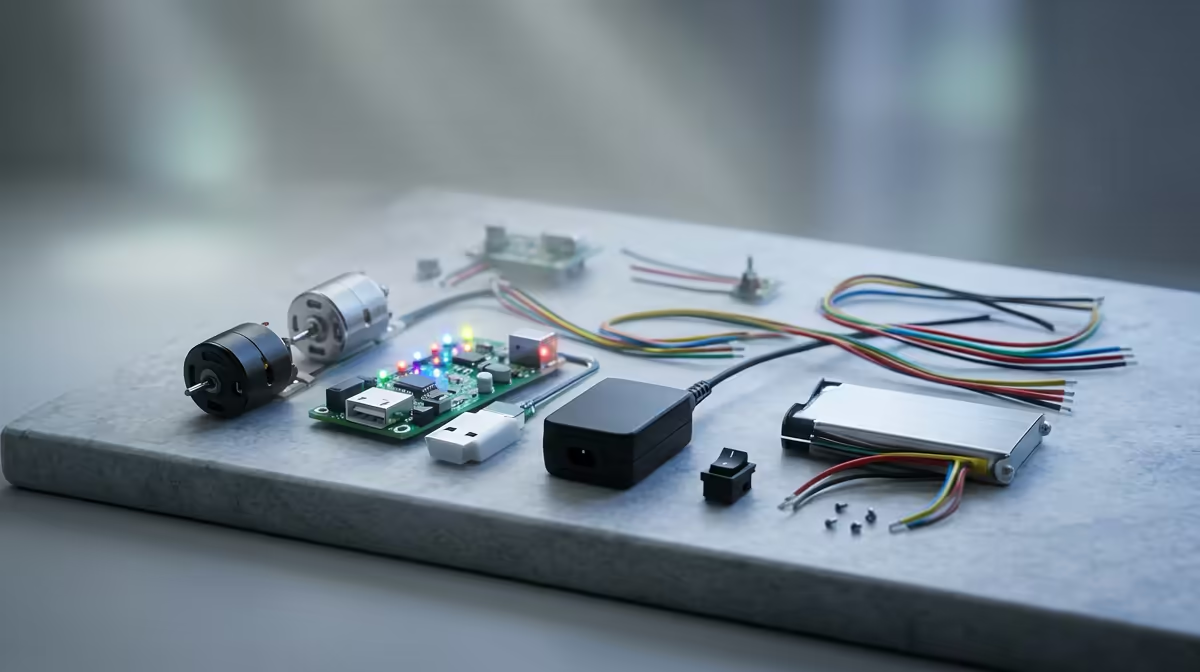
Keep the first build short. A chassis, motors, wheels and one or two sensors is plenty for a first session. Let the child do the clicking and connecting while you guide, and stop while they are still enjoying it rather than pushing through to exhaustion. A finished, working robot at the end of session one is a powerful hook for session two.
Step 3: Start With Visual Blocks, Not Syntax
Now the coding begins, and it begins with blocks. In a Scratch-style editor the child drags coloured blocks into a sequence: move forward, turn, wait, repeat. There is no typing, no semicolons, and no cryptic error message to derail a seven-year-old. They snap pieces together and the robot does what the sequence says.
Crucially, blocks still teach the real concepts. Dragging a repeat block teaches loops. Snapping in an if-block that checks the distance sensor teaches conditionals. A wait block teaches sequence and timing. The child is learning genuine programming logic; the syntax is simply hidden until it would help rather than hinder.
A First Project That Always Lands
Start with an obstacle-avoider. The child programs the robot to drive forward, and when the distance sensor sees a wall, to stop and turn. It is simple to build in blocks, instantly visible when it works, and endlessly tweakable. They will want to make it turn the other way, or reverse first, or speed up, and every one of those tweaks is a coding lesson they asked for themselves.
Step 4: Test, Fail and Fix in Front of Them
The most valuable habit you can model is calm debugging. The robot will turn the wrong way or drive off a table, and that is the lesson, not a setback. Sit with the child, look at the blocks together, and change one thing to see what happens. This teaches that bugs are normal and fixable, which is the mindset that carries a young coder for years.
Keep test runs short and frequent. Run the program, watch the robot, adjust, run again. Fast feedback keeps a child in the loop and builds the instinct to test small changes rather than write a long program and hope.
Step 5: Extend the Challenge as Skills Grow
Once the obstacle-avoider works, raise the ceiling. Add a line-following challenge, then a sound-triggered start, then a simple maze. Each new sensor and rule is a fresh, motivated reason to learn something. When the child starts wanting behaviour the blocks make clumsy, that is your cue to introduce Python on the same robot. The transition feels like a tool upgrade rather than starting over, because the concepts already live in their head.
A few extra accessories, batteries, spare parts and the like, keep sessions smooth and avoid a dead robot stalling momentum, and useful ones sit in our accessories best sellers.
Frequently Asked Questions
What age is right to start a robotics coding kit?
Most Scratch-based kits suit children from around age eight, because block coding removes the reading and typing demands of text code. Younger children can still take part with adult guidance, focusing on the building and simple sequences.
Do I need to know how to code to teach my child?
No. Block-based kits are designed for absolute beginners, and you learn alongside the child. Working through the first projects together, including the debugging, often teaches the parent as much as the kid.
How long until a child moves from blocks to Python?
There is no fixed timeline; readiness shows when a child starts finding blocks limiting for what they want to build. On a kit that supports both, like the mBot2, the move to Python feels like an upgrade rather than a restart because the logic is already familiar.
How many sessions before a child builds something real?
Often the first session. A simple obstacle-avoiding robot is buildable and programmable in one sitting on a good starter kit, and that early win is what keeps a child coming back for the next challenge.
Ready to start your child on a kit that grows from blocks to real code? Browse programmable robotics in our smart home and robotics range and pick a starter that lasts.