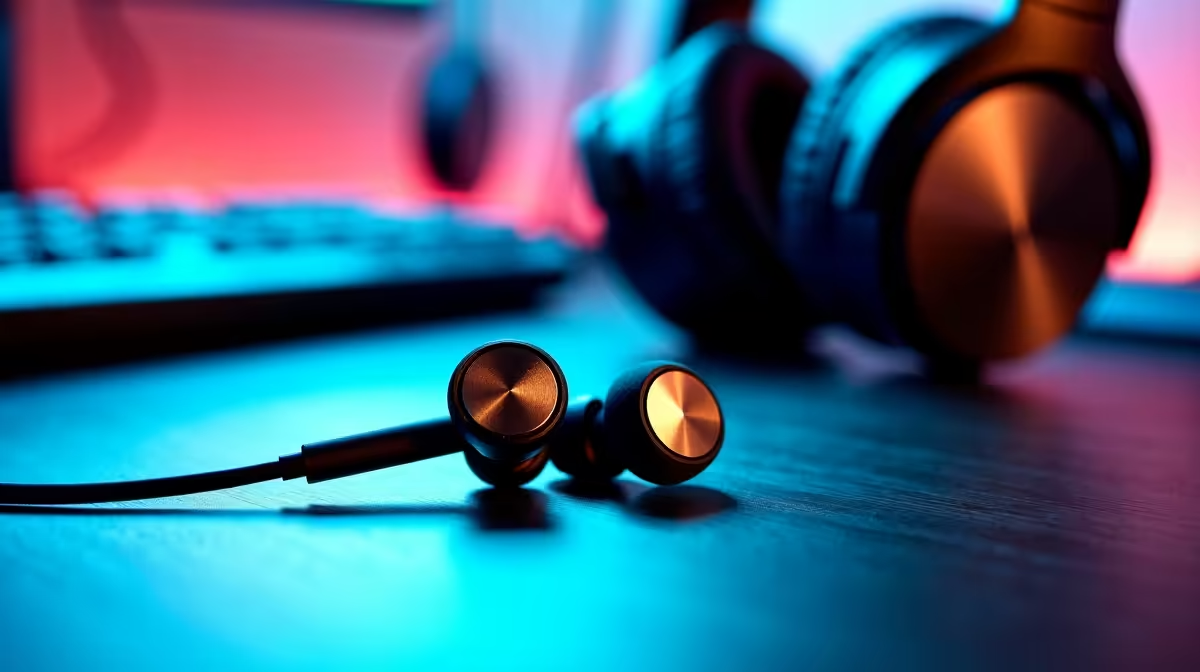
A gaming headset asks one component to do two opposite jobs: capture your voice and reproduce game audio. Tune the drivers for immersive low end and the mic stays mediocre; the mic never gets the attention a standalone unit does. Splitting the gaming headset upgrade into a dedicated microphone for voice and a pair of in-ear monitors for playback lets you optimise each separately, so your stream sounds clean and your ears get accurate detail without one compromising the other.
Quick Answer
Replace the all-in-one headset with two purpose-built pieces: a standalone microphone (USB to start, XLR later) for voice, and a pair of IEMs for playback. Budget roughly R1,500 to R3,000 for a solid entry pairing and scale up from there. The payoff is sharper positional audio for competitive play, better comfort over long sessions, and voice quality that no built-in boom mic matches.
Why Split the Setup at All
The boom mic on a headset sits in a tiny housing with a cheap capsule, because the budget went into the drivers. Even good gaming headsets ship voice quality that is merely acceptable. A dedicated mic captures your voice with far more clarity and body, which matters the moment anyone else is listening, whether that is teammates, a stream, or a recorded session.
On the playback side, IEMs give you sharper directional imaging, which is exactly what competitive shooters reward. They also weigh almost nothing and do not trap heat against your head, so a long session in a warm room stays comfortable in a way over-ear cups do not. The trade is soundstage: headphones feel wider and more open, so if you mainly play immersive single-player titles, weigh that before you switch.
Step 1: Decide USB or XLR for the Mic
Start by choosing your microphone path, because it dictates everything downstream. A USB microphone plugs straight into the PC, needs no extra hardware, and sounds clearly better than any headset boom. It is the right starting point for most people and removes the cost of an audio interface entirely.
XLR is the upgrade path. An XLR mic feeds an audio interface, which gives you finer gain control, room to add a second mic for a co-host, and a clearer ceiling on quality. It costs more up front and adds a box to your desk. The honest advice is to begin on USB and only move to XLR when you have hit a real limit, not because a spec sheet tempted you. The options across both paths sit in the headsets and audio range at Evetech.
Step 2: Pick IEMs With the Right Tuning
For gaming, you want IEMs with a relatively neutral or slightly bright tuning so footsteps, reloads and directional cues stand out instead of drowning in bass. A heavily bass-boosted set feels fun for music but blurs the exact detail competitive play depends on.
Check the connector too. Many quality IEMs use a detachable cable, which means a worn cable is a cheap fix rather than a dead pair. If you also want voice on the go, some sets ship with an inline mic cable, though for desk use your standalone mic handles voice anyway.
Step 3: Add a Boom or Clip Mic Option
If you went USB, mount the mic on a boom arm so it floats near your mouth without eating desk space and stays out of camera shot. Position it slightly off to one side rather than dead centre in front of your lips, which reduces plosive popping on hard P and B sounds.
If you want the lightest possible setup, a small clip-on lavalier paired with the IEMs gets voice working with minimal gear, though a desk mic on an arm will sound fuller and more controlled for streaming.
Step 4: Route Voice and Playback Separately
This is the whole point of the split, so set it up deliberately. Your IEMs handle game and chat playback through the headphone output or your interface. Your microphone handles voice input on its own channel. Because they are independent, you can set monitor volume and mic gain without one affecting the other, which an all-in-one headset never let you do.
In Windows sound settings, confirm the mic is the default input device and the IEMs (or interface output feeding them) are the default output. If you stream, set the mic as your capture source in the streaming app and leave game audio on the system output so the two never collide.
Step 5: Set Levels Once and Test
Speak at your normal playing volume and watch the input meter in your recording or streaming software. Aim for your loudest peaks to land comfortably short of the top of the meter, leaving headroom so a sudden shout does not clip into distortion. Then set IEM volume to a level where footsteps are clearly audible without the master being uncomfortable.
Record a short test clip, play it back through the IEMs, and listen for clarity and any background hum. Catching a problem in a thirty-second test is far easier than discovering it three hours into a stream. The most popular pairings other buyers land on show up in the headset best sellers at Evetech, which is a useful sanity check on what tends to work together.
Frequently Asked Questions
Is a USB mic good enough, or do I need XLR?
A USB mic is genuinely good enough for streaming, calls and recording, and it sounds far better than any headset boom. XLR earns its place only when you want a second mic, finer control, or you have outgrown USB. Start on USB.
Will IEMs give me worse positional audio than a headset?
The opposite, usually. Neutral-tuned IEMs deliver sharp directional imaging that helps in competitive shooters. The one thing headphones do better is soundstage width, which matters more for immersive single-player games than for esports.
What should I budget for the switch?
A solid entry pairing of a USB mic and decent IEMs lands around R1,500 to R3,000. You can spend more for higher tiers, but that range already beats a mid-priced gaming headset on both voice and audio.
Are IEMs comfortable for long sessions?
For most people, yes. They are light and do not trap heat like over-ear cups, so marathon sessions stay cooler. Comfort comes down to getting the right ear tip size, so try the included sizes to seal properly.
Do I still need a boom arm with a USB mic?
It helps. A boom arm keeps the mic near your mouth, off the desk, and out of shot, and it isolates the capsule from desk knocks. A desk stand works too, but the arm gives cleaner placement and frees up space.
Ready to ditch the all-in-one compromise? Build your split setup from the headsets and audio range at Evetech and get voice and playback each doing one job properly.