Is your gaming PC running hotter than a Durban summer day? Before you blame your CPU cooler, the real culprit might be simpler... and cheaper to fix. Many South African gamers unknowingly make common PC airflow design mistakes that choke their components and throttle performance. Let's diagnose the problem and get your machine breathing easy again, so you can focus on clutching that win instead of worrying about your temps. 🌡️
Understanding the Basics of PC Airflow
Before we fix the problems, let's get one thing straight: airflow isn't just about stuffing as many fans as possible into your case. It's about creating a smooth, predictable path for air to travel. Think of it like a wind tunnel. Cool air comes in, absorbs heat from your components (like the CPU and GPU), and then hot air gets pushed out.
The goal is to create consistent air pressure. Most builders aim for positive pressure, where you have slightly more air coming in (intake) than going out (exhaust). This helps push hot air out of every little gap and also minimises dust build-up. Getting this balance right is the first step to fixing most PC airflow issues.
The Most Common PC Airflow Mistakes We See
At Evetech, we've seen thousands of builds, from budget rigs to absolute beasts. And a surprising number of them suffer from the same simple, fixable PC airflow mistakes. Are you guilty of any of these?
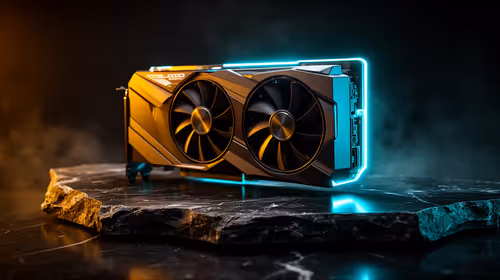
Mistake 1: Ignoring Fan Direction (Intake vs. Exhaust)
This is the big one. Slapping fans in without checking which way they blow is a recipe for a hotbox. Most fans have arrows on the frame indicating airflow direction. If not, a simple rule is that air flows towards the "ugly" side—the side with the plastic frame supporting the motor.
A classic, effective setup is:
- Intake: Fans at the front and/or bottom of the case, pulling cool air in.
- Exhaust: Fans at the back and/or top, pushing hot air out.
Hot air naturally rises, so having top fans as exhaust just makes sense. A modern case like the Cooler Master E301 Mini Tower is designed with these principles in mind.
Mistake 2: Cable Management Chaos
Ja, we get it... cable management can be a pain. But that "kabeljou" of wires behind your motherboard tray isn't just ugly; it's actively blocking air. A tangled mess of SATA and power cables can create pockets of stagnant, hot air and disrupt the clean path from your intake to your exhaust fans. Many modern Gamemax computer cases come with built-in shrouds and cable-tie points to make this much easier.
Pro Airflow Tip ⚡
Want to find the dead spots in your airflow? Carefully (and safely!) light an incense stick and hold it near your PC's intake fans. Watch where the smoke travels inside the case. If it swirls around in one spot or doesn't reach the exhaust fans, you've found an airflow bottleneck that needs attention.
Mistake 3: The Wrong Case for the Job
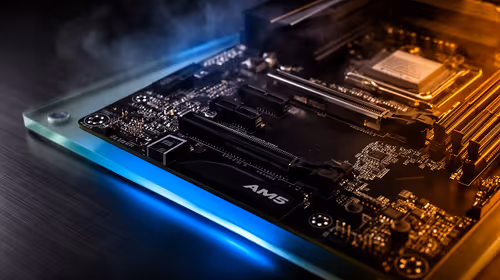
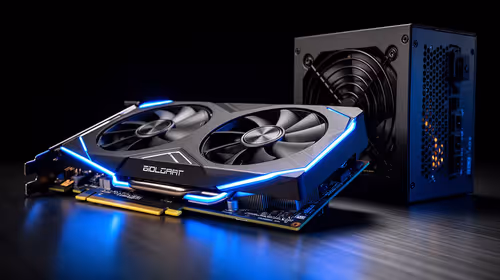
That slick-looking case with the solid tempered glass front panel might look amazing, but if it only has a tiny slit for air intake, your high-end components are going to suffocate. When choosing a case, you need to match its thermal design to your hardware.
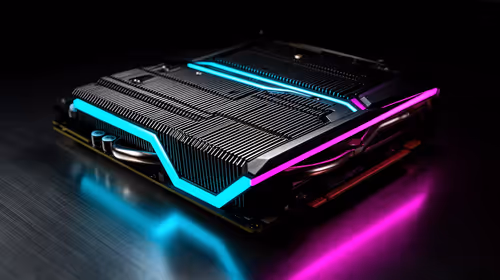
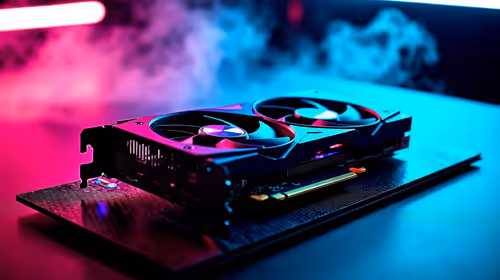
A power-hungry RTX 4080 and a Core i9 CPU generate a massive amount of heat. They need a case with a mesh front panel and plenty of fan mounts to breathe. Squeezing them into a compact, restrictive case is a classic PC airflow design mistake. Thankfully, the Cooler Master's range of cases offers excellent options for both high-airflow and aesthetic-focused builds.
Simple Steps to Improve Your PC's Airflow Today
Fixing your PC airflow design doesn't always require buying new parts. A little bit of maintenance can make a world of difference.
Start by powering down and cleaning your PC. Dust is a great insulator, which is the last thing you want. Clean out the dust filters on your intakes—they are your first line of defence. A can of compressed air can dislodge stubborn dust from heatsinks and fan blades. While you're in there, take 20 minutes to tidy up those cables. You'll be surprised at the difference it makes. ✨
If you've done all this and your temps are still high, it might be time to admit your current chassis is the bottleneck. An upgrade to a modern, airflow-focused case is often the single biggest improvement you can make.
Ready to Chill Out? Fixing your PC airflow can be a rewarding DIY project. But if your case is the real bottleneck, a modern upgrade is the ultimate solution. Explore our full range of computer cases and find the perfect chassis to keep your rig cool, quiet, and performing at its peak.