
Clean Gaming Keyboard: Guide for Dusty & Humid Conditions
Clean gaming keyboard quickly and safely in dusty or humid conditions with step-by-step tips, tool checklist, and maintenance routines to prevent corrosion and switch failure. 🧼💨
Read moreStreaming studio setup: a practical 2025 guide to pro lighting, camera and audio choices that lift stream quality, reduce echo, and grow viewership ✅🎙️

So, you want to be the next big ZA streamer? Whether you’re grinding ranked lobbies in Cape Town or hosting variety shows from Jozi, raw talent only gets you so far. Viewers stay for personality, but they leave for bad audio and grainy video. Building a professional streaming studio setup doesn't require a Hollywood budget, but it does need smart choices. Let’s upgrade your production value. 🚀
Here is the golden rule of content creation: viewers will forgive bad video, but they will click away instantly if your audio is terrible. Before you worry about 4K cameras, you need to sort out your sound.
Your headset mic might be fine for Discord comms with the lads, but for a broadcast, you need richness and clarity. Start by investing in standalone microphones. A USB condenser mic on a boom arm gets the hardware off your desk, reducing thuds and keyboard clatter while making your voice sound radio-ready.
To monitor your own levels without causing a feedback loop, you need isolation. Grab a pair of closed-back headphone headsets. These keep your game audio sealed in your ears so it doesn't bleed back into your microphone, ensuring your stream mix remains crisp.
You don't need a R20,000 DSLR to look professional. Most modern webcams are capable of great quality, provided you feed them enough light. In fact, a budget camera with great lighting looks better than an expensive camera in the dark.
Avoid relying solely on your ceiling light, which casts unflattering shadows under your eyes (the "raccoon look"). You can find comprehensive streaming essentials like dedicated ring lights or soft-box key lights. Position your main light slightly above eye level and off to the side to give your face depth and definition.
Don't point your light directly at your face like a headlight. Bounce it off a white wall or use a diffuser cap. This creates a softer light that is easier on your eyes during long streams and smooths out skin tones on camera.
Your streaming studio setup is also your cockpit. You need to control the game, the chat, and your broadcast software simultaneously.
Your primary interface is your screen real estate. A single screen is a nightmare for streamers. You need dual PC monitors—one high-refresh-rate panel for your gameplay, and a second vertical or standard display for OBS, Twitch chat, and stream alerts.
When the action gets intense, precision is non-negotiable. A lightweight gaming mouse ensures you hit those flicks while talking to chat. However, audio leakage is a concern with peripherals too. While clicky blue switches feel great, they are loud. You don't need to overspend immediately; finding the cheapest gaming keyboard in South Africa that offers decent membrane or linear mechanical keys is a smart start to keep background noise down.
For variety streamers who switch between FPS titles and relaxed RPGs or racing sims, having reliable gaming controllers ready to go allows you to lean back and change the vibe of the stream instantly.
Streaming is live, but growth happens on YouTube and TikTok. To grow your channel, you need to record your streams locally at high quality to edit later.
Recording 1080p or 4K footage requires fast write speeds. An old mechanical hard drive might struggle to keep up, causing skipped frames in your recording. Install dedicated solid state drives specifically for your VOD storage. This ensures your footage is buttery smooth when you drag it into your editing timeline. ✨
Ready to Go Live? Building your dream stream setup is a journey, not a sprint. Whether you need a crystal-clear mic or a second monitor to read chat, we've got the gear to make you shine. Shop our full range of Streaming Gear and start broadcasting your passion to the world today.
Use a three-point lighting approach: key, fill, and backlight. Combine softbox or LED panels with diffusers for even skin tones and reduced shadows.
Mirrorless cameras or high-end webcams deliver the best image. Look for clean HDMI output and low-light performance for studio setups.
USB mics are fine for beginners, but XLR with an audio interface gives superior clarity and control for a professional streaming audio setup.
Apply acoustic panels, bass traps, and rugs. Strategic acoustic treatment improves clarity and is essential for a professional streaming audio setup.
Use 30fps or 60fps at your stream resolution, set shutter around 1/60 to 1/120, and use auto white balance or a preset for consistent color.
Evenly light the green screen with two soft lights and keep subject separate from the backdrop. Balanced lighting avoids spill and improves keying.
Yes. Prioritise good audio, invest in a midrange camera or webcam, and use LED panels and basic acoustic treatment for a high-impact budget streaming studio setup.
Clean gaming keyboard quickly and safely in dusty or humid conditions with step-by-step tips, tool checklist, and maintenance routines to prevent corrosion and switch failure. 🧼💨
Read more
Best gaming keyboard features to prioritize when building a high-end setup: mechanical switches, low latency, hot-swap, RGB, macros, durability and ergonomics 🎮⌨️
Read more
Custom actuation point keyboard setup guide: learn to set per-key actuation on your analog gaming keyboard for faster, precise inputs and better control 🎮⚙️
Read more
Cable management for home entertainment helps you eliminate cable clutter quickly and safely. Learn routing, concealment, and product picks to tidy your setup fast 📺🔌
Read more
conference room setup Microsoft Teams Zoom: Upgrade AV, camera, mic, and network to ensure seamless meetings, clear audio, and crisp video 🎯🔧
Read more
• Audit setup • Link accounts • Configure ViewBoard • Test workflows Integrate Google Workspace with ViewSonic ViewBoard to enable secure SSO, calendar and Drive sync, and smooth collaborative whiteboarding 🔗📋
Read more
Discover webcams that automatically adjust light and color for crystal-clear video calls 🎥✨. Boost your streaming quality today!
Read more
Discover webcams that blend into your workflow 🎯 Capture moments while you work, stream, or create. Upgrade your setup with smart, multitasking tech!
Read more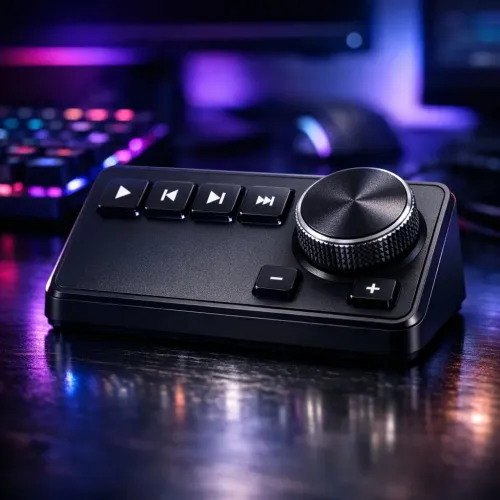
Dedicated media keys give streamers one-touch control to mute, switch scenes, clip highlights, and adjust audio — cutting task time and boosting consistency 🎛️⚡
Read more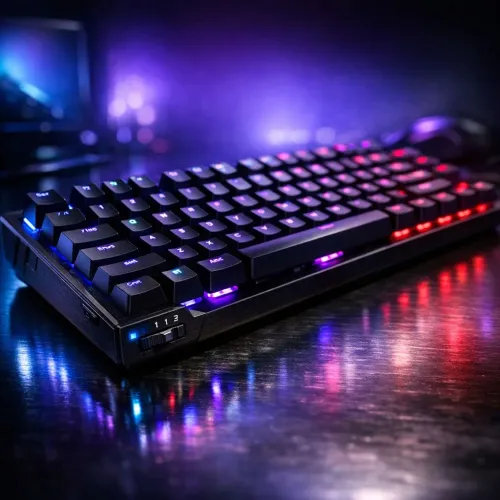
Checklist: 1) Map keyboard actuation depth to genres 2) Step-by-step adjust settings 3) Test and tune for performance 🎮⌨️ Learn keyboard actuation depth for FPS, MOBA, RTS, and RPG to improve response and accuracy.
Read more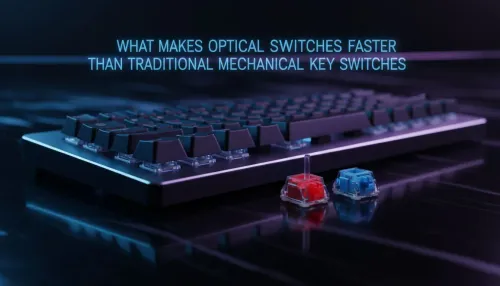
Optical switches deliver faster actuation and lower latency than traditional mechanical switches, using light-based triggers and minimal debounce to boost gaming and typing performance ⚡⌨️
Read more Clean gaming keyboard quickly and safely in dusty or humid conditions with step-by-step tips, tool checklist, and maintenance routines to prevent corrosion and switch failure. 🧼💨
Read more