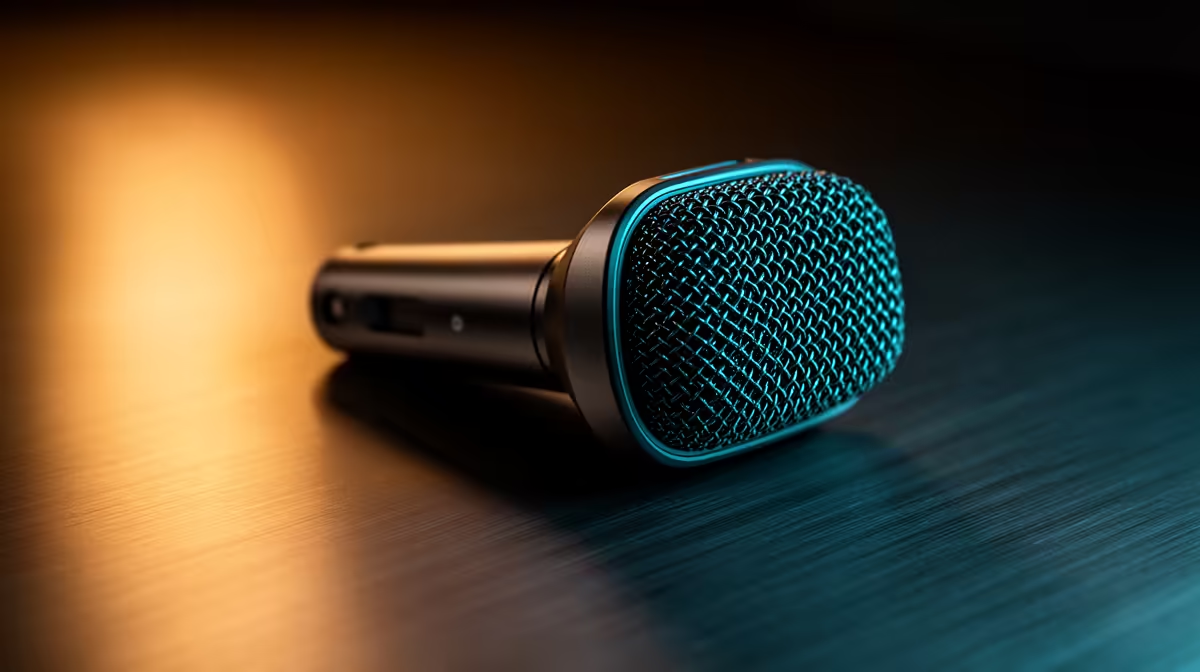
A quiet microphone can be caused by distance, the wrong input, low hardware gain, a Windows level, application processing or a connection that does not power the mic correctly. Set the physical signal first, then move through Windows and the app. Boost is the last tool because it raises noise with voice.
Quick Answer
Select the exact microphone, place it at the maker's working distance and speak across rather than into a side-address capsule. Set hardware gain so normal speech peaks cleanly without clipping. Put Windows input level at a sensible high value, then tune the app's input control while watching its meter. Add a small boost only if the clean path remains too quiet.
Use Evetech's peripheral best-seller list and gaming-accessory range to compare headsets, interfaces and microphones. Check whether a headset offers a physical gain dial; many provide only mute and volume for playback.
Choose the Correct Input
Open Windows Settings, System, Sound, Input and select the named microphone rather than Default. Speak and watch the input meter. A laptop array, webcam mic and headset can all appear together.
In Discord, OBS, a game or meeting app, select the same device by name. Default can change when a controller, monitor or USB dock reconnects. Disable unused inputs during diagnosis only when you know how to restore them.
Check privacy permissions if the meter never moves. Windows can allow the device while blocking a desktop or Store app category.
Fix Placement Before Gain
Microphone direction matters. A side-address condenser captures from the marked face, while a headset boom usually speaks from one side or end according to its design. Read the diagram.
Move a headset boom one or two finger widths from the corner of your mouth and outside the direct breath stream. A desktop dynamic mic often works best close. A sensitive condenser can sit farther away but captures more room and keyboard.
Use a pop filter or foam windscreen for plosives. Keep the keyboard behind the microphone's least sensitive direction where the polar pattern supports it.
A distant mic with huge gain records room echo and fan noise. Moving it closer improves voice-to-noise ratio before any software filter.
Set Hardware Gain
On a USB mic, audio interface or wireless receiver, turn the gain down, speak at your loudest expected level and raise it until peaks stay below clipping. A red indicator or flat-topped waveform means too much.
Dynamic XLR microphones can need substantial clean preamp gain. Condenser microphones may require 48V phantom power, but apply it only when the mic and interface support it. A 3.5mm headset mic uses plug-in power through the correct TRRS or split connection, not interface phantom power.
Do not connect or disconnect XLR equipment with high monitor volume. Turn gain and output down first. A damaged cable or wrong adapter can produce low level, hum or one-sided audio.
Set Windows Input Level
Open the microphone's properties and set Input volume. A range around 70 to 100 can be a starting point, but there is no universal 70-to-80 rule. USB devices expose level controls differently, and some hardware gain stages make 100 appropriate.
Use Listen to this device only for a short test because software monitoring adds delay and can create feedback. Prefer direct monitoring from the interface when available.
Under classic Sound, Recording, Microphone Properties, Levels, selected analogue devices expose Microphone Boost. Leave it at zero while setting placement and hardware gain. Boost often raises preamp hiss.
Disable audio enhancements for the clean baseline. Noise suppression and automatic gain can change the meter and pump the background.
Tune the Application
Set the same input in the application. Disable automatic input sensitivity for the test and watch its meter during quiet, normal and loud speech. Set the threshold below normal words but above room noise.
Application gain should not repair a clipped Windows or hardware signal. Once clipping occurs before the app, lowering the app fader only makes a distorted waveform quieter.
In OBS, aim for healthy normal speech with loud moments below 0dBFS. Leave headroom for laughter and excitement. Exact targets depend on the rest of the stream mix.
For voice chat, test with a friend or local recording. The self-test path can use different processing from a live call.
Add Processing in Order
Start with a high-pass filter only when low rumble needs removal. Use a gentle noise suppressor for steady fans. Set an expander or gate after the voice level is stable. Add compression to control dynamic range, then a limiter for rare peaks.
Every processor can damage speech. Aggressive noise suppression creates watery consonants. A hard gate cuts word beginnings. Heavy compression raises room sound between phrases.
Apply one filter and record the same sentence. Keep the dry recording so you can compare. Do not stack vendor AI suppression, app suppression and broadcast software at once.
Diagnose a 3.5mm Headset
Confirm whether the PC uses one four-pole combo jack or separate headphone and microphone sockets. A headset with a TRRS plug needs the correct splitter for two desktop jacks. OMTP and CTIA wiring can differ on old or unusual hardware.
Push the plug fully into the socket. A half-seated connector can make the mic faint or route headphone audio into the input. Test the rear motherboard jack when a front-panel cable is noisy.
Choose Headset when the audio driver asks what was connected. Reinstall the motherboard's supported audio driver if jack detection is broken, not a random driver pack.
USB adapters vary in mic power and noise. A cheap dongle can be quieter or louder than the motherboard but should be measured, not assumed.
Diagnose USB and Wireless Mics
Connect directly to the PC for the first test. Remove a hub or dock and try another port. Set a supported sample rate shared by Windows and the application to avoid failed exclusive-mode paths.
Wireless headsets can switch to a low-bandwidth call profile under Bluetooth. Their mic quality and level can change when the microphone activates. Use the proprietary receiver for the intended gaming voice path where supplied.
Charge the device and update firmware only for a relevant stable fix. Keep the receiver close and away from busy USB 3 equipment.
Use a Local Recording
Record thirty seconds of silence, normal speech and loud speech in a simple application with processing off. Inspect the waveform and listen on headphones at a safe playback level.
If silence is noisy before boost, improve placement, cable, preamp or room. If normal speech is tiny but loud speech stays clean, add gain earlier in the path. If peaks flatten, reduce hardware gain.
Repeat after each change with the same distance and sentence. A meter plus recording gives better evidence than a game teammate saying it sounds low during one network problem.
Know When Hardware Is Suspect
Test the microphone on another supported device and test a known-good mic through the same input. If the fault follows the mic, inspect its cable, capsule and mute controls. If it stays with the port, investigate the interface, jack or driver.
Intermittent level when moving a cable suggests a broken conductor or connector. Stop flexing it and replace the detachable cable with the correct wiring.
A mic that became quiet after a spill, impact or electrical fault needs service. Do not hide a failing capsule under 30dB of boost.
FAQ
Should Windows microphone level always be 80 per cent?
No. Device gain structures differ. Set hardware first, then choose a Windows level that preserves clean headroom.
Why does microphone boost add hiss?
It amplifies the mic signal and the noise already present in the analogue path.
Can noise suppression fix a distant mic?
It can reduce steady background noise, but moving the mic closer improves voice-to-room ratio at the source.
Select the exact input, improve mic distance and hardware gain first, then set Windows and app levels from a clean local recording before adding boost.