Is your current PC chassis feeling a bit cramped? Maybe those scorching South African summer temperatures are pushing your hardware to the limit. To transfer PC components to a new case might seem daunting... but it is a rewarding way to refresh your setup. Whether you want better airflow or a modern aesthetic, this guide will help you move your rig safely and efficiently. 🔧
Preparing for the Hardware Migration
Before you touch a single screw, you need a clear workspace. Static electricity is the enemy of your motherboard. Work on a wooden table rather than a carpet. You will need a magnetic Phillips head screwdriver and some cable ties for a clean finish.
If you are still deciding on your next chassis, browse the latest computer cases to find one that fits your motherboard size. Check if your new home supports ATX, Micro-ATX, or Mini-ITX layouts before starting.
Step 1: Out with the Old
Start by switching off your PSU and unplugging everything. Take a photo of your motherboard connections... this helps when you are plugging everything back in later. Carefully remove the graphics card first as it takes up the most room.
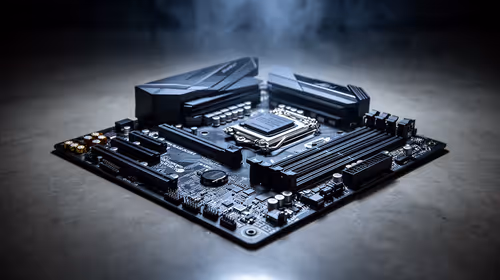
Next, disconnect the power cables and SATA drives. If you are looking for premium build quality and silent operation, many enthusiasts choose Fractal Design PC cases for their next build. Once the cables are clear, unscrew the motherboard and lift it out gently by the edges.
Step 2: Prepping the New Chassis
Unbox your new case and remove the side panels. Check the motherboard standoffs. These small brass spacers must align perfectly with the holes in your motherboard. If you miss one, you risk a short circuit.
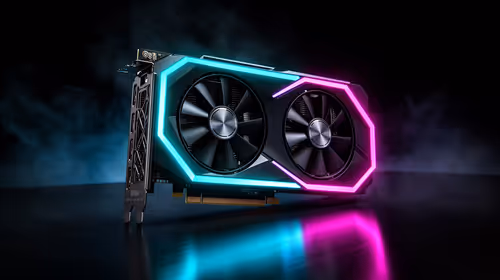
For those who love RGB lighting and aggressive styling, Gamdias gaming cases offer excellent pre-installed fan configurations. Ensure the I/O shield from your old case is snapped into the new one before you mount the board. It is a common mistake that requires taking everything apart again if forgotten.
Thermal Paste Pro Tip ⚡
While your components are out of the case, it is the perfect time to re-apply your thermal paste. Dust out your CPU cooler and GPU fans with compressed air. This small bit of maintenance can drop your temperatures by several degrees, especially in our warm climate.
Step 3: The Big Move
Lower the motherboard into place and secure the screws. Do not over-tighten them... a snug fit is enough. Slide your Power Supply Unit (PSU) into its bay and begin routing your cables through the back grommets.
If you are on a strict budget after buying new internal parts, you can find high-quality budget-friendly gaming cases under R1500 that still offer great cable management features. Connect the front panel headers—like the power button and USB ports—using your motherboard manual as a map. Finally, reseat your GPU and give everything a final check. 🚀
Testing Your New Build
Plug in your monitor and power cable for the first boot. If everything lights up and you reach the BIOS, you have successfully completed the transfer. Double-check that all fans are spinning in the right direction to optimise your internal airflow. ✨
Ready to Upgrade Your Build? A new case is the best way to improve your PC’s lifespan and looks. Whether you need maximum airflow or a sleek glass finish, we have the right fit for your desk. Explore our massive range of PC cases and find the perfect home for your components today.