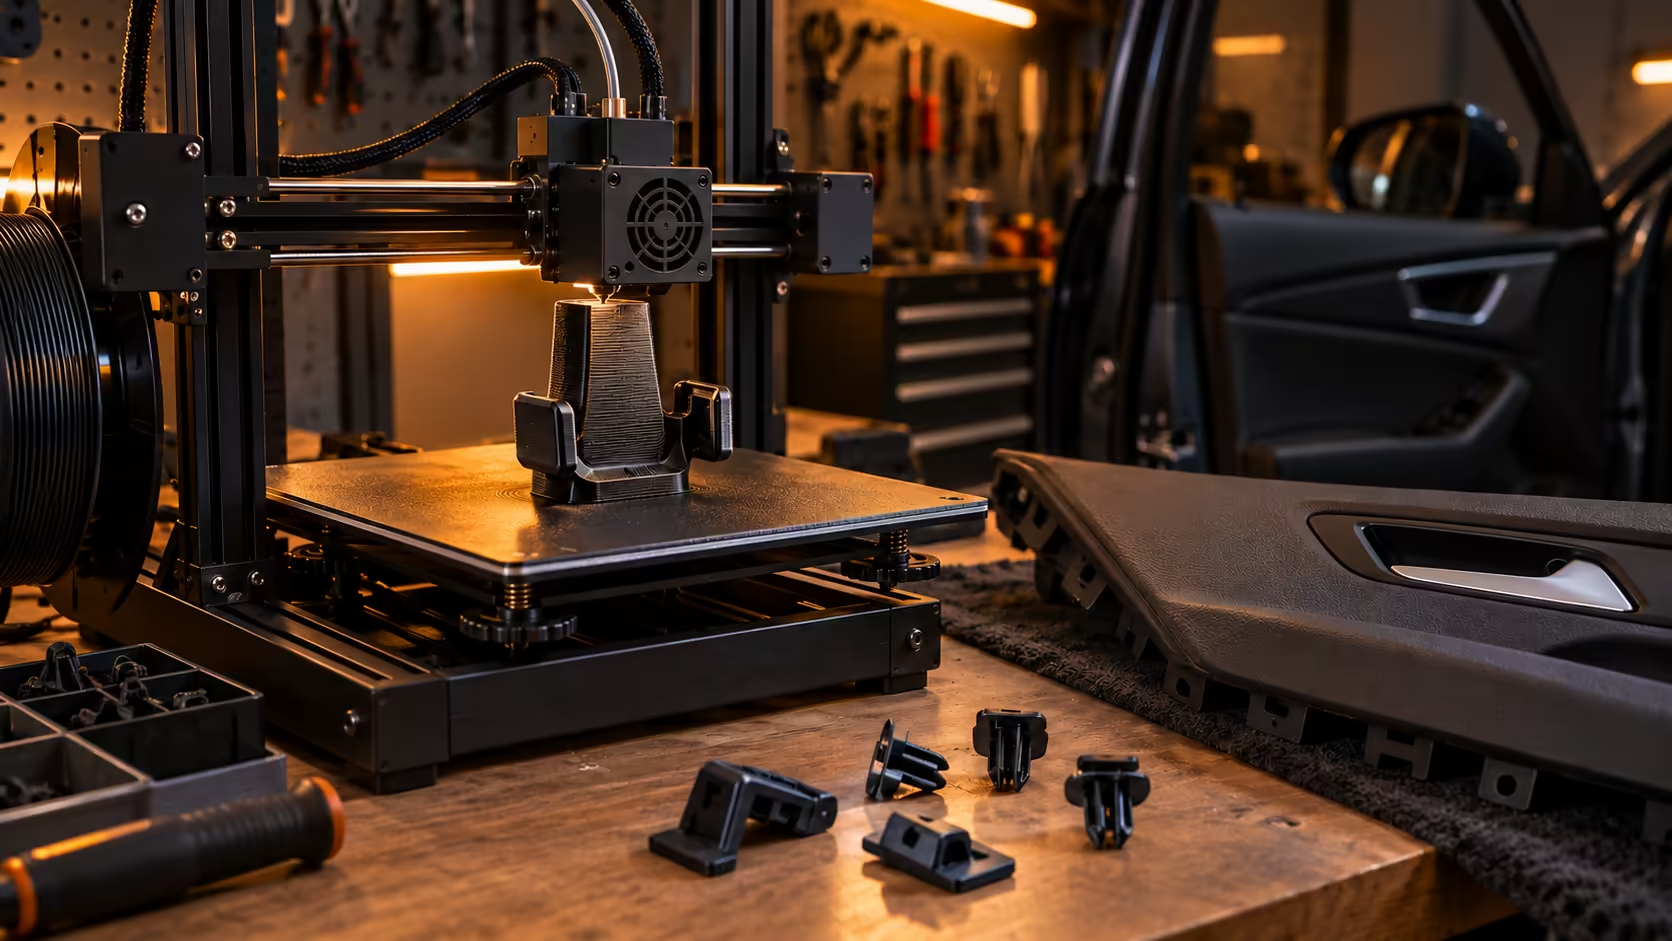
Anyone who has hunted for a trim clip on an older bakkie knows the feeling. The dealer shrugs, the local shops have never heard of the part, and the scrapyard trip starts to look like a whole morning. A 3d printed car parts project can solve that from your own desk, but only if you know which parts are safe to print and which ones must never leave the factory-made category.
Quick Answer
Yes for clips, trim, mounts and brackets, but never for brakes, steering or seatbelts. A closed car in a South African summer can pass 60 degrees Celsius inside, which softens PLA, so PETG from R219 a spool or ABS at R299 is the safer choice for anything that lives in the cabin.
🔧 Which Parts Are Safe to Print
Start with parts that sit inside the cabin, carry no load and fail harmlessly. Trim clips, cup holder inserts, phone and dashcam mounts, vent covers, boot organisers and cable clips all fit that profile. They are also the parts older cars and bakkies struggle to find locally, which is where a printer earns its keep.
Older cars make the strongest case. A fifteen-year-old hatchback or a bakkie with brittle plastic trim can run out of new parts on the shelf, and the other option is a second-hand part with an unknown history. A printed replacement is a practical stopgap while you keep hunting for the original.
Good first prints
Cable clips and cup holder inserts are the easiest starting point, because a bad fit costs you a few minutes rather than a trip to the workshop. Dashcam and phone mounts come next, and they belong in PETG rather than PLA because they sit in the sun for hours at a time.
Measure the original before you design anything. Use a digital caliper to record the clip's width, depth and the position of each tab, because a 1 mm error in a tab is the difference between a snug fit and a part that rattles off the trim. Most trim clips are snap fits, so the tab has to flex in and lock. That means the printed version needs to be dimensionally close, not perfect, and a test fit will tell you quickly whether it is close enough.
Parts to never print
Brakes, steering, suspension, seatbelts, airbag zones, fuel system parts and high-heat engine parts are off limits, full stop. A printed bracket that lets go at speed is not a repair. It is a crash waiting for a date. Use a one-line test: if the part holds a wheel, a seatbelt or a fuel line in place, leave it to a workshop.
The same rule covers anything in an airbag deployment path. A printed piece that breaks loose during a deployment becomes a hazard to the people in the car, and no amount of clever design changes that. If you are unsure whether a trim piece sits in that path, do not print it.
🔥 Why Heat Decides the Material
A dashboard runs hotter than the cabin air around it, and a closed car in the summer sun can pass 60 degrees Celsius inside. That single number rules out PLA for anything inside the car, because PLA starts to soften from about 60 degrees.
PETG holds to roughly 80 degrees and ABS to roughly 100 degrees. ASA behaves like ABS but resists UV, which matters for trim that sits in direct Highveld sun all year round.
For most cabin parts PETG is the default. Soleyin Basic PETG 1kg costs R219 and ELEGOO Rapid PETG 1kg costs R299, and you can compare both in the filament range on Evetech. Creality ABS 1kg is R299 for anyone with an enclosed printer who wants the extra temperature margin.
Where the cabin gets hottest
The dashboard and the rear parcel shelf take the worst of the sun, while door pockets and the area behind the rear window come a close second. Park in shade where you can, and use a windscreen sunshade on the Highveld, because it cuts the direct sun that reaches the dashboard first. Put every part that lives in those zones in PETG, and keep PLA for things that never see the sun, such as a desk organiser or a workshop jig.
📏 Measure, Test and Then Print
Before you open the slicer, print a small test section covering a few millimetres of the clip's critical edge, then fit it on the car. Only after that should you commit to the full part. A test section takes minutes while a full print can run for hours, so the test is the cheaper mistake. For trim clips, a 0.2 mm layer height is a sensible starting point, because it gives a clean finish without the long print times of finer settings. Print the part flat on the bed, and add a brim in your slicer if the corners lift during the first layers.
Printer size is the next decision. The Creality Ender-3 V3 KE has a 220x220x240mm build volume and costs R5,799, which covers most clips and brackets. The Creality K1C 2025 is enclosed at 220x220x250mm and costs R12,599, making it the machine to choose for ABS, because ABS and ASA warp and print best with an enclosure and ventilation. For a larger bakkie bracket, the Creality K1 Max gives you a 300x300x300mm build volume for R13,999.
If you are starting from zero, browse the 3D printer range and match the build volume to the largest part on your list. Compare the three machines side by side, then budget against the prices above.
Frequently Asked Questions
Can I 3D print a seatbelt buckle or mount?
No. Seatbelts sit on the never-print list, and a home-printed part has not been tested or certified to take crash loads.
Is PLA fine for a dashboard mount?
Not in a South African summer. PLA starts to soften from about 60 degrees Celsius, and a closed car can reach that inside, so use PETG for anything on the dashboard.
Which filament should I start with?
Start with Soleyin Basic PETG at R219 for 1kg, the cheaper of the two PETG spools mentioned above, and it suits most trim and mounts. Move to ABS only once you have an enclosed printer.
Do I need an enclosed printer for ABS?
It is the safer route. ABS and ASA warp and give off fumes, so print them in an enclosed machine such as the Creality K1C 2025 at R12,599, in a ventilated room.
Can a printed part ever be road-legal?
No printed part should be treated as road-legal or certified. Use home-printed trim and mounts for non-critical parts, and buy anything structural from a workshop or a proper supplier.
How do I know a test fit is good?
A good test fit clicks into place with light pressure and holds without rattling when you tap the panel. If it needs force to seat, reprint the test section a fraction smaller on the critical edge, then check again before printing the full part.
What if a printed part cracks after a few months in the sun?
Stop using it on anything that carries load, and reprint in PETG with thicker walls. A crack in a cup holder insert is an annoyance, but a crack in a mount is a reason to swap in a new part straight away.
Ready to print your own trim?
Browse Evetech's 3D printers and PETG filament, match the printer to your largest part, and start with a test section before the full job.