A home studio audio setup that actually sounds professional comes down to one signal chain, repeated correctly: a good microphone into a clean interface into accurate headphones. Get those three links right and a spare bedroom in Durban or a converted garage in Pretoria can produce vocals, podcasts and voiceovers that hold up against a commercial room. The trap most first-time creators fall into is buying flashy gear in the wrong order. This is the order that works.
Quick Answer
For most South African creators in 2026, the core chain is an XLR dynamic microphone, a two-channel interface such as the Focusrite Scarlett 2i2 4th Gen, and a pair of flat-response studio headphones. Add a roll of acoustic treatment and a boom arm, and you have a setup that records clean, broadcast-ready audio.
Start With the Microphone, Not the Mixer
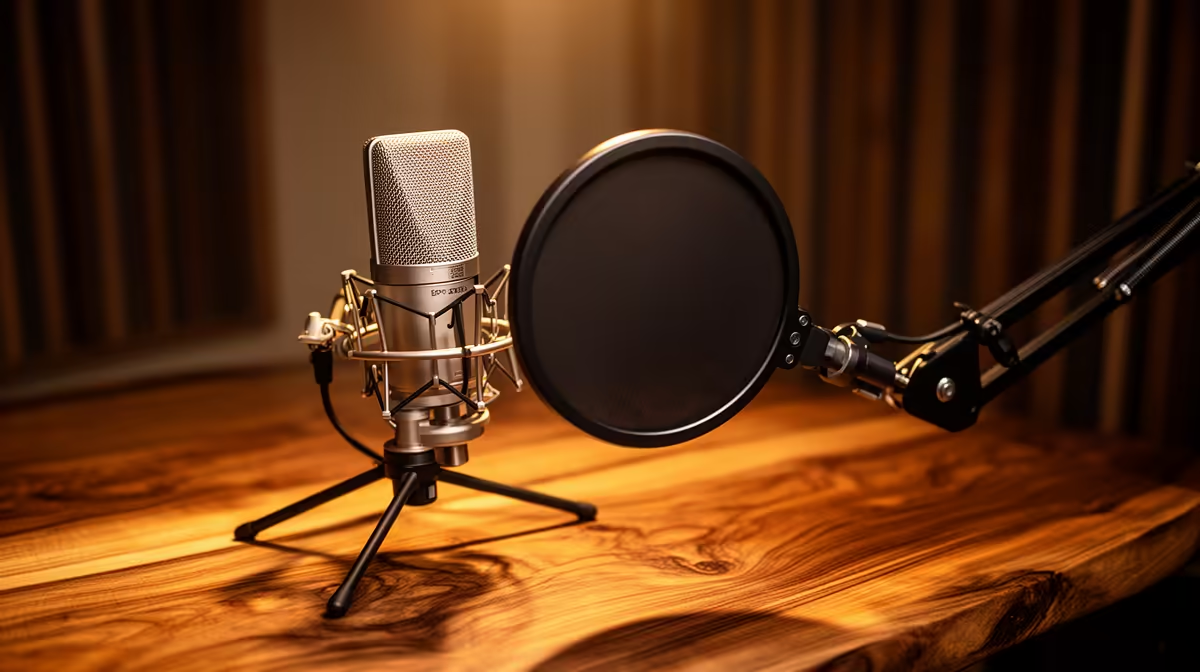
The microphone is the part that decides whether your audio is good before any software touches it. For spoken word and untreated rooms, a dynamic XLR microphone is the safer choice over a sensitive condenser, because it rejects more of the room reflections, fan noise and traffic that a home space is full of. A condenser captures more detail, but in a bare room that detail is mostly the room, not you.
Position matters as much as the mic. Speak across the capsule rather than straight into it, keep your mouth a fist or so away, and the difference is night and day. If you want the convenience of a single cable, a USB microphone still works, but the moment you outgrow it you replace the whole thing rather than just adding a better mic. XLR lets each link of the chain improve independently. Browse the headphones and headsets range at Evetech when you reach the monitoring stage, since the right pair is what lets you hear problems before your audience does.
The Interface Is the Quiet Workhorse
The interface turns your XLR microphone signal into something your computer understands, and it is where a lot of perceived recording quality lives. The Focusrite Scarlett 2i2 4th Gen is the reference choice at this tier for good reason. It carries two preamps with a wide gain range, enough to drive even notoriously quiet dynamic microphones to a healthy level without a separate inline booster, and it delivers a very low noise floor so your recordings stay clean at high gain.
Why Two Channels, Not One
A two-channel interface costs little more than a single-input model but gives you room to grow. You can add a second microphone for a co-host, record a vocal and an instrument together, or keep a backup mic ready. Buying the single-channel version to save a small amount is the most common false economy in a first studio.
Direct Monitoring Matters
The 2i2 lets you hear yourself through the interface in real time, with no delay, by routing your microphone straight to the headphone output. Without this, you hear yourself a fraction of a second late through the software, which is distracting enough to ruin a take. It is a small feature that you notice the instant it is missing.
Headphones and Monitors: Hear the Truth
Studio headphones are tuned to be flat, meaning they do not flatter your audio the way consumer headphones do. That honesty is the point. You want to hear the harsh sibilance, the low hum and the uneven levels while you can still fix them, not after you publish. Closed-back headphones also stop your playback bleeding back into the microphone during recording.
Studio monitors, the powered speakers, are the next step up once your room is treated, but in an untreated space they mostly play back the room rather than your mix, so headphones come first. To find closed-back options suited to long recording and editing sessions, the top-selling headsets at Evetech are a reliable shortlist of what other local creators are actually using.
Treat the Room Before You Spend More
The single highest-value upgrade after the core chain is not more gear, it is soft furnishings. A rug, curtains, a duvet on the wall behind you and a bookshelf full of books all soak up the reflections that make home recordings sound boxy. You can spend thousands chasing a cleaner sound in software, or you can deaden the room first and let the gear you already own do its job. Treat the room, then judge whether you still need anything else.
Cabling, Stands and the Details That Matter
A few inexpensive additions complete the chain. A boom arm lets the mic float at mouth height rather than picking up desk vibrations through a stand. A cable labelled as low-noise or star-quad construction reduces interference over longer runs. Velcro cable management keeps the setup tidy enough that you do not pull the interface off the desk mid-session. None of these cost much, but each prevents a specific failure that interrupts a take. Build the core chain correctly, then tighten the details as budget allows.
Frequently Asked Questions
Is USB audio good enough, or do I need XLR?
A modern USB microphone is genuinely good for calls, casual streaming and getting started. XLR into an interface pulls ahead when you want to upgrade one link at a time, run more than one mic, or push for the cleanest possible signal. For a serious creator, XLR is the chain that grows with you.
Do I really need a dynamic mic over a condenser?
In an untreated South African home, usually yes. A dynamic mic ignores far more of the fan, traffic and echo around you. Once your room is properly treated, a condenser rewards you with more detail, but treat the room first.
How much should the interface cost relative to the mic?
Roughly balanced. A solid interface like the Scarlett 2i2 4th Gen paired with a good dynamic mic is the sweet spot. Spending heavily on the mic and pairing it with a noisy interface throws away the quality you paid for.
What is the one thing beginners skip that they regret?
Room treatment. People buy a better microphone hoping to fix echo, when a few soft furnishings would have solved it for a fraction of the cost. The room is part of the signal chain whether you treat it or not.
Can I start with just the mic and interface and add the rest later?
Yes, and you should. Start with the microphone and interface, monitor on whatever closed-back headphones you already own, and add proper studio headphones and treatment as the budget allows. Building the chain in stages is smarter than buying everything at once.
Build the chain in the right order: microphone, interface, then accurate headphones. Start by comparing closed-back options in the headphones and headsets range at Evetech so you can hear exactly what your setup is doing.