So, you’ve finally set up your projector. You're dreaming of massive, 120-inch Helldivers 2 sessions or watching the Springboks dominate on a screen that fills the entire wall. But the reality is… a bit disappointing. The colours look washed out, and the image is dim.
Don't pack it away just yet. You can optimize your viewing experience with a few simple, expert-level tips that make a world of difference. Let's get your big-screen dream looking as epic as it should. ✨
Master Your Placement for a Perfect Picture
Before you even touch the settings menu, getting your projector's physical position right is the most critical step. This is the foundation for a sharp, correctly-proportioned image.
Think about "throw distance"—the distance from the lens to the screen. This determines the size of your image. Too close, and it's tiny; too far, and it might be blurry or too big for your wall. Check your projector's manual for its ideal range.
Also, try to position the projector so it's perfectly perpendicular to the screen. While "keystone correction" can fix a skewed image from an angled projection, it's a digital fix that can slightly reduce image quality. Getting the physical alignment right from the start is always the best way to begin optimizing your viewing experience.
Tame Ambient Light & Choose Your Canvas
Your projector's biggest enemy? Other light sources. A bright lamp or sunlight streaming through a window will wash out the image, killing contrast and making colours look faded. This is true even for powerful and surprisingly affordable projectors under R20,000, which still perform their best in a dark environment.
- Control the Room: Invest in blackout curtains for daytime viewing. For movie nights, simply kill all the lights.
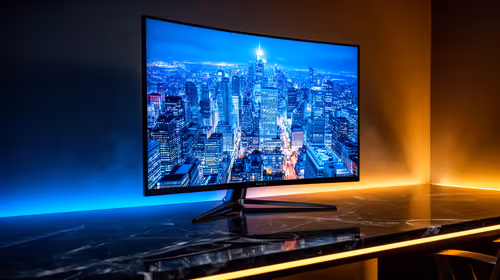
- The Right Surface: A plain white wall works in a pinch, but a dedicated projector screen is a massive upgrade. Screens are made with special coatings that reflect light back to the viewer more effectively, boosting brightness and colour accuracy.
DIY Screen Hack 🎨
Don't have a dedicated screen? A smooth, matte white wall is a decent start. For a real budget boost, you can find specialised projector screen paint that improves reflectivity and colour accuracy for a fraction of the cost of a physical screen.
Fine-Tune Your Projector's Digital Brain 🔧
Now it's time to dive into the settings menu. Don't just crank the brightness to max! Most projectors come with pre-set viewing modes like "Cinema," "Game," or "Vivid."
Start with the mode that matches your activity. "Cinema" or "Movie" mode usually provides the most accurate colours, while "Game" mode prioritizes low input lag for responsive gaming. From there, you can make small adjustments to brightness, contrast, and colour temperature to suit your personal taste. High-quality projectors from brands like Viewsonic often feature excellent factory calibration, giving you a fantastic image right out of the box with minimal tweaking required.
Following these steps will ensure you truly optimize your viewing experience, turning a good setup into an incredible one.
Ready for a Cinema-Quality Upgrade?
Stop settling for a dull picture and unlock the true potential of big-screen gaming and entertainment. Explore our full range of projectors at Evetech and find the perfect fit for your home theatre today.