
Cable Anchor Noise Fix for Ultralight Gaming Mouse
✦ Eliminate ultralight gaming mouse cable anchor noise. ✔️Simple fixes for smoother, quieter gameplay. Don't let noise distract—boost your gaming.
3 days ago·4 min read
Loading tags...
Discover the best budget streaming setup that delivers a pro look 🔥! Optimize your gear and captivate your audience without breaking the bank 💸.

So you want to start streaming your gameplay, but the thought of complex, expensive pro-level setups is putting you off. Good news: you don't need to spend a fortune to create a high-quality stream that people will love to watch. This guide will show you exactly how to assemble a fantastic budget streaming setup. By the end, you’ll have a clear plan for your audio, video, and lighting that delivers a professional look and sound for a surprisingly low cost. ⚡
This is your step-by-step guide to getting the essentials right. We'll focus on the three pillars of any good stream: clear audio, sharp video, and good lighting.
Before you start buying gear, make sure you have the basics sorted:
Your audio quality is non-negotiable. Viewers will tolerate average video, but they will click away instantly for bad audio.


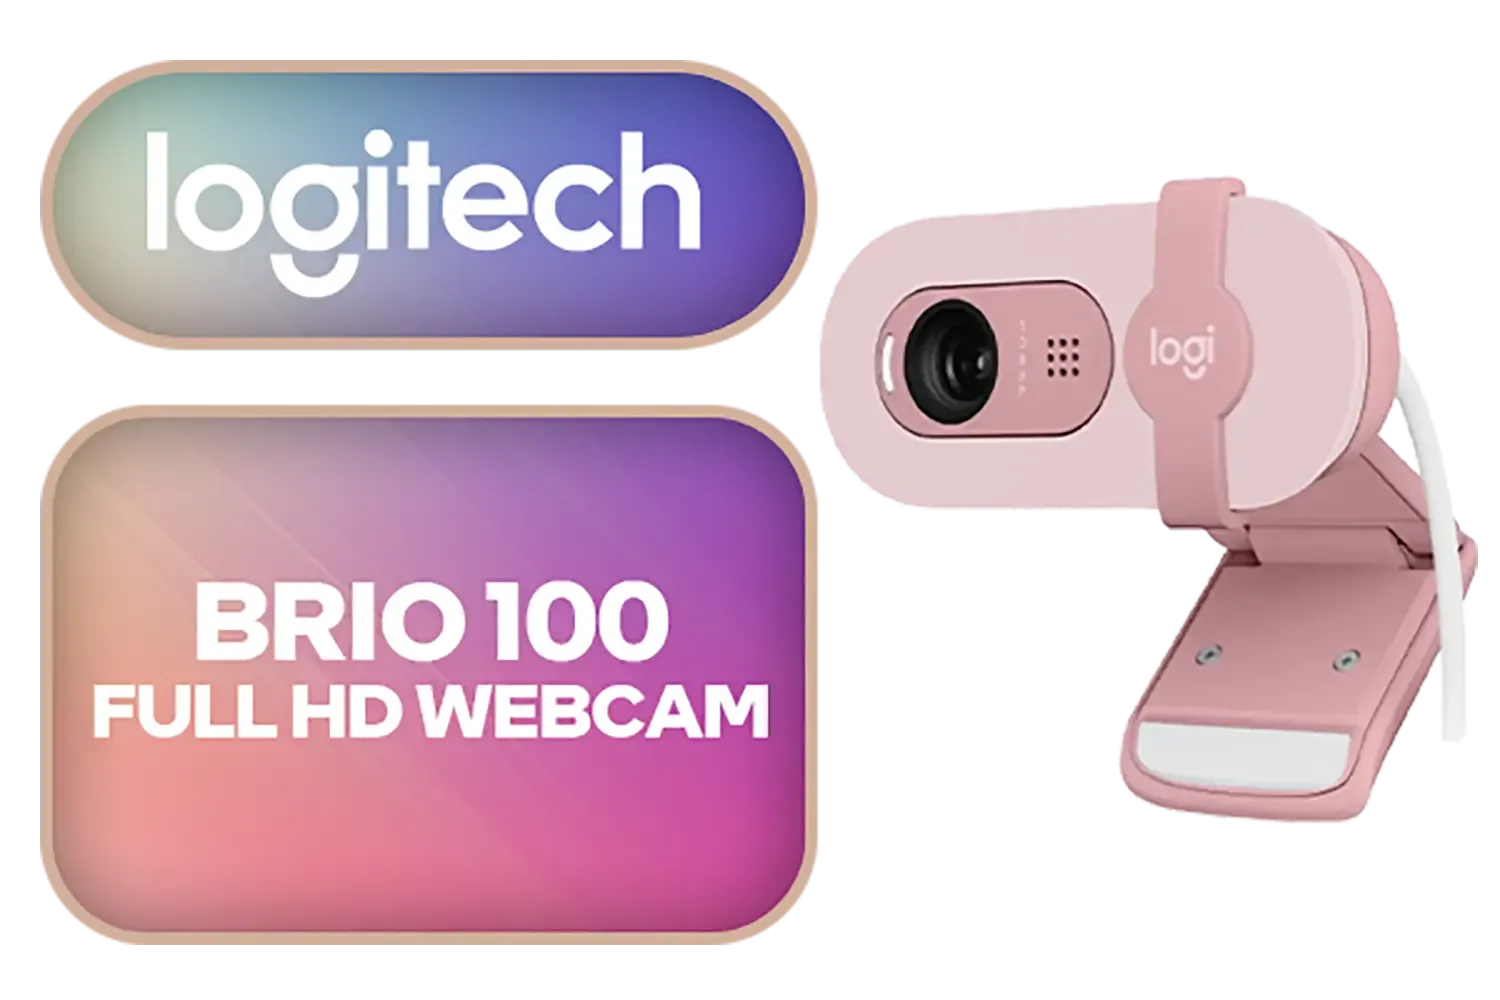
A good facecam helps you connect with your audience.
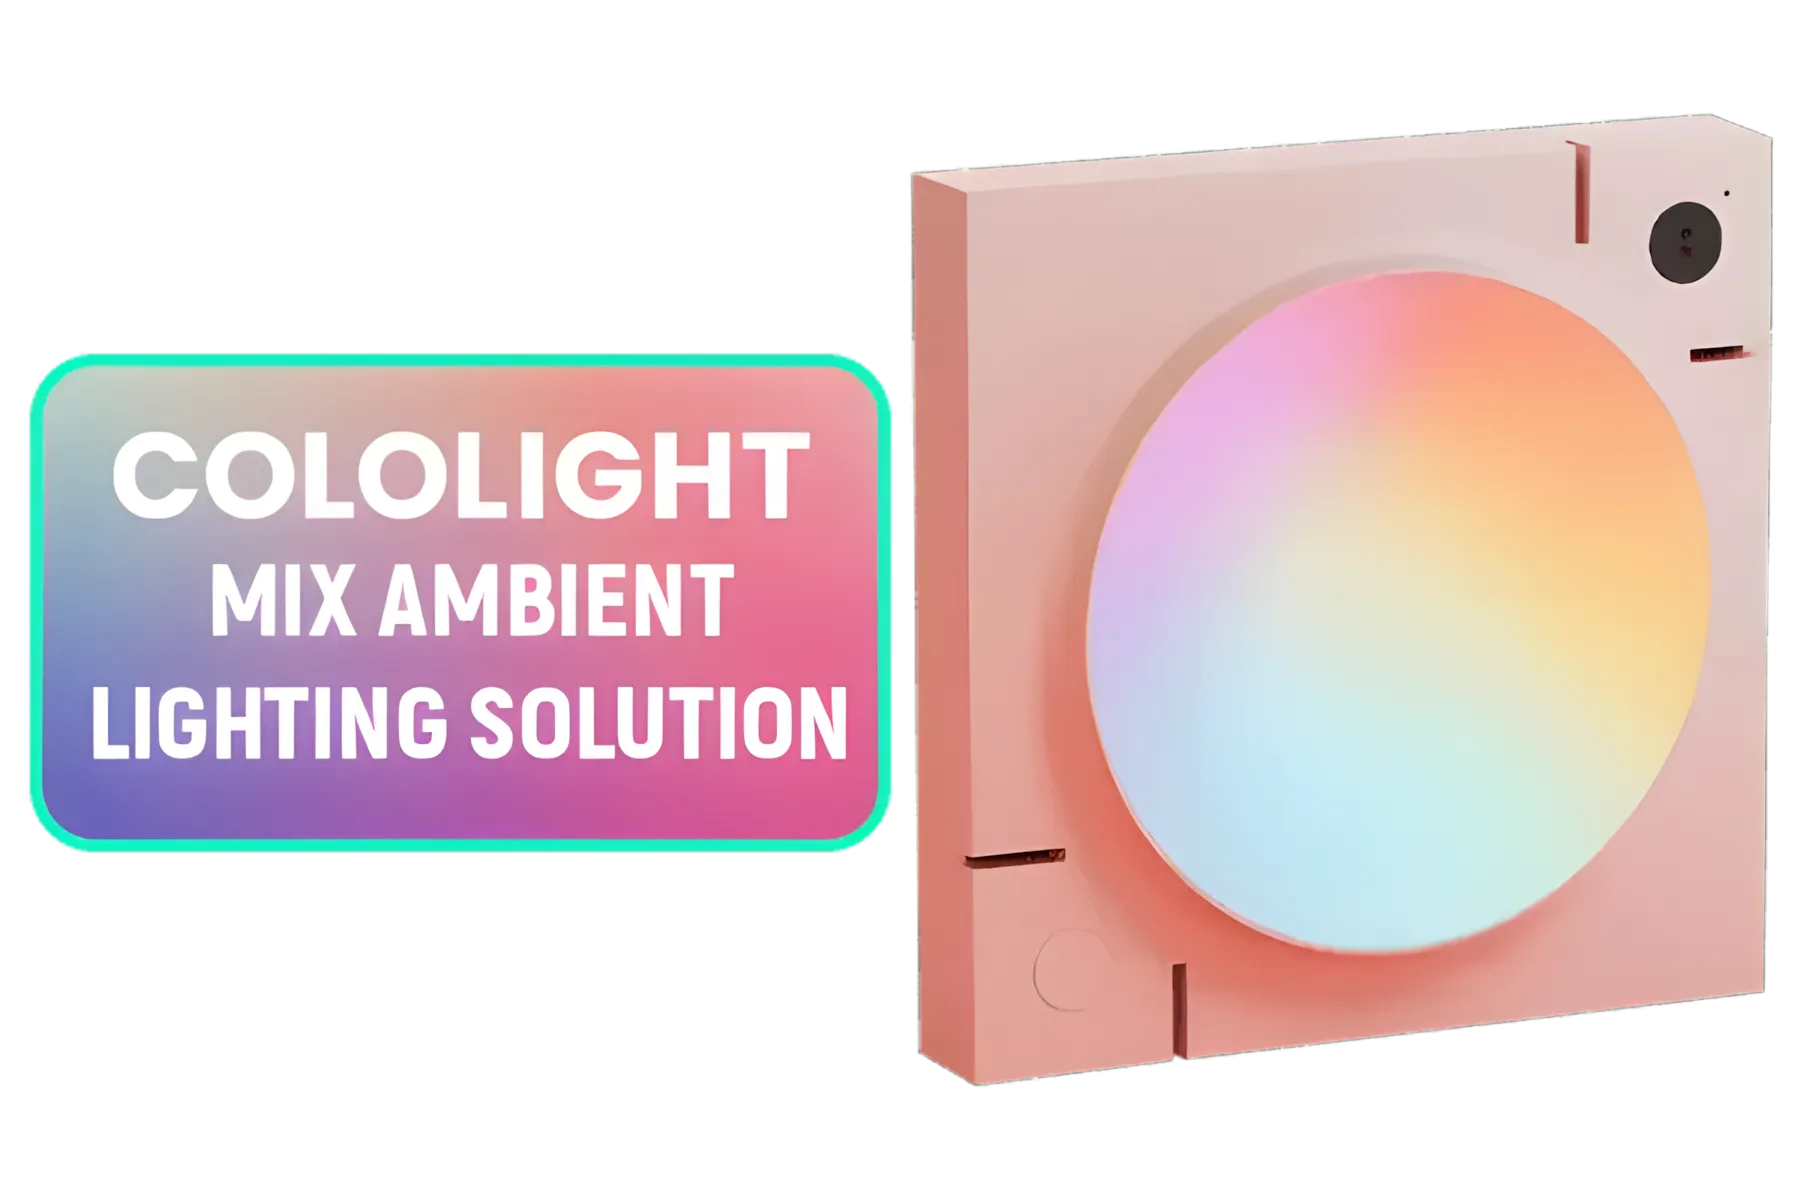
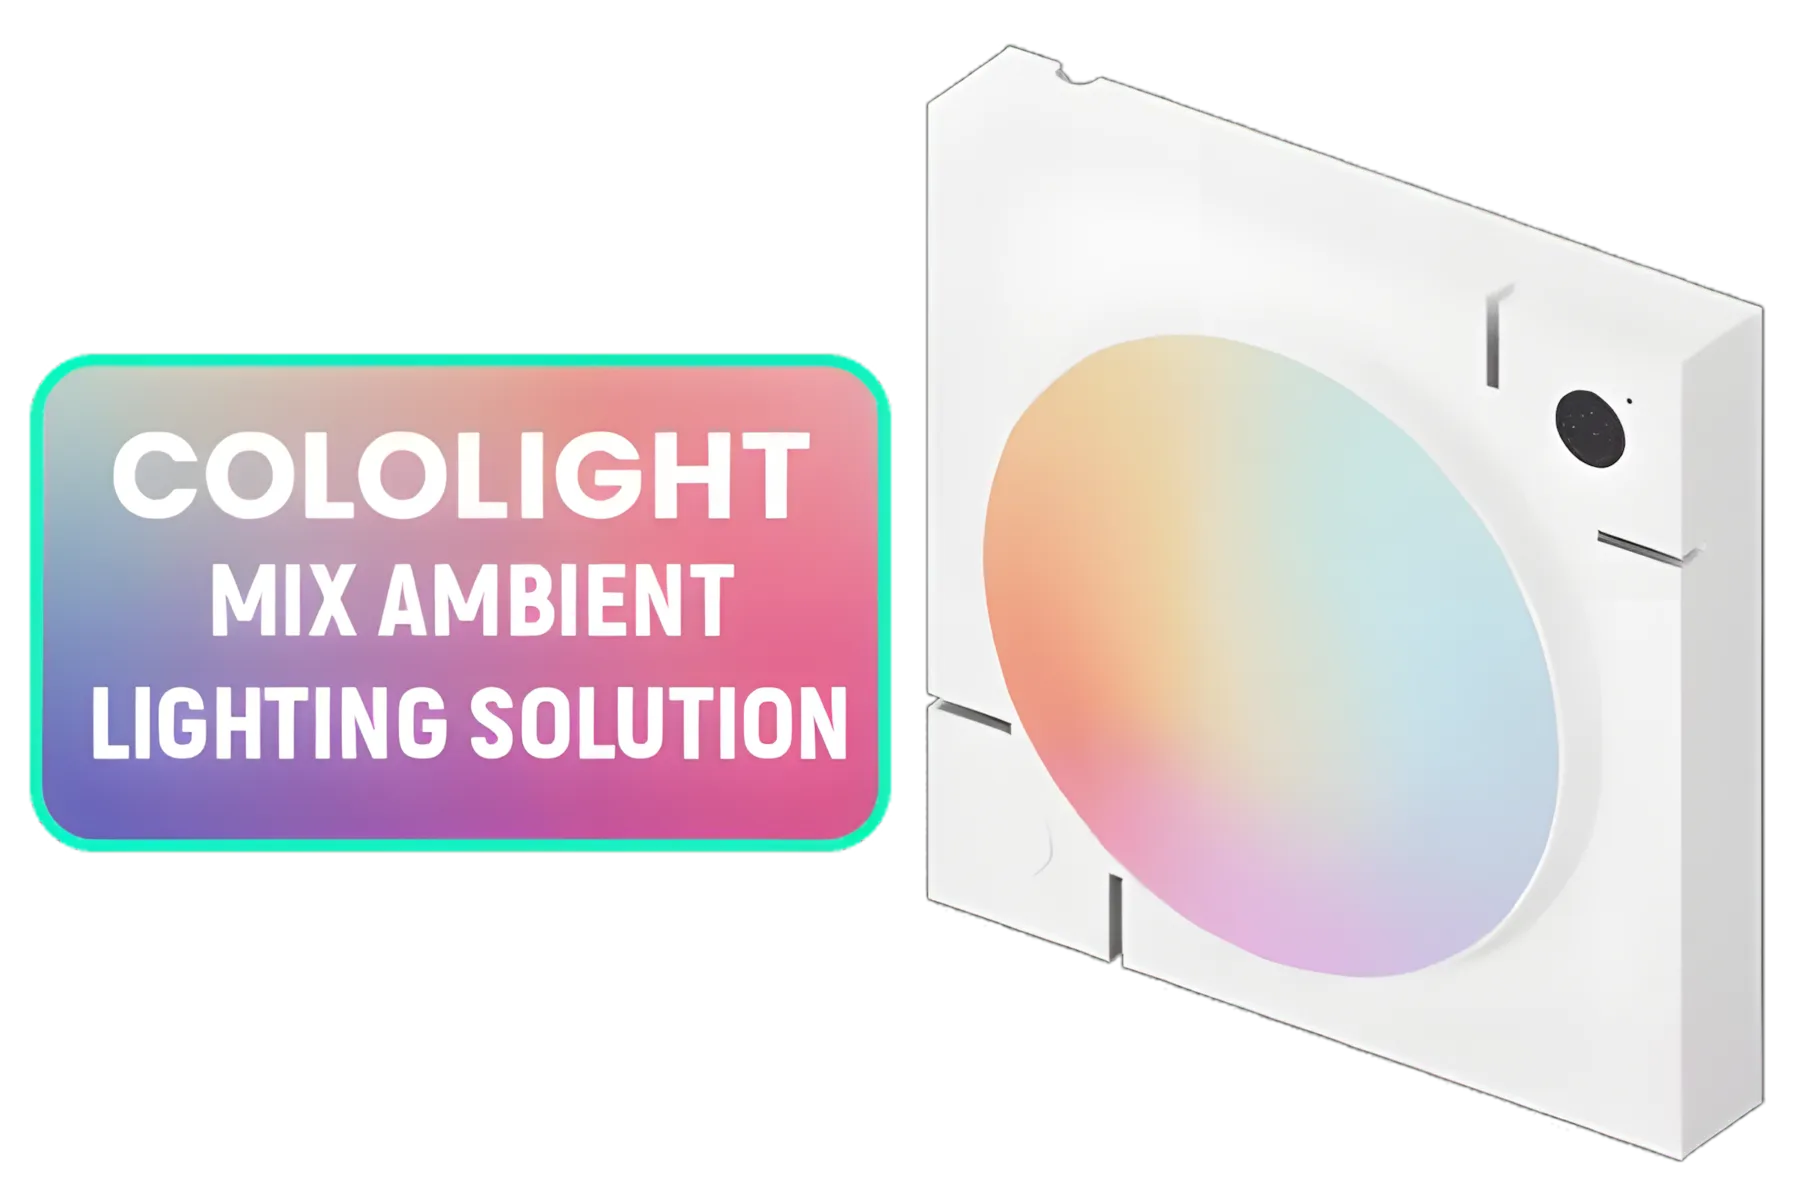
The problem is almost always poor lighting, not the camera itself. Before you touch any software settings, add a light source pointing towards your face. A simple desk lamp with a white shirt draped over it to diffuse the light can make a world of difference.
Good lighting makes your webcam look ten times better.
This is where you combine your elements into a scene.
This is often caused by your internet upload speed or PC performance. In OBS Settings under 'Output', lower your 'Video Bitrate'. Start at 2500 kbps for a 720p stream. If that doesn't work, lower your output resolution from 1080p to 720p under the 'Video' tab.
Here are a few common questions beginners ask.
Q: How much do I realistically need to budget for a good starter setup? A: You can get a fantastic starter kit (mic, webcam, and a basic light) for under R3000. Exploring all the streaming essentials will show you plenty of great options that fit this budget.
Q: My webcam picture still isn't sharp. Do I need a 4K model? A: Not at all! A quality 1080p webcam is more than enough. Before upgrading, make sure you've peeled off the protective plastic film from the lens (a common mistake!) and that your lighting is strong and direct. You can find amazing webcams under R2000 that will look incredible with good light.
Q: Do I need a green screen right away? A: Definitely not. Focus on getting your audio and lighting perfect first. A clean, natural background with some nice ambient light looks far more professional than a poorly lit green screen.
Build Your Dream Stream Today Ready to go live and start your content creation journey? Explore our full range of streaming essentials and get the perfect gear to launch your channel.


You'll need a webcam, microphone, lighting, and streaming software for your streaming setup on a budget.
Use free streaming software and existing devices to build your streaming setup cheap and smart.
Enhance your lighting and audio with affordable streaming equipment for a polished look on a budget.
Check online marketplaces for reliable, affordable streaming equipment to suit your budget streaming setup needs.
Look into budget-friendly mics that deliver clarity for your streaming setup cheap without compromising quality.
Opt for user-friendly tools like OBS or Streamlabs as your streaming software for beginners.
Engage your audience with quality content and a clean setup using your budget streaming setup.
✦ Eliminate ultralight gaming mouse cable anchor noise. ✔️Simple fixes for smoother, quieter gameplay. Don't let noise distract—boost your gaming.

Discover the best power banks for car use in South Africa 🚗⚡ Keep your devices charged on the move with our top picks for reliable travel-friendly charging solutions.

🚀 Upgrade your tech with one-cable solutions that charge and display! 💡 Discover space-saving convenience and sleek setups today!

Discover plug-and-play docks that work seamlessly. Upgrade your workspace with hassle-free connectivity and enjoy smooth device integration! 🚀

Upgrade your workspace with top multi-port docks that solve limited port issues efficiently 🔧 Maximize connectivity and productivity today 🚀

Discover budget-friendly docks that deliver reliability and features without breaking the bank. 🚀💻 Upgrade your setup without compromising quality.

🔍 RTX 4070 Ti Super leaks uncovered! Discover the rumored SA specs, performance boosts, and release timeline. 🚀 Don’t miss the tech hype—get the latest insights now!

Unleash unmatched performance with the RX 7900 XTX. 🚀 Discover how this GPU is transforming gaming in South Africa with cutting-edge tech and blazing speeds.

Looking for an affordable gaming accessory in South Africa? Take our epic quiz to discover your ideal match and level up your gameplay 💯🎮

Looking for budget-friendly gaming gear in South Africa? 💻🔥 Find out why affordable options are trending and save while leveling up!

Discover the best streaming equipment that supports virtual backgrounds 🎥 Boost your stream’s pro look with gear that powers customizable scenes 💻🔥

Discover the pros and cons of refurbished vs new laptops 🖥️. Save money without sacrificing performance. Make the smart choice today!

Discover which processor reigns supreme: ⚡ AMD Ryzen or 🚀 Intel Core? Uncover performance tips, pricing, and real-world usage comparisons.

Looking for the perfect gaming setup? Discover our top-rated budget-friendly gaming PC builds that deliver performance without breaking the bank! 💻🔥

Boost your gaming experience with top-tier components that maximize performance 💥 Optimize your build today! 🔧

Upgrade your lifestyle 💡 with our pick of smart gadgets that work flawlessly without draining your budget 💰. Top picks inside!

Chair caster locks prevent rolling rage quit. Secure your office chair in place for maximum stability and focus. 🪑🚫

🚀 Disrupting the myth: Low PCIe lanes don’t doom Intel Arc A310 performance in HTPCs. Stay future-ready with power-efficient builds. 💻✨
Discover how top chair caster locks prevent rolling rage quit in gaming marathons 🎮 | Stay grounded, conquer every match!

Ensure peak performance with recline lever durability testing. Expert tips to extend double track lifespan ⚙️. Early issue detection saves costs! 💪 Read more →

Compare the RX 7600 XT vs RTX 4060 Ti VRAM showdown in South Africa. 🔥 Discover which GPU handles higher-resolution gaming smoothly 🎮 →