SSD vs HDD – Which is Better?
Discover the perfect storage solution - Explore the benefits of SSD vs HDD and find out which powers your laptop best. 💾🚀
101 days ago·4 min read
Loading tags...
install WD Blue SA510 SSD quickly with step-by-step desktop and laptop instructions. Learn cloning vs fresh install, BIOS setup, mounting tips and troubleshooting for faster boots. 🔧💾

Tired of watching loading screens more than you play? That sluggish boot-up making your morning coffee go cold? It’s a classic sign your old hard drive is holding you back. A quick, affordable SSD upgrade is the single best performance boost you can give an ageing PC or laptop. This guide will show you exactly how to install a WD Blue SA510 SSD, turning your slow machine into a snappy, responsive rig. Let’s get you back in the game, faster. ⚡

A little prep work makes the actual installation a breeze. Before you even open your computer case, make sure you have a few things sorted. This simple checklist will prevent any headaches down the line.
What you'll need:
First, decide if you're cloning your existing drive or starting fresh with a new Windows installation. Cloning is easier, but a fresh install can clear out years of digital clutter.
Cloning your old drive is the fastest way to get up and running. It's a perfect mirror of your old system, apps and all. However, a fresh Windows install is a fantastic opportunity to start clean. It can resolve underlying software issues and feels incredibly snappy. If you have the time, a fresh install is often the better long-term choice.


Installing an SSD in a desktop PC is straightforward. With plenty of space to work, it’s a great first-time upgrade project.
Completely shut down your PC. Unplug the power cable from the wall and press the power button one more time to discharge any residual electricity. Place your PC on a flat, stable surface and remove the side panel.
Locate a spare 2.5-inch drive bay. Secure your WD Blue SA510 SSD in the bay using the screws that came with your case or the drive. If your case doesn't have a 2.5-inch bay, you might need a simple 2.5-inch to 3.5-inch adapter bracket.


You'll need to connect two cables to the SSD:
Plug both in firmly. The connectors are L-shaped, so they only fit one way.
Close up your case, plug everything back in, and boot up your PC. If you are doing a fresh install, you’ll need to boot from your Windows installation media. If you cloned your drive, you may need to enter your BIOS/UEFI (usually by pressing DEL or F2 on startup) and set the new WD Blue SA510 as the primary boot drive. Once in Windows, your PC should feel noticeably faster. This entire process is why upgrading to one of these solid-state drives is such a popular choice.
Upgrading a laptop is a bit more compact, but the principle is the same. The key is to be gentle and organised. 🔧
Power down your laptop, unplug the AC adapter, and remove the battery if it's external.

Flip the laptop over. Most laptops have a small access panel for the storage and RAM, usually held by one or two screws. Some newer models require you to remove the entire bottom cover. Check your laptop's manual if you're unsure. Keep your screws organised!
Locate the old 2.5-inch hard drive. Carefully unplug it and lift it out. It might be in a caddy; if so, unscrew the old drive from the caddy and secure your new WD Blue SA510 SSD in its place. If your laptop uses the newer, smaller format, you'll be looking for an M.2 2280 slot instead. Simply unscrew the retaining screw, insert the M.2 SSD at a slight angle, and press it down before replacing the screw.
Place the new drive back into the laptop, secure everything, replace the access panel, and re-insert the battery. Power it on and follow the same software steps as the desktop guide: either boot into your cloned OS or install Windows fresh. Enjoy the silence and speed! ✨


The WD Blue SA510 SSD installation is a fantastic, budget-friendly way to revitalise a machine. Its SATA interface provides a massive leap over mechanical hard drives. For most gamers and everyday users, it's the perfect sweet spot of price and performance.
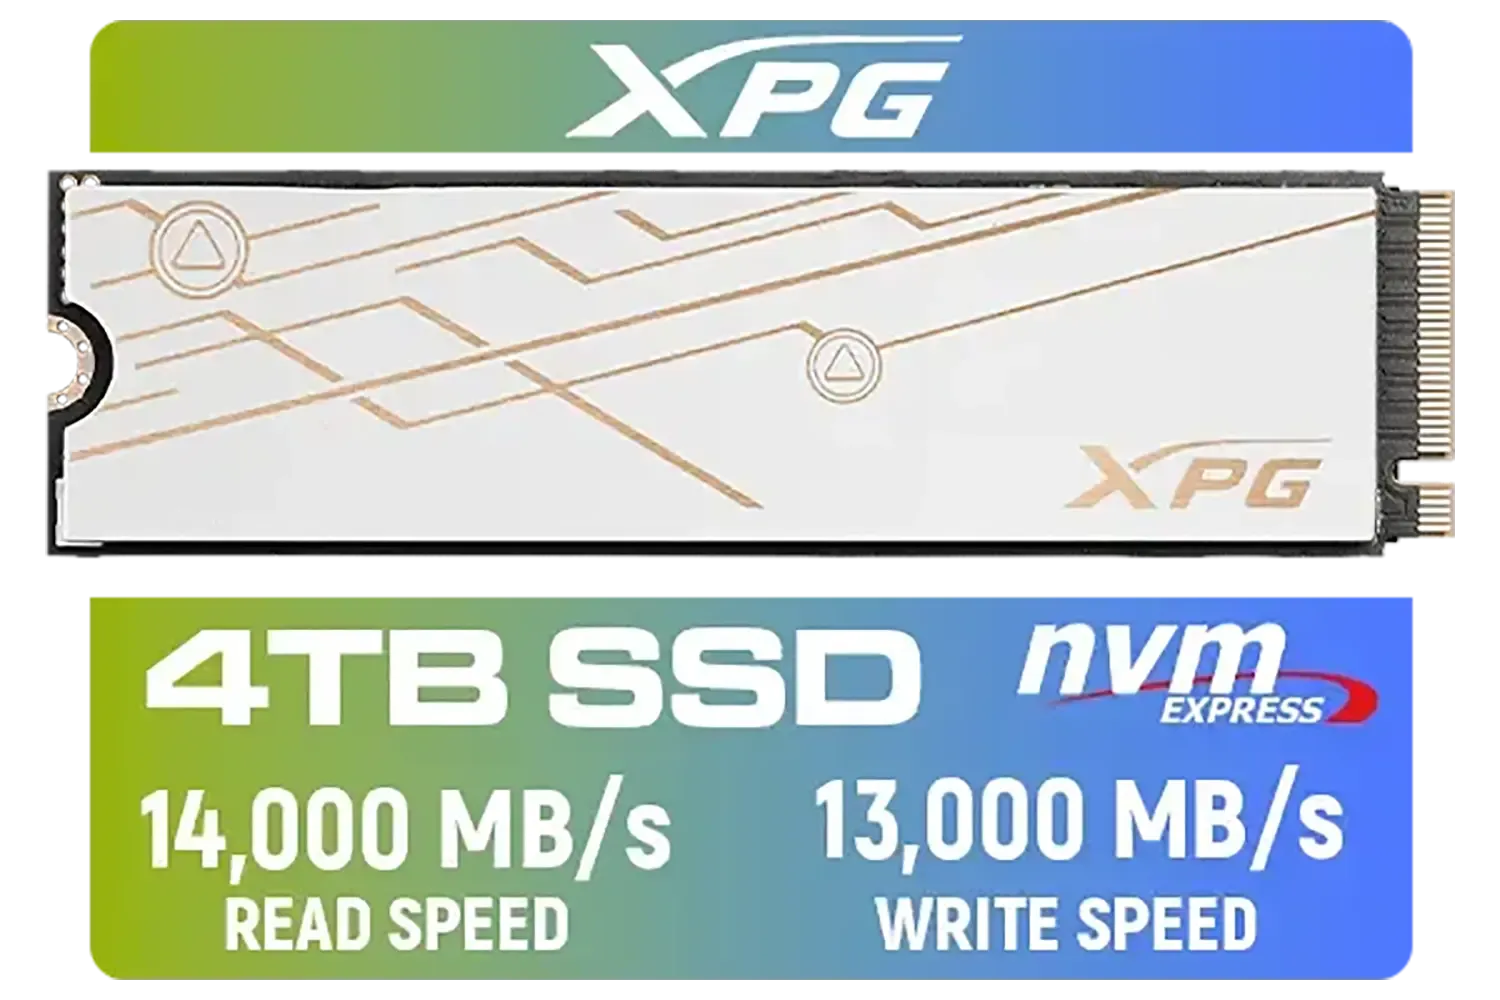
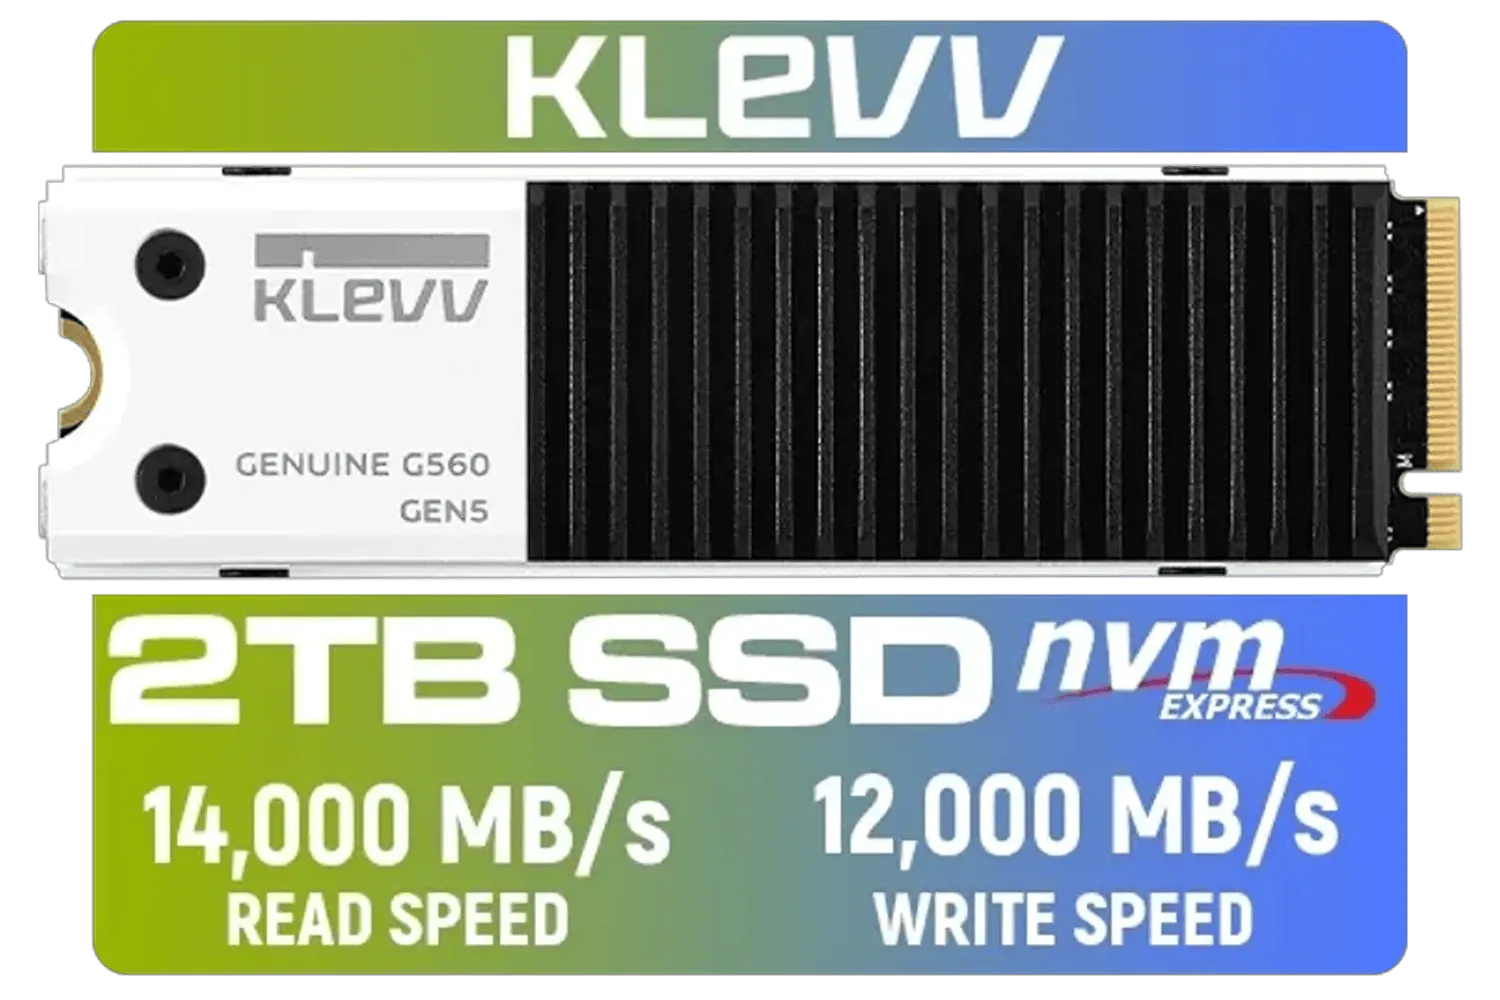
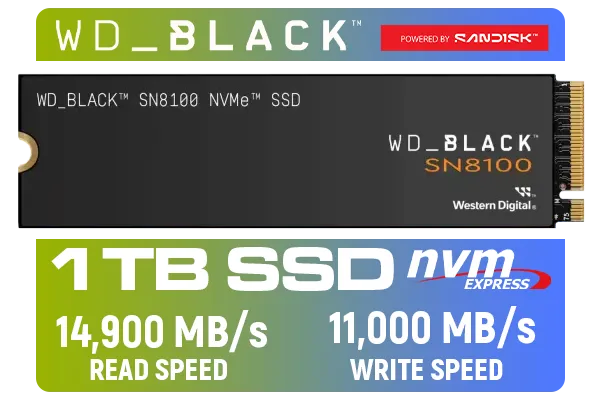
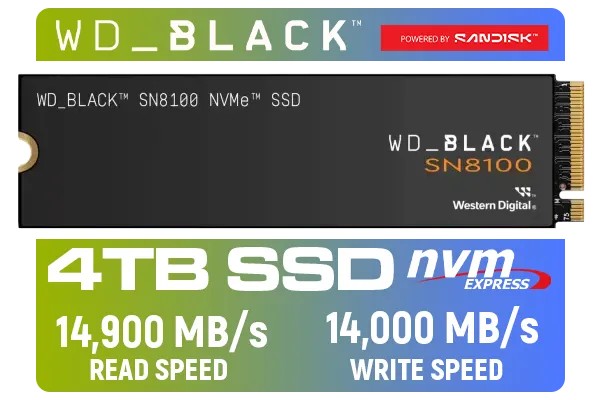
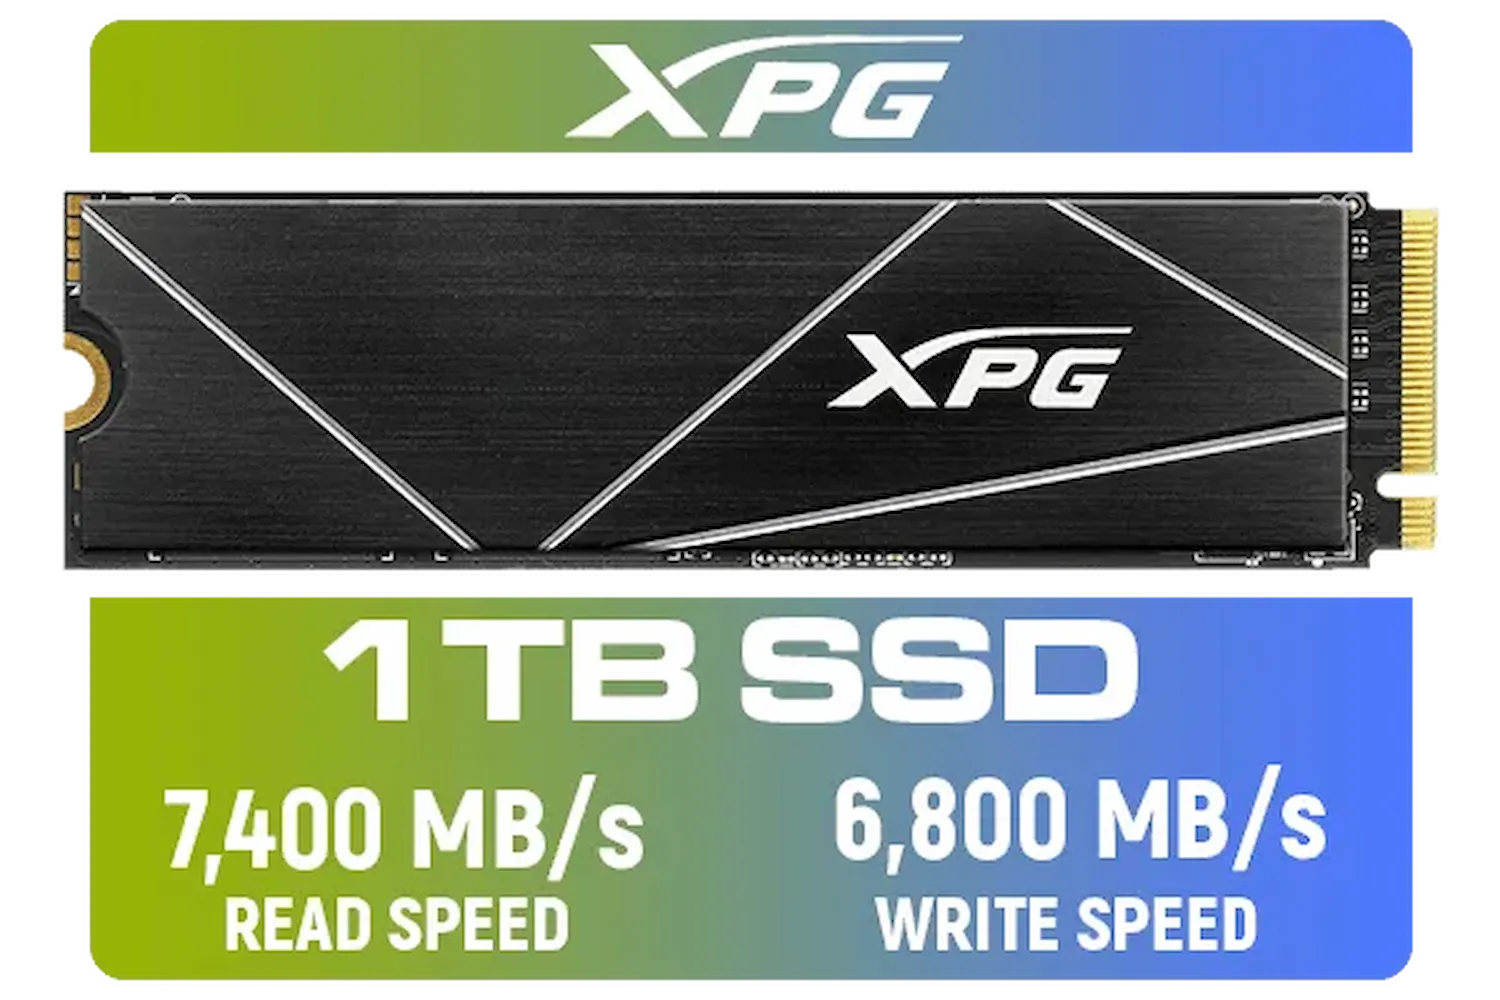
But the world of SSDs is vast. Brands like ADATA and Kingston offer compelling alternatives with different strengths. And for those chasing the absolute pinnacle of performance for video editing or loading massive open-world games, the next step is NVMe. The latest Gen 5 NVMe SSDs offer speeds that were unthinkable just a few years ago.
For now, enjoy your newly upgraded rig. The difference is night and day.
Ready to Feel the Speed? An SSD upgrade is one of the best value-for-money performance boosts you can make. From budget-friendly SATA drives to lightning-fast NVMe models, we've got the perfect match for your machine. Explore our full range of Solid-State Drives and leave loading screens in the dust.


Power down, remove the drive bay or access panel, insert and secure the SA510, reconnect power/data, boot to BIOS to confirm detection, then clone or fresh install OS.
Cloning preserves your OS and files. Use trusted cloning software, verify the clone, then resize partitions or perform a fresh install on the SA510 if preferred.
Yes. Installing the SA510 reduces game load and boot times and cuts texture streaming stalls, though raw FPS gains are typically small.
Enter BIOS, locate Boot or Storage options, set the SA510 as first boot priority, save and exit. If not listed, check connections and ports.
A Phillips screwdriver, mounting screws or bracket, SATA cable or adapter if needed, anti-static strap, and cloning software if migrating to the SA510.
Check power and data connections, try a different port, enable SATA ports in BIOS, update motherboard firmware, or test the SA510 in another system.
Yes. Check WD tools for SA510 firmware updates to improve stability and compatibility before cloning or extended use.
Discover the perfect storage solution - Explore the benefits of SSD vs HDD and find out which powers your laptop best. 💾🚀

🚀 Discover enterprise-grade docks with built-in boot protection. Safeguard sensitive data and enhance productivity for modern workforces.

Upgrade to the best SSDs for gamers and experience lightning-fast load times, smoother gameplay✅Discover top picks, speed comparisons & savings🔥 | Evetech

Boost your build with the best SATA III cables trusted by gamers and builders. 🔥 Discover high-speed, durable options that enhance system reliability and maximize data transfer efficiency.

Prepare to supercharge your GPU! Our RX 6650 XT BIOS mod guide reveals SA unlocks for higher power targets 🚀💸 Maximize performance now.