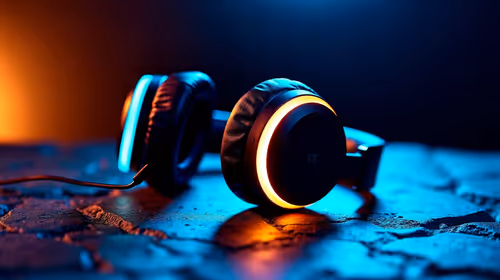
That grimy feeling on your headset after a marathon gaming session… we’ve all been there. In the South African heat, those long hours chasing wins can leave your gear looking and feeling less than fresh. But beyond just being a bit gross, a dirty headset can affect audio quality and comfort. Learning how to clean your gaming headset properly not only keeps it hygienic but also protects your investment, ensuring it lasts for many more campaigns to come. 🎧
What You'll Need: Your Headset Cleaning Kit
Before you start, let's get your tools ready. You don't need fancy chemicals; simple household items will do the trick perfectly. The key is to be gentle.
Here’s your checklist:
- Two soft, clean microfibre cloths
- A small bowl of warm water
- A few drops of mild dish soap (optional)
- Cotton swabs or a soft-bristled brush
- Compressed air (optional, for hard-to-reach dust)
Crucially, avoid harsh chemicals, alcohol wipes, or abrasive cleaners, as they can damage the plastic, leatherette, and sensitive electronic components found in many popular headphone headsets.
The Step-by-Step Guide to Cleaning Your Gaming Headset
Ready to restore your gear to its former glory? This simple cleaning guide works for almost any model, from a basic wired headset to a top-of-the-line wireless headset.
Step 1: Disconnect and Disassemble
First things first: unplug your headset completely. If it has a detachable microphone or earcups, remove them carefully. This makes it much easier to clean every nook and cranny without risking damage.
Step 2: Clean the Earpads and Headband
The earpads and headband are the parts that get the dirtiest. How you clean them depends on the material.
- For leatherette or vinyl pads: Dampen a microfibre cloth with warm water (and a tiny drop of soap if they're extra grimy). Wring it out thoroughly so it’s just damp, not wet. Gently wipe down the surfaces. Use a second, dry cloth to remove any moisture.
- For fabric or velour pads: These can absorb more sweat and oil. Use a slightly damp cloth to blot the surface. For a deeper clean, you can use a soft brush to lift debris from the fabric.
Pro Tip for Fabric Earpads 🧼
If your fabric earpads have a persistent smell, you can try this. After removing them, lightly sprinkle them with bicarbonate of soda and let them sit for an hour. Then, use a vacuum cleaner with a brush attachment on a low setting to carefully remove the powder. It’s a great way to neutralise odours without harsh chemicals.
Step 3: Wipe Down the Plastic and Metal Frame
Use your damp microfibre cloth to wipe down the plastic housing of the earcups and the headband. A cotton swab is perfect for getting into the small grooves and seams where dust loves to hide. Pay special attention to the adjustment sliders.
Step 4: Detail the Microphone
Your microphone picks up more than just your voice. Gently wipe the exterior of the mic arm with your damp cloth. If it has a foam pop filter, you can usually slide it off and wash it by hand with warm, soapy water. Just make sure it is 100% dry before putting it back on. This is especially important for the crystal-clear mics on dedicated PlayStation headsets and Xbox headsets.
Step 5: Air Dry and Reassemble
Patience is key. Let every component air dry completely before reassembling your headset. Trapped moisture is the enemy of electronics. Once everything is bone dry, put it all back together. ✨
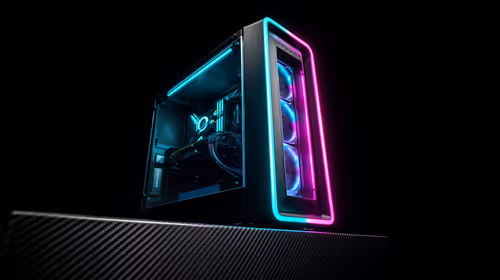
When Cleaning Isn't Enough… Is It Time for an Upgrade?
Regularly cleaning a gaming headset will massively extend its life. But sometimes, gear just reaches the end of the road. If the earpads are flaking away, the sound is crackling, or the headband has snapped, no amount of cleaning will fix it. That’s your cue to start looking for a replacement. An upgrade can offer better sound, superior comfort, and new features that give you a real competitive edge.
If your trusty headset has fought its last battle, it might be the perfect time to check out some of the best gaming headset deals available right now.
Ready for That New Headset Feeling? A clean headset is great, but sometimes you just need an upgrade. If your audio is crackling or the earcups are flaking, it might be time for a fresh start. Explore our incredible gaming headset deals and hear the difference for yourself.