Stuck in a firefight in Valorant or CS2, fumbling with buy menus while the clock ticks down? That split-second can cost you the round. What if one click could buy your full loadout or execute a perfect jump-throw? That’s the power of setting up mouse macros. It’s not about cheating; it’s about efficiency. And with the right gear, it’s easier than you think to get that pro-level advantage here in South Africa.
What Are Mouse Macros (And Are They Bannable)?
First, let's clear the air. A mouse macro is simply a sequence of actions—like key presses or mouse clicks—recorded and assigned to a single button. You press one button, and your PC executes the whole sequence for you. Simple.
Now, the big question: will you get VAC-banned? It depends entirely on how you set up mouse macros for Valorant and CS2.
- Generally Safe Macros: Quality-of-life macros are usually fine. Think of single-press buy binds, complex jump-throws in CS2, or quickly typing a team message. These automate repetitive tasks but don't play the game for you.
- High-Risk Macros: Anything that gives a direct, unfair gameplay advantage will get you banned. This includes anti-recoil scripts, trigger bots, or macros that perform complex character movements like bunny-hopping perfectly every time.
The golden rule: if a macro plays the game for you or counters a core game mechanic, don't use it. Always check the latest Terms of Service for both games before you start.
Your Step-by-Step Guide to Setting Up Mouse Macros 🔧
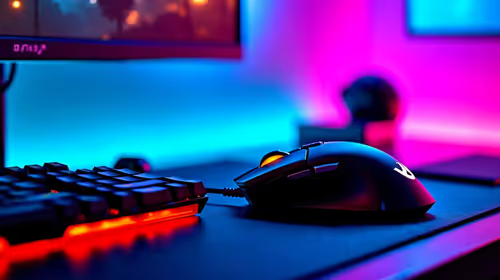
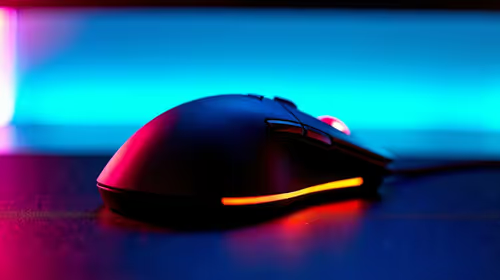
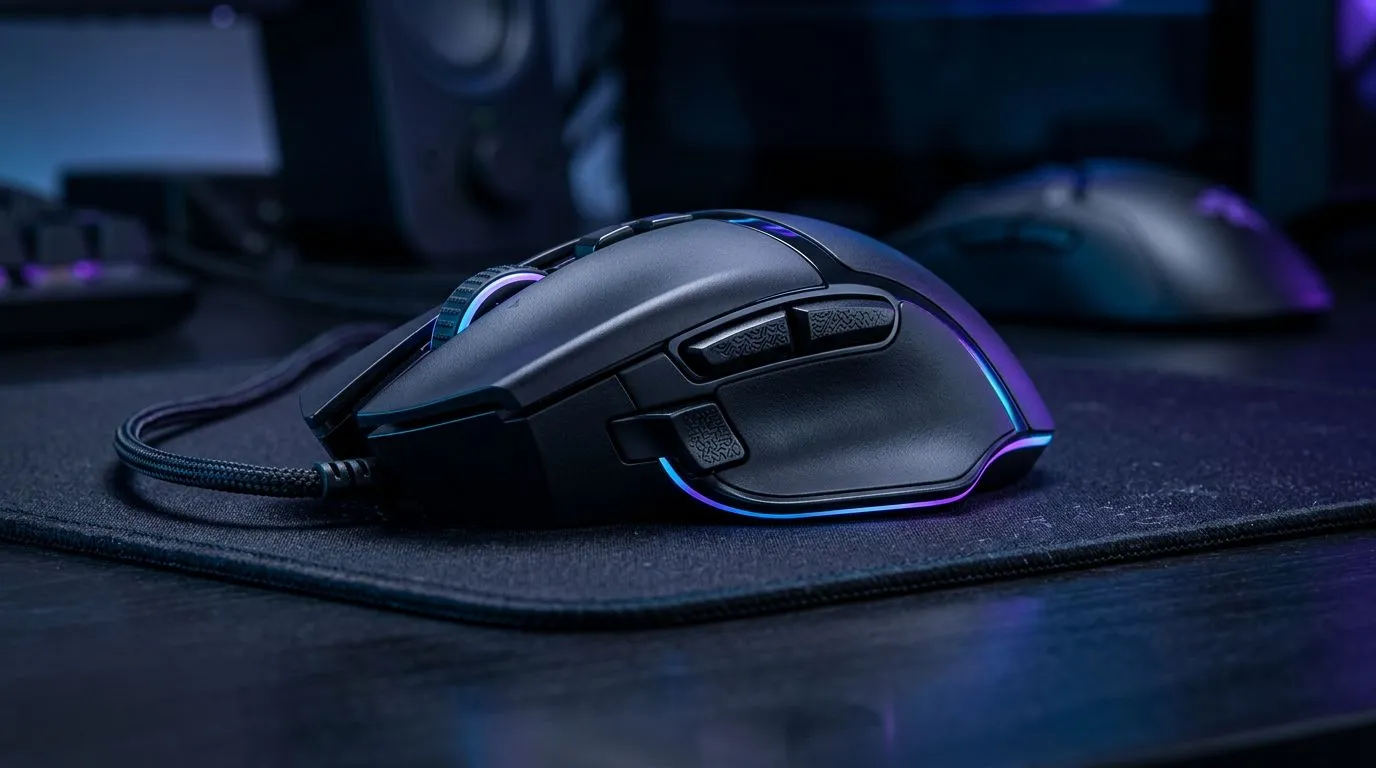
Ready to streamline your gameplay? The process is surprisingly straightforward with the right tools. To get started, you'll need a mouse that supports customisation, and thankfully, most modern peripherals do. The key is finding a great programmable gaming mouse with intuitive software.
Once you've got your weapon of choice, follow these steps:
Step 1: Install Your Mouse Software
Every major brand has its own software: Razer Synapse, Logitech G HUB, Corsair iCUE, or SteelSeries GG. Download and install the correct one for your mouse from the manufacturer’s official website. This software is the command centre for your device.
Step 2: Open the Macro Editor
Navigate through the software to find the macro creation tool. It’s usually located in a section for button assignments or customisation. Here, you'll create a new macro and give it a memorable name, like "CS2_Jumpthrow" or "VAL_BuyVandal".
Step 3: Record Your Keystrokes
This is where the magic happens. Use the "Record" function and press the sequence of keys you want to automate, exactly as you would in-game. For example, to create a buy bind, you'd press the keys to open the buy menu, navigate to rifles, and select the Vandal.
Timing is Everything ⚡
Some macros, especially for complex jumps, require precise timing. Most software allows you to edit the delays between keystrokes after recording. You can set a standard delay (e.g., 25ms) or fine-tune each action manually for perfect execution. This is a key part of setting up reliable mouse macros for CS2.
Step 4: Assign the Macro to a Button
Once you've saved your sequence, simply drag and drop the new macro onto an unused button on your mouse—a side thumb button is usually the perfect spot. Save your profile, and you're ready to test it in-game!
Practical Macro Examples for Valorant and CS2 ✨
Theory is great, but let's look at some practical applications. This is how a proper Valorant and CS2 macro guide can give you a real edge.
CS2: The Perfect Jump-Throw
A jump-throw is essential for executing smokes and flashes consistently. Manually, it's tricky to get the timing right. With a macro, it's perfect every time. This kind of precise, repeatable action is where a responsive wired mouse can really shine, ensuring zero input lag.
- Macro Sequence: Record a key-down for your jump key, add a small delay (around 10-20ms), record a key-down for your attack key, another small delay, and then key-ups for both.
Valorant: Insta-Buy Your Favourite Loadout
Shave precious seconds off your buy phase at the start of a round. Instead of frantically clicking through the menu, you can create a macro to buy your go-to kit (e.g., Vandal, Heavy Shields, and a Sage heal) with a single click. The freedom of modern clutter-free wireless mice makes your desk setup cleaner for these intense moments.
- Macro Sequence:
B(open buy menu) ->delay->click on rifle category->delay->click on Vandal->delay->click on shields... you get the idea. You'll need to use recorded mouse coordinates for this, which most advanced software supports.
Optimise Your Entire Setup for the Win 🚀
Learning how to set up mouse macros is a fantastic step, but it's just one piece of the puzzle. A macro is only as good as the hardware executing it. If your mouse has a poor sensor or your mousepad is worn out, you're still at a disadvantage.
Ensure your DPI and in-game sensitivity are dialled in, and consider investing in high-quality mouse accessories like a large mousepad for consistent tracking. If your current mouse feels sluggish or its software is a nightmare to use, it might be holding you back. Upgrading your gear is often the fastest way to improve your consistency and comfort. Before you dive into your next ranked match, why not check out the latest gaming mouse deals to see if you can snag an upgrade for a great price?
Ready to Gain That Competitive Edge? A great macro setup starts with the right hardware. A responsive, programmable mouse is your key to unlocking faster, more consistent gameplay in Valorant and CS2. Explore our massive range of gaming mouse deals and find the perfect tool to dominate the server.