Ever had that moment? You’ve got the drop on an enemy in Ascent, your crosshair is right there, but your shot whiffs by a pixel? It’s lekker frustrating, hey? So often, we blame our aim when the real culprit is our setup. Nailing your gaming mouse settings for Valorant and CS2 isn't just for pros; it's the single biggest upgrade you can make to your consistency and confidence, and it costs you nothing but a little time.
Understanding Your Core Mouse Settings
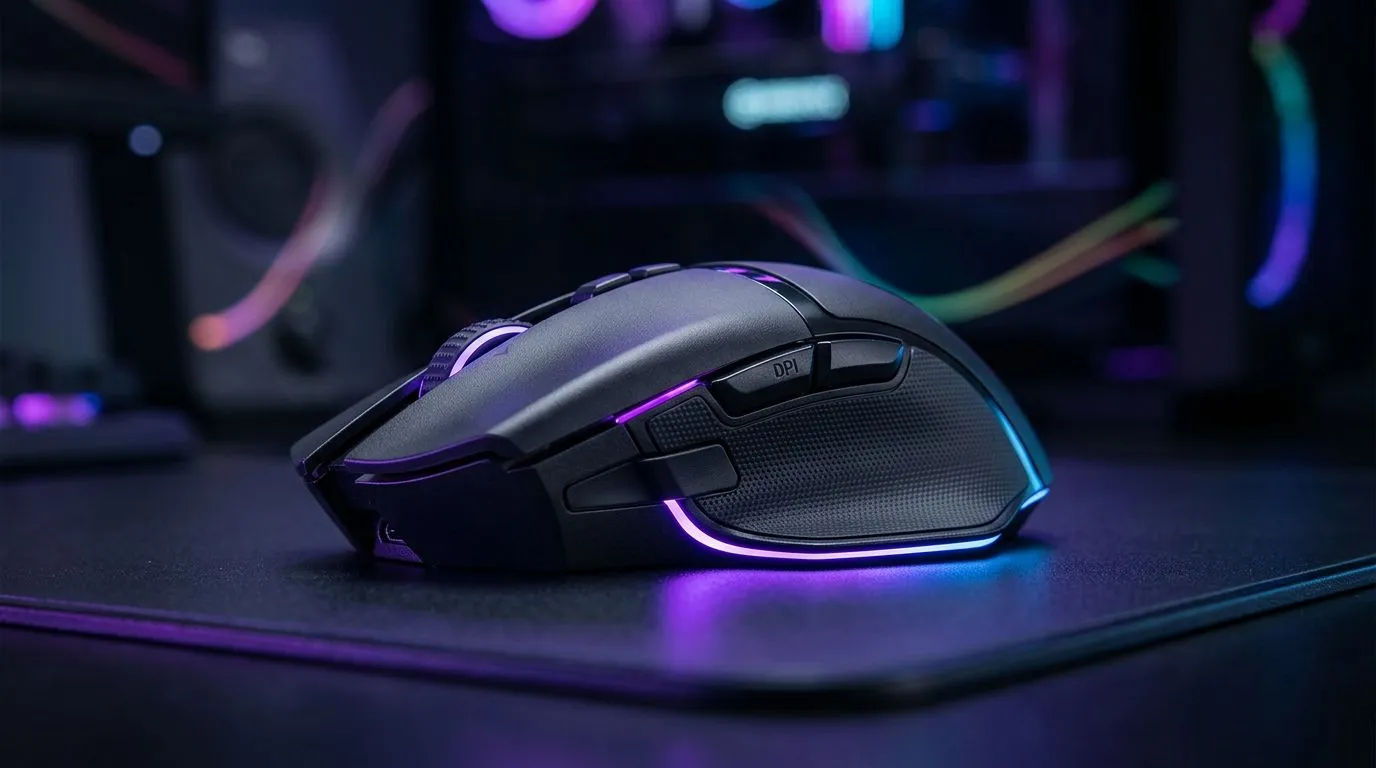
Before diving into game-specific tweaks, you need to get the fundamentals right. Your mouse's sensitivity is a partnership between its hardware setting (DPI) and the in-game software setting. Getting them to work together is the goal. It all starts with choosing a quality gaming mouse that gives you the control you need.
DPI: Your Mouse's Raw Speed
DPI, or Dots Per Inch, is how sensitive your mouse is to physical movement. A higher DPI means the cursor moves further on screen for every inch you move the mouse. Most pros stick to a DPI of 400, 800, or 1600. Why? These are often the sensor's native steps, providing the cleanest tracking without software interpolation.
Our advice: Set your DPI to 800 and leave it. It’s a fantastic middle-ground that allows for smooth desktop use and precise in-game adjustments.
eDPI: The Only Metric That Matters
Here’s the secret sauce: eDPI (effective Dots Per Inch). The formula is simple:
DPI x In-Game Sensitivity = eDPI
This number is the true measure of your sensitivity. It lets you compare your settings with others, regardless of their hardware DPI. If you tell a mate your sensitivity is "1.5", it's meaningless without your DPI. But if you say your eDPI is "800", they know exactly how fast your aim is. 🎯
Optimal Gaming Mouse Settings for Valorant
Valorant is a game of precision, holding tight angles, and one-tap headshots. Movement is deliberate, and crosshair placement is king. This means you generally want a lower sensitivity to make those tiny, crucial adjustments without overshooting your target.
Most Valorant pros play with an eDPI between 200 and 400.
- Starting Point: Set your mouse to 800 DPI and your in-game sensitivity to 0.35 (eDPI of 280).
- Test It: Jump into the Range and see how it feels. Can you comfortably do a 180-degree turn? Is tracking bots smooth or jittery?
- Adjust: If it feels too slow, nudge the sensitivity up slightly. Too fast? Bring it down. Small, 0.02 increments are best.
The freedom of movement offered by modern wireless gaming mice is a huge plus in low-sensitivity games like Valorant, as you'll be making larger swipes across your mousepad without any cable drag.
Find Your Perfect Sensitivity ⚡
Use the "PSA Method". Start with a base sensitivity. If it feels too high, halve it. If it's too low, double it. Now, test the sensitivity that's halfway between the new value and your original one. Keep repeating this, narrowing the gap until you find the setting that feels absolutely perfect for your aim style. It's a methodical way to dial in your muscle memory.
Fine-Tuning Your Mouse for CS2
While also a tactical shooter, CS2 often feels a bit faster-paced than Valorant. It involves more spray control and rapid transfers between multiple targets. Because of this, the average gaming mouse settings for CS2 are slightly higher than in Valorant.
Most CS2 pros use an eDPI between 650 and 1300.
- Starting Point: With your mouse at 800 DPI, try an in-game sensitivity of 1.1 (eDPI of 880).
- Test It: Load up an aim map from the workshop. Practice your spray patterns and flicks. The goal is comfort and control.
- Adjust: Make small adjustments until you can comfortably track heads and control your recoil.
For a game as fast as CS2, the zero-latency connection of reliable wired mice can provide that extra peace of mind, ensuring every single input is registered instantly.
Beyond Sensitivity: The Final Polish ✨
Perfecting your gaming mouse settings for Valorant and CS2 goes beyond just numbers. A few final tweaks can make a world of difference.
- Polling Rate: Set this to 1000Hz in your mouse software. This reports your mouse's position to the PC 1000 times per second, offering the smoothest tracking.
- Disable Pointer Precision: This is crucial. Go to your Windows mouse settings, click "Additional mouse options," go to the "Pointer Options" tab, and untick "Enhance pointer precision." This feature adds unpredictable acceleration, which is terrible for muscle memory.
- Your Surface Matters: A large, clean mousepad provides the consistent surface you need for muscle memory. Worn-out mouse feet can add friction and ruin your aim; thankfully, you can find replacements and other essential mouse accessories to keep your gear in top shape.
Ultimately, the best settings are the ones that feel right for you. But understanding these principles is the first step from whiffing easy shots to clicking heads with confidence. If your current mouse feels like it's holding you back, be sure to check out the latest gaming mouse deals to find hardware that can keep up with your skill.
Ready to Click Heads? The perfect settings are half the battle... the right hardware is the other half. A responsive, comfortable mouse is the foundation of your aim. Explore our massive range of gaming mice and find the perfect tool to dominate the server.