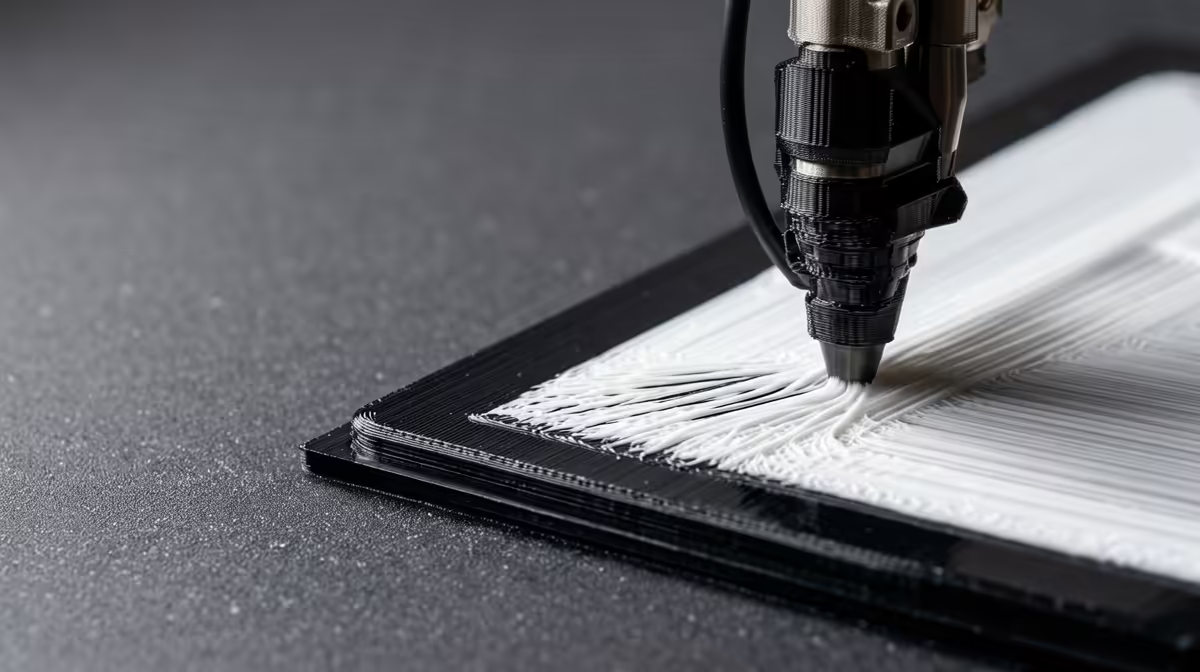
Almost every failed print starts at the bottom. Get the first layer settings right and the rest of the job usually takes care of itself, because that bottom skin is what anchors the model to the bed and feeds the layers above it a clean, flat base. Nail height, speed and flow on that single layer and you stop chasing the most common 3D printing failures before they happen.
Quick Answer
Print the first layer thick and slow: 0.2 to 0.3mm layer height, 15 to 25mm/s speed, and flow nudged to roughly 105 to 110 percent, with the part cooling fan switched off. Those four changes give the filament time to squash into the bed texture and bond properly.
Why The First Layer Gets Its Own Rules
A normal layer floats on the one beneath it, so it only has to bond to plastic. The first layer has to grip bare glass, PEI or a textured sheet, which is a much harder surface to stick to. That is why slicers expose a separate set of first-layer values rather than reusing your main print profile.
The goal is deliberate over-extrusion and slow, even spreading. You want the nozzle to press the molten filament down into the surface so it keys into the texture, then let it cool slowly enough to stay put. Everything below is a lever towards that single outcome.
Height: Thicker Sticks Better
A taller first layer leaves more room for error in your bed levelling and gives the filament a fatter bead to flatten. For a 0.4mm nozzle, 0.2mm is a safe default and 0.3mm is forgiving on a slightly uneven bed. Going below 0.16mm makes the nozzle ride so close that small high spots cause skipped lines and gouges.
If you print on a textured PEI sheet, lean towards the thicker end so the bead can fill the surface pattern instead of bridging across the bumps.
Speed And Flow: Slow Down, Push A Little More
Drop the first-layer speed to between 15 and 25mm/s. Slower movement lets each line of plastic sit and bond before the next one lands beside it, and it gives your bed levelling more margin. Most slicers let you set first-layer speed independently, so you can keep the rest of the print fast.
Flow at 105 to 110 percent adds a touch more material to fill any gaps between lines. Push it too far and you get a rough, ridged base that the nozzle starts dragging through, so treat 110 percent as a ceiling, not a target. Switching the cooling fan off for this layer keeps the plastic warm and pliable so it spreads rather than freezing mid-bead. A small upgrade like a fresh nozzle or a better bed surface from the range of printing accessories and best sellers often does more for adhesion than any single slicer tweak.
Live Z Offset: The Setting That Ties It Together
None of the above matters if the nozzle sits at the wrong height. Live Z offset (sometimes called baby stepping) lets you fine-tune the gap while the first layer is actually printing. Watch the lines: if they look round and barely touching, lower the nozzle a fraction; if they look squashed and translucent, raise it. The right setting on the 3D printer range stocked at Evetech shows lines that are flat on top and fused into their neighbours with no gaps.
Frequently Asked Questions
What first layer height should I use for a 0.4mm nozzle?
Start at 0.2mm for a clean, reliable base. Move up to 0.3mm if your bed is slightly uneven or you print on a textured sheet, since the thicker bead is more forgiving of small surface variations.
Why turn the cooling fan off for the first layer?
Active cooling freezes the plastic before it can spread into the bed surface, which weakens the bond. Leaving the fan off for layer one keeps the filament warm and pliable so it flattens and keys in properly.
My first layer is not sticking even at these settings. What now?
Clean the bed with isopropyl alcohol to remove finger oils, then recheck your Z offset using live tuning. A dirty surface and a nozzle sitting too high are the two most common causes of adhesion failure.
Is 110 percent flow too much for the first layer?
It is the upper limit. A little extra material fills gaps between lines, but past 110 percent you get a ridged base the nozzle drags through, which can pull the print loose. Keep it between 105 and 110 percent.