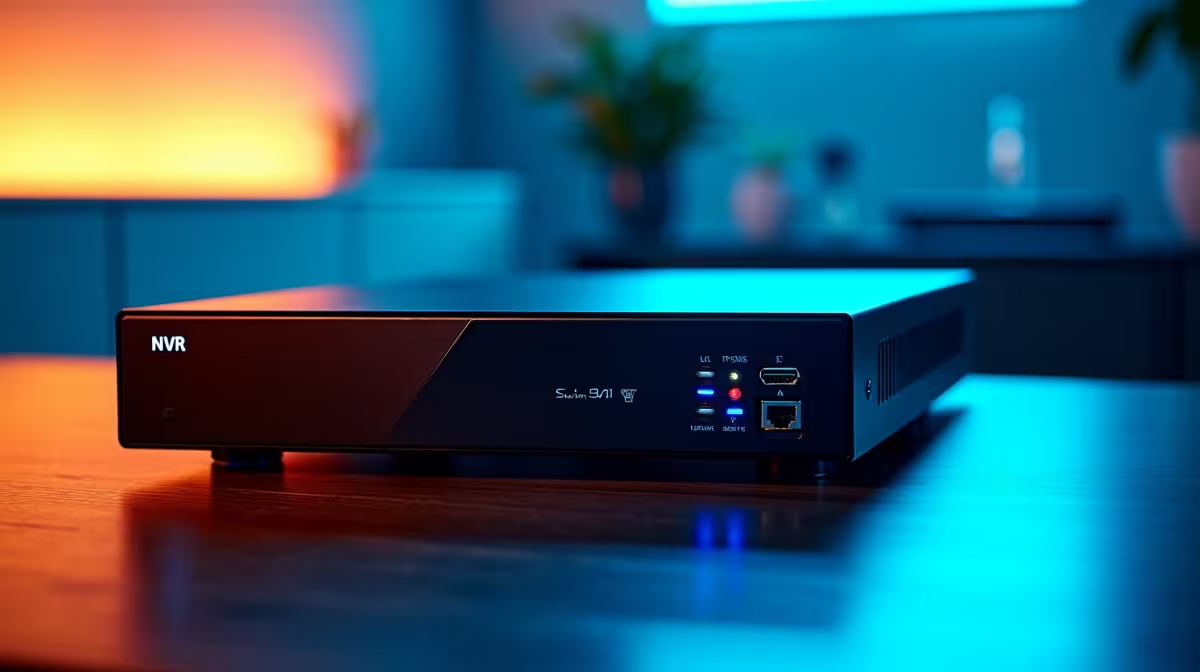
You run the auto-search on your recorder, wait, and the camera list comes back empty even though the camera is plugged in and powered. An NVR that won't find or add a camera almost always fails for one of two reasons: the recorder and the camera sit on different IP subnets, or the camera's ONVIF or RTSP port is blocked or wrong. Sort the addressing and the protocol, and the camera usually pops up on the next scan.
Quick Answer
Put the camera and NVR on the same subnet range, enable ONVIF in the camera firmware, confirm the ONVIF port (often 80, 8080, or 2020), and make sure both devices share the same time. Then re-run auto-search. A subnet mismatch is the single most common cause of a camera that refuses to appear.
Step One: Match the Subnet
If the NVR lives on 192.168.1.x and the camera defaulted to 192.168.0.x, they cannot see each other and discovery silently fails. Set the camera to an address in the same range as the NVR, and give it a static IP so it does not wander onto a new address and break the link later. You can assign that static IP in the camera's own settings or reserve it on your router.
Watch out for NVRs with a built-in PoE switch. Those often put their cameras on a separate internal subnet that is not reachable from your main LAN by default, which is normal but confusing when you go looking for the camera from a PC.
Step Two: Enable ONVIF and Check the Port
Most NVRs discover third-party cameras over ONVIF, so the camera must have ONVIF switched on in its firmware. Many cameras ship with it disabled. Once it is on, confirm the ONVIF port the NVR expects: it is frequently 8080, but plenty of cameras use 80 or 2020, and a mismatch here stops pairing dead.
A quick sanity test is to ping the camera's IP from the same network as the NVR. If the ping replies, the network path is fine and your problem is protocol or credentials; if it times out, you are back to an addressing or cabling issue.
Step Three: Sync Time and Re-Search
A surprising number of ONVIF failures come down to clocks. If the camera and NVR disagree on the time, ONVIF authentication can refuse to complete. Set both to the same time, ideally via the same NTP source, then run auto-search again. Enter the camera's username and password when prompted, since wrong credentials are another quiet reason a found camera still will not add.
For broader setup help and compatible kit, the smart home and security range at Evetech covers cameras and recorders, and the accessories best sellers carry the network cables and connectors a clean install needs.
Frequently Asked Questions
Why does my NVR not detect any camera at all?
The most likely cause is a subnet mismatch, where the camera and NVR are on different IP ranges and cannot communicate. Set them to the same range, give the camera a static IP, and re-run discovery.
What ONVIF port should I use?
It varies by brand. Many cameras use 8080, but 80 and 2020 are also common. Check the camera's network settings and enter the matching ONVIF port on the NVR, since the wrong port blocks pairing entirely.
My camera is found but will not add. Why?
Usually wrong credentials or mismatched time. Enter the camera's correct username and password, and make sure both devices share the same clock so ONVIF authentication can complete.
Should cameras use static or dynamic IPs?
Static. A dynamic IP can change and break the recorder's link to the camera. Assign a fixed address in the camera or reserve it on your router so the connection stays stable.
Setting up or expanding a camera system? Browse compatible cameras and recorders in the smart home and security range at Evetech and get every channel online.