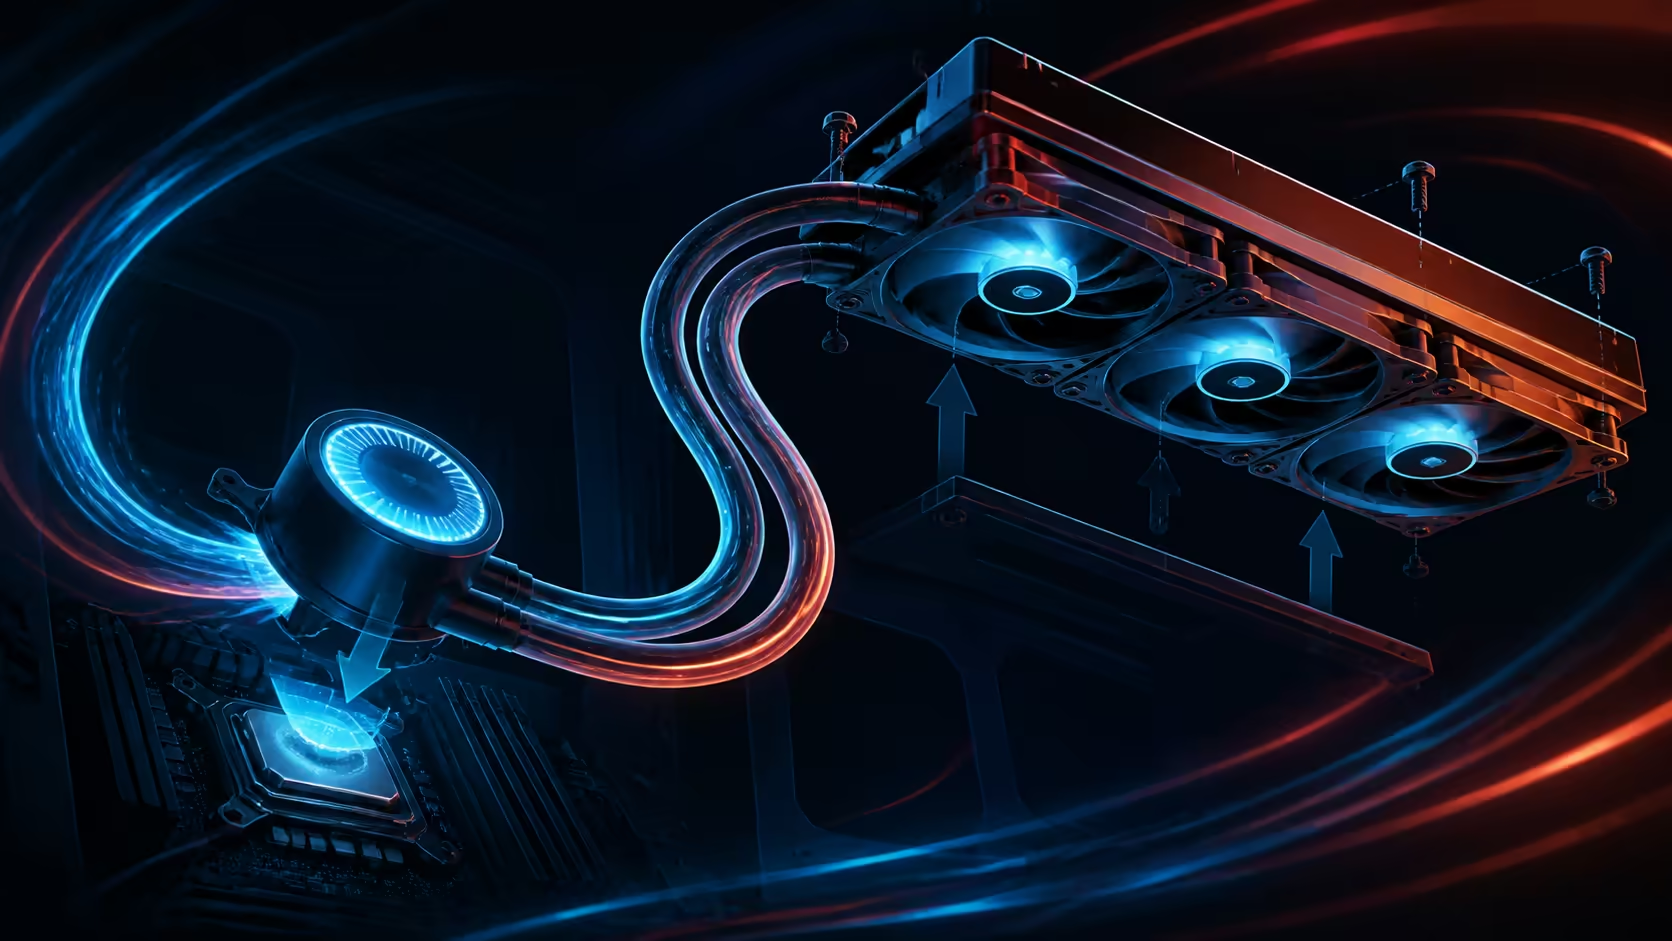
A 360mm radiator can fit the product name and still fail the chosen case plan. Safe 360mm AIO liquid cooler mounting starts with chassis clearance, exact hardware and model instructions, then verifies operation before the new CPU carries a demanding load.
Quick Answer
Confirm a supported radiator location, surrounding clearance, mounting parts and every required connection before fitting the cooler. The R65,999 kit uses the RYUO IV SLC 360 liquid cooler from ASUS ROG. Check its orientation, acoustics and temperature in the finished PC.
📐 Prove physical space before assembly
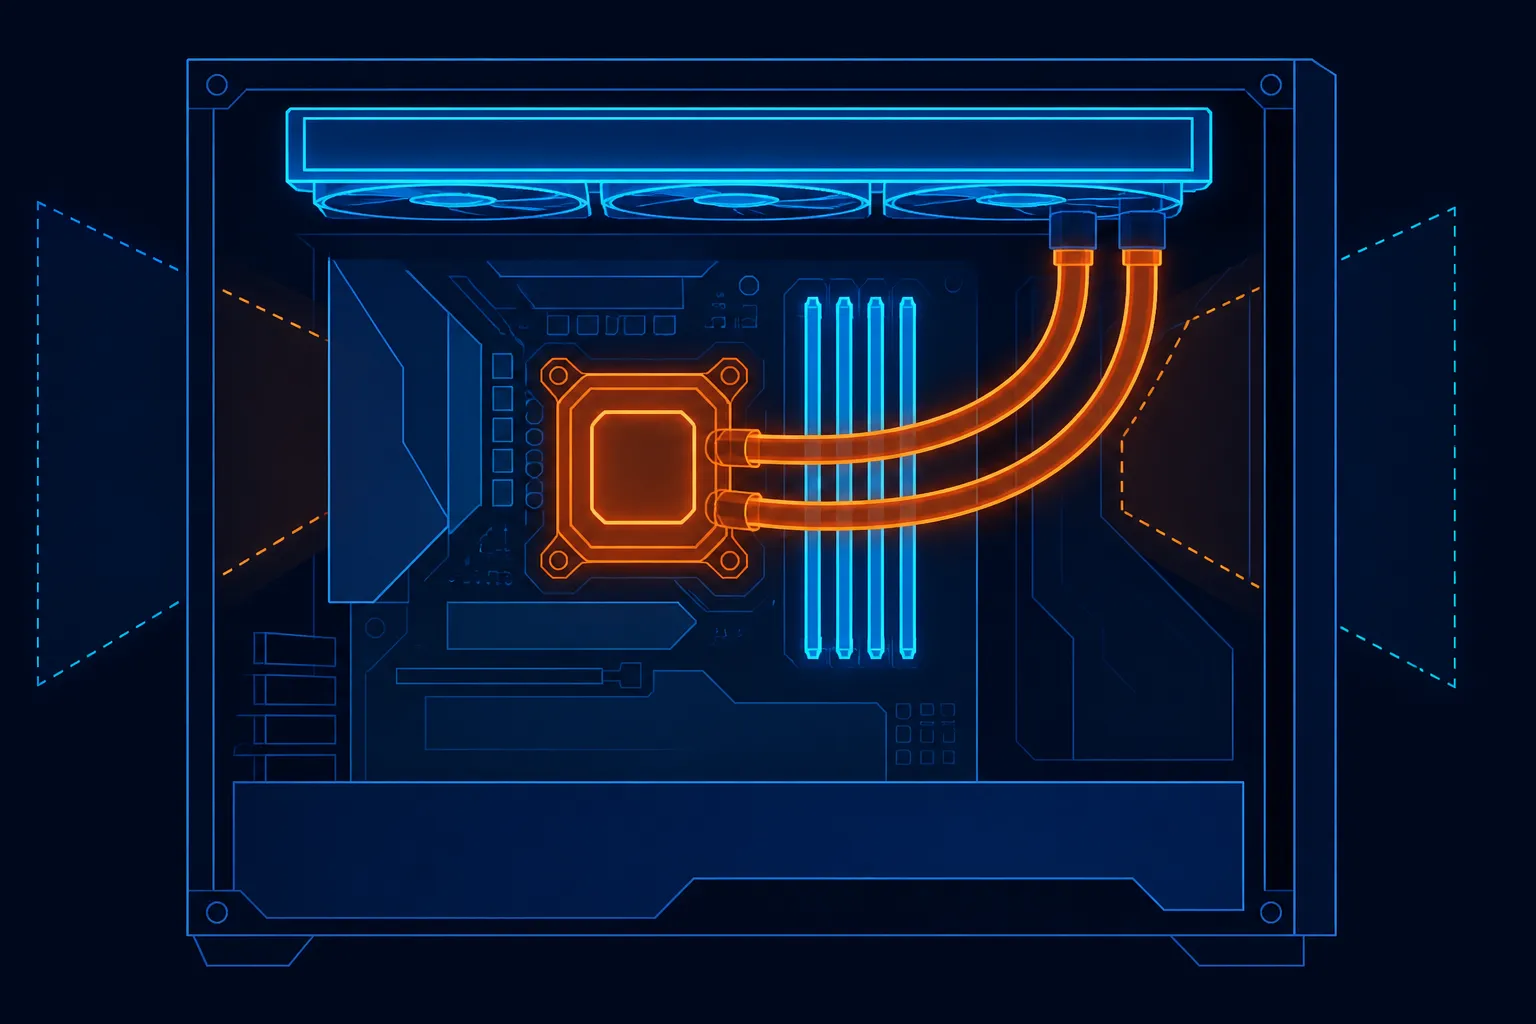
Measure the intended 360mm radiator position against the case documentation and the hardware already installed. Obtain the RYUO IV's exact length, thickness and fan clearance before mapping the available space. Memory height, motherboard components and graphics-card placement can also affect the route.
Do not assume that an AM5-focused component bundle includes a compatible chassis. The target case remains its own decision, as do the power connections and airflow path around the radiator.
Browse Evetech's AMD barebone kits to compare platform scope before choosing the enclosure around it.
🔩 Follow the exact mounting system
Identify the cooler's documented brackets, fasteners and connection sequence. Keep parts from other AIOs out of the work area so a similar-looking screw or spacer cannot enter the wrong installation. Support the radiator securely while attaching it rather than placing strain on the tubing.
Choose orientation through the ASUS instructions and the real case layout. General liquid-cooling principles can explain why routing matters, but they cannot decide the correct position for every chassis. Inspect tube clearance and fan direction before final tightening.
🔌 Verify connections before loading the CPU
Map pump, fan and any required controller connections through the cooler and motherboard guides. The Crosshair X870E Extreme WiFi name cannot supply a complete header map, so use the exact diagrams.
After first power-on, observe that the cooling system is operating as intended before starting a stress workload. If a warning, unusual sound or rapid temperature rise appears, shut down through a safe process and recheck the documented installation rather than compensating immediately with aggressive settings.
Compare full Ryzen 9 upgrade-kit packages once radiator placement and case requirements are known.
🌡️ Measure results in the completed case
Use repeatable idle and workload conditions to assess temperatures, and note ambient and fan settings where practical. The 360mm format and product name do not promise a specific temperature or acoustic outcome. Airflow, mounting, controls and the wider build matter.
Record the passing mounting configuration and cable route. A later noise or thermal change is easier to diagnose when the original installation and test conditions are available for comparison.
Keep the protective caps, mounting parts and cooler documentation organised until the system has passed sustained tests. Before applying power, inspect the cold-plate contact path, tube clearance and fan direction against the intended airflow drawing. After first boot, establish an idle reference, then introduce a representative workload gradually. Record both processor behaviour and pump or fan sound so a thermal observation is not confused with an acoustic one. If something looks wrong, stop and review the assembly sequence rather than repeatedly remounting components without a specific hypothesis. Preserve the original readings for later maintenance comparisons.
Label each cooling baseline with its exact workload and room condition for later maintenance comparisons.
Frequently Asked Questions
What should be measured before fitting a 360mm radiator?
Confirm the supported case location, radiator-and-fan clearance, tubing route and conflicts with memory, board or graphics hardware.
Which liquid cooler comes with the kit?
The cooler model is RYUO IV SLC 360, made by ASUS ROG.
Does bundling prove case compatibility?
No. The case is outside this component group, so its radiator support and surrounding space need a separate check.
Can orientation be copied from another build?
Use the cooler instructions and actual chassis path. A photograph of different hardware cannot establish the correct mounting arrangement.
What noise level should buyers expect?
No exact acoustic result is assigned. Measure the completed system under defined conditions if noise affects the decision.
How much is the cooler-equipped bundle?
The complete Ryzen 9 9950X3D2 upgrade kit costs R65,999, including the 360mm AIO.
Ready to plan radiator fit before opening the case?
Explore Evetech's AM5 upgrade-kit options after confirming the enclosure position, mounting path and connections required by your build.