Your print hits an unsupported span, the nozzle stretches a line of plastic across the gap, and instead of a flat ceiling you get a row of drooping noodles. Sagging bridges happen because the extruded strand stays soft and molten too long, so gravity pulls it down before it can set. The cure is the opposite of what feels intuitive: cool harder and print slower, so each strand freezes in mid-air before it has a chance to sag.
Quick Answer
Sagging bridges are fixed by maxing your part-cooling fan to 100 percent over the bridge and dropping bridge speed to around 20 to 30mm per second. The fast airflow sets each strand almost instantly while the slow speed gives it time to freeze before the next is laid. Dropping print temperature 5 to 10 degrees and trimming flow to about 90 to 95 percent helps further.
Why Bridges Droop
A bridge is a line of plastic with nothing underneath it. The moment the nozzle deposits that strand, it is soft and hot, and the only thing holding it up is its own surface tension while it cools. If it stays molten for even a second too long, gravity wins and the strand bows downward. Print enough of those and the whole underside of the span sags.
So the problem is really a timing race: can the strand solidify faster than gravity can pull it down? Every fix below is about winning that race, by removing heat faster and giving each strand more time to set.
Fix One: Maximise Part Cooling
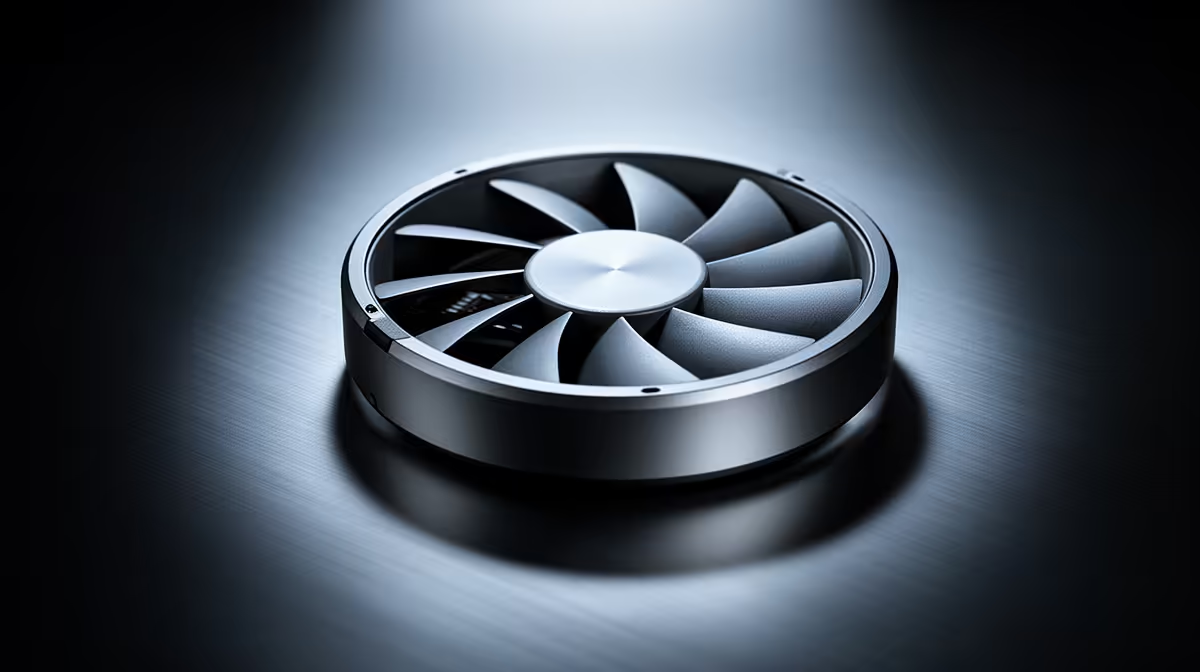
Set the part-cooling fan to 100 percent for bridging. Aggressive airflow chills the molten strand the instant it leaves the nozzle, locking it straight before it can droop. This is the single biggest lever for clean bridges, especially with PLA, which loves cooling.
One caution: too much cooling on the rest of the print can weaken layer bonding, and on some materials it encourages clogs. Most slicers let you raise fan speed specifically for bridge moves, which is the ideal way to apply maximum cooling exactly where it is needed and nowhere else.
Fix Two: Slow The Bridge Speed
Drop your bridge print speed to roughly 20 to 30mm per second. A slower nozzle gives the cooling fan more dwell time over each strand, so the plastic freezes before the next one is laid down and there is less unsupported molten material in the air at any moment. The combination of full cooling and reduced speed handles the large majority of bridging failures on its own.
Fix Three: Temperature And Flow
Two smaller adjustments finish the job. Lowering print temperature by 5 to 10 degrees from your normal setting makes the filament solidify faster, so it resists sagging. And trimming the extrusion flow or multiplier to around 90 to 95 percent lays down slightly less material, which means less weight to droop and a cleaner underside. Make these changes one at a time so you can see what each one does.
If your printer's stock fan and duct struggle to push enough air, a better cooling shroud or a fresh part-cooling fan from the 3D printing accessories on the Evetech best sellers can make a noticeable difference to bridge quality.
Frequently Asked Questions
Should I increase or decrease cooling for bridges?
Increase it, all the way to 100 percent over the bridge. Maximum airflow freezes each strand the moment it is laid, which is exactly what stops it drooping. The instinct to slow cooling for better adhesion is correct for walls, but the opposite of what bridges need.
Why does slowing down help bridging?
A slower nozzle gives the cooling fan more time over each strand before the next is placed, so the plastic sets in mid-air rather than sagging. Around 20 to 30mm per second is a good starting point for bridge moves.
Does print temperature affect bridging?
Yes. Cooler filament solidifies faster, so dropping your temperature by 5 to 10 degrees helps strands set before gravity pulls them down. Combine it with full cooling and reduced speed rather than relying on temperature alone.
What if bridges still sag after all this?
If the span is very long, no settings fully save it; add support under the bridge or redesign the part to shorten the unsupported distance. A weak or poorly directed cooling fan is also a common hidden cause, so check that airflow actually reaches the nozzle tip.
Chasing flat, clean bridges on every print? Browse capable, well-cooled machines on the Evetech 3D printer range and pair one with the cooling upgrades that make tricky overhangs and spans far easier.