Push a calibration cube through your slicer at the default 100% setting and measure the walls with calipers: if they read thicker or thinner than the model, your flow rate is the dial that fixes it. Flow rate, often labelled extrusion multiplier, scales how much filament the extruder actually pushes for a given amount of commanded movement. Get it wrong and every print inherits the error, from blobby corners to gaps between perimeters.
Quick Answer
Flow rate is a percentage multiplier on filament output, with 100% as the calibrated baseline. Most printers land between 92% and 108% after tuning. If your single-wall test prints measure 0.48mm against a 0.45mm target, you are over-extruding and need to drop the multiplier by roughly 6%.
What Flow Rate Actually Controls
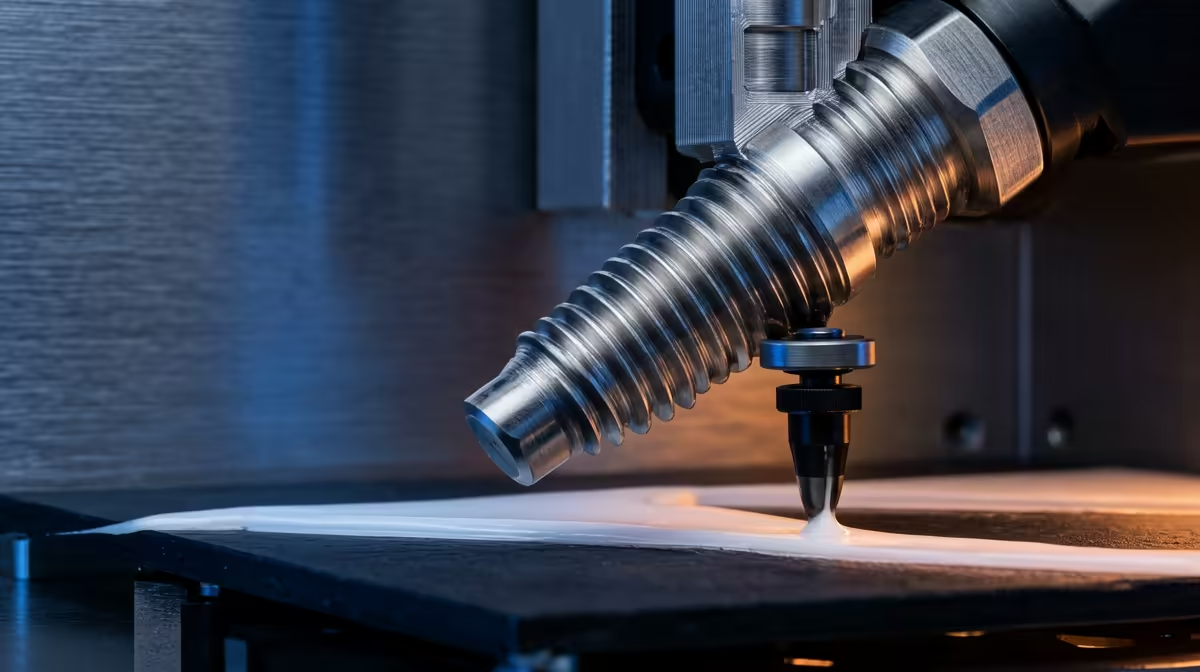
Every line your printer lays down is the result of two numbers working together: how far the nozzle travels and how much filament the extruder feeds during that travel. Flow rate adjusts the second number. At 100% the slicer assumes a perfectly accurate extruder, a precise filament diameter, and a nozzle behaving to spec. Reality rarely cooperates. Filament diameter drifts by a few hundredths of a millimetre between spools, extruder gears wear, and different materials grip the drive gear differently.
The multiplier is your correction for all of that at once. Raise it and more plastic comes out per millimetre of motion, filling walls more solidly. Lower it and you reduce the volume, sharpening corners. Because it touches every extrusion move, even a 4% error compounds across a tall print into visible banding. A solid printer and quality filament are the foundation, and you can browse the 3D printer range at Evetech if you are still building your setup.
How to Calibrate Flow Rate Step by Step
Calibration is faster than most guides make it sound. Print a single-wall hollow cube, 20mm to 30mm tall, with no top or bottom layers, one perimeter, and infill set to 0 so you measure pure extrusion width.
Measure each of the four walls with digital calipers, then average them. Compare that to your intended line width, usually your nozzle diameter or slightly above. The maths is simple: new flow equals current flow multiplied by target width, divided by measured width. If you printed at 100%, aimed for 0.45mm, and measured 0.49mm, your new value is roughly 92%.
Apply it, reprint, and measure again. Two passes almost always gets you inside half a percent. Lock that value into a material profile, because PLA, PETG, and ABS each need their own figure. Keeping spare nozzles and tools from the 3D printing accessories shelf makes reprints painless.
Reading the Symptoms of Bad Flow
Over-extrusion shows as rough top surfaces, bulging corners, and walls that swell where they meet. Under-extrusion is the opposite: visible gaps between perimeters, thin weak walls, and infill that does not bond to the shell. Dimensional accuracy suffers either way, which matters for parts that must fit together. Tuning flow rate before you chase temperature or retraction saves hours, because a badly extruding printer misleads every other test you run.
Frequently Asked Questions
Is flow rate the same as extrusion multiplier?
Yes, they are two names for the same setting. Cura calls it flow, PrusaSlicer and older Slic3r forks call it extrusion multiplier, and some firmware exposes it as a live percentage. They all scale the same volume of filament.
What is a normal flow rate range?
Most well-built printers settle between 92% and 108% after calibration. Values far outside that band usually point to a different problem, such as a wrong filament diameter in the slicer, a partially clogged nozzle, or a slipping extruder gear.
Should I calibrate flow for every filament?
Yes. Each material and even each brand of the same material can need a slightly different multiplier because of diameter tolerance and how the plastic grips the drive gear. Save a separate value per material profile.
Do I tune flow rate before or after temperature?
Calibrate your printing temperature and e-steps first, then flow rate, then retraction. Flow sits in the middle because it relies on the extruder pushing a consistent, accurate amount, which depends on correct e-steps underneath it.
Why are my walls still wrong after calibration?
If two flow passes do not converge, check that the filament diameter in your slicer matches reality, that the nozzle is clear, and that the extruder is not skipping under load. Flow rate corrects small errors, not mechanical faults.
A few minutes with a calibration cube turns a printer that "mostly works" into one that produces dimensionally accurate parts every time. Stock up on quality filament, calipers, and spare nozzles from the Evetech 3D printing range and get your flow rate dialled in for good.