Dreaming of hitting 144Hz in Apex Legends but your wallet is screaming from the price of petrol? You're not alone. The idea of a budget gaming PC build in South Africa can feel like a myth, but it’s more achievable than you think. This guide is your step-by-step walkthrough to building a lekker gaming rig without having to sell a kidney. Let's get you from dreaming to dominating. 🚀
Planning Your Budget Gaming PC Build
Before you even think about motherboards and graphics cards, you need a plan. The first step in any successful budget gaming PC build is… the budget. How much are you actually willing to spend? For a solid entry-level experience in 1080p, a budget between R10,000 and R20,000 is a realistic starting point in South Africa. This allows for quality components that won’t need an immediate upgrade.
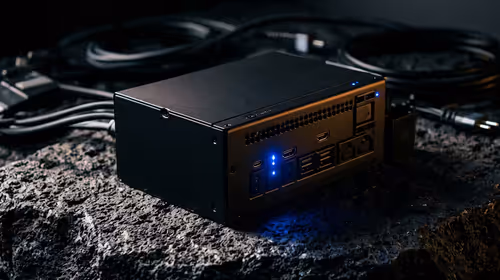
Once you have your number, prioritise. The Graphics Card (GPU) and Processor (CPU) will have the biggest impact on your gaming performance, so allocate the largest chunk of your cash there. Don’t skimp on the Power Supply Unit (PSU) either; a cheap one can be a recipe for disaster. To get a feel for what's possible, it's worth checking out some examples of great gaming PCs under R20,000 to see how components are balanced.
The Core Components: Your Shopping List 🔧
With a budget in hand, it's time for the fun part: choosing your parts. For a beginner, the sheer number of options can be overwhelming. Here’s a simple breakdown of what you’ll need:
- Processor (CPU): The "brain" of your PC. Look for a modern quad-core or six-core CPU from Intel (like an i3 or i5) or AMD (like a Ryzen 3 or 5).
- Graphics Card (GPU): This is what renders your games. This is where you want to spend a good portion of your money for the best performance.
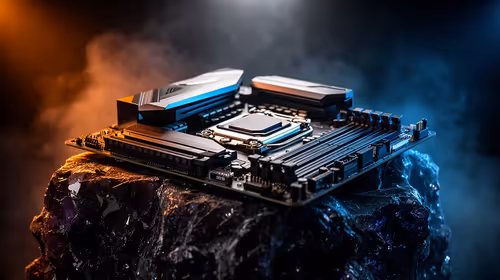
- Motherboard: The central hub connecting everything. Ensure it's compatible with your chosen CPU (e.g., an AM5 socket for a new Ryzen CPU).
- Memory (RAM): 16GB is the sweet spot for modern gaming.
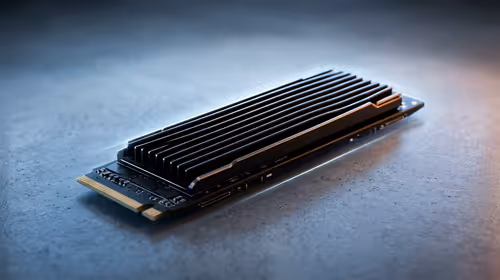
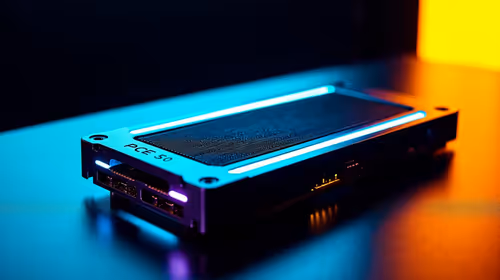
- Storage: A speedy NVMe Solid State Drive (SSD) is essential for fast boot times and loading screens. 1TB is a great starting point.
- Power Supply (PSU): The heart of your system. Get a reputable brand with enough wattage for your components (550W-750W is usually plenty for a budget build).
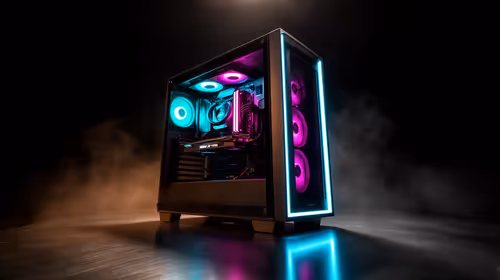
- Case: The home for all your shiny new parts. Pick one with good airflow.
Seeing how these parts come together in existing systems can be a huge help. You can see what combinations work well by looking at pre-assembled budget gaming PCs.
Static Safety Tip ⚡
Static electricity is the silent enemy of PC components. Before you handle any part like your motherboard or RAM, touch a large metal object (like your unplugged PC case) to ground yourself. This simple step can save you a lot of money and heartache by preventing accidental damage.
The Step-by-Step Assembly
Alright, you’ve got your parts. Take a deep breath. Building is like adult LEGOs… just more expensive.
1. Motherboard Prep
Start by installing your CPU, RAM, and NVMe SSD onto the motherboard while it’s still outside the case, resting on its anti-static bag on a flat surface. It’s much easier to work with this way.
2. Case Prep
Install the motherboard standoffs into your case—these are little brass screws that prevent the motherboard from shorting out on the metal case. Then, install the I/O shield that came with your motherboard.
3. The Main Installation
Carefully lower the motherboard into the case and screw it into the standoffs. Next, install your GPU into the top-most PCIe slot. Finally, mount your Power Supply Unit.
4. Cable Management ✨
This is the part that separates a clean build from a "spaghetti monster." Connect the main power cables to the motherboard, CPU, and GPU. Connect your case fans and front panel connectors (power switch, USB ports). Try to route cables behind the motherboard tray for a tidy look and better airflow. This process can be tricky, which is one reason why some gamers with more to spend opt for powerful rigs over R20k that come with pro-level cable management.
Software and First Boot
With everything connected, it's the moment of truth. Plug it in, turn it on, and install your operating system (like Windows 11) from a USB drive. Once Windows is up and running, install the latest drivers for your motherboard and graphics card. Now, you’re ready to install Steam and get gaming! If you ever want to see what a fully optimised system looks like, you can browse Evetech's best gaming PC deals for inspiration.
Is a DIY Build Always the Best Choice?
Completing your first budget PC build guide is incredibly rewarding. You gain a deep understanding of your machine and can save a bit of cash. However, it's not for everyone. The process takes time, research, and a bit of patience, especially if you run into troubleshooting issues.
If you'd rather skip the building and jump straight into the gaming, there's no shame in that. Getting one of the many professionally assembled pre-built PC deals gives you peace of mind with a warranty, expert cable management, and the guarantee that everything will just... work.
Ready to Start Your PC Gaming Journey? Building a PC is a rewarding challenge, but sometimes you just want to jump straight into the action. Whether you build it yourself or let the pros handle it, your perfect rig is waiting. Explore Evetech's massive range of gaming PC deals and find the machine to conquer your world.