A robot does not need a custom circuit board or a degree in electronics. A Raspberry Pi already has everything a first build wants: GPIO pins that drive motors through a driver board and read sensors directly, plus enough processing power to run a camera and decision logic at once. Pair the Pi with a motor-driver HAT and you have a controller that is genuinely beginner-friendly without being a toy.
Quick Answer
A Raspberry Pi controls motors and reads sensors straight off its GPIO pins, and a motor-driver HAT bridges the gap between the Pi's low-power signals and the higher current motors need. For a first robot, a Pi 5, a driver HAT or an L298N/TB6612FNG driver, a chassis, motors, a battery and a few sensors is all the hardware required.
Why the Pi suits a first robot
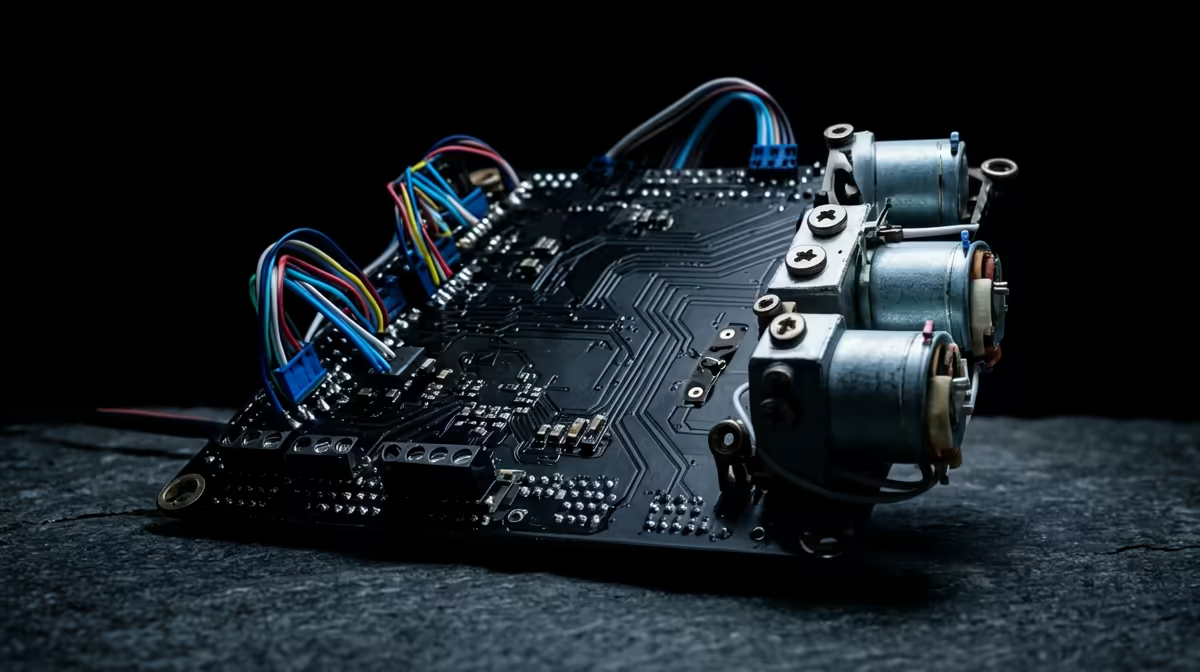
The GPIO header is the heart of it. Those pins output control signals and read inputs, so the Pi can command movement and sense the world without extra computers in the loop. The catch is power: GPIO pins deliver tiny currents, nowhere near enough to spin a motor. That is exactly the job of a motor driver.
Many driver HATs talk to the Pi over I2C, which needs only two pins, SDA and SCL, to control several motors. A Waveshare-style HAT drives two DC motors at once, while an Adafruit DC and Stepper Motor HAT handles up to four DC or two stepper motors with full PWM speed control. That leaves the rest of your GPIO free for sensors. If you want a compact, low-power brain for the build, the mini PC and single-board computer range at Evetech is where to look first.
Building it step by step
1. Choose your controller and driver
Start with a Raspberry Pi 5 for headroom. For the driver, an I2C motor-driver HAT is the cleanest beginner option because it stacks straight onto the header. A standalone L298N or the more efficient TB6612FNG works just as well if you prefer wiring it yourself. One compatibility note: confirm your chosen HAT supports current Raspberry Pi OS, since some older HATs do not run on the Pi 5.
2. Pick a chassis and motors
A simple two-wheel-drive chassis with two DC motors and a caster is the easiest starting point. Kits supply the frame, motors and wheels matched together, which removes the guesswork.
3. Sort out power
Motors and the Pi want separate, clean power. A LiPo or battery pack with a voltage regulator keeps the Pi steady while the motors draw their bursts, so the Pi does not brown out and reboot mid-drive.
4. Wire the driver
Connect the driver HAT to the Pi over I2C, then wire each motor to the driver's outputs and the battery to its motor power input. Double-check polarity before powering on; a reversed motor just spins the wrong way, but reversed power can cook a board.
5. Add sensors
An ultrasonic sensor for obstacle detection and a line-following module are the two classic first additions, both reading straight into spare GPIO pins. This is where the robot stops being a remote-control car and starts reacting on its own.
6. Write the control code
Python is the standard, with mature libraries for GPIO and the common HATs. Begin with a script that drives forward, turns and stops, then layer in sensor reactions like stopping when the ultrasonic sensor sees a wall.
Kits versus building from parts
A ready kit like the PiCar-X is Pi 5 compatible and bundles a camera, ultrasonic module and line-tracking sensor with a clear colour assembly guide, which makes it a forgiving first project. Building from individual parts costs less and teaches more, but expect to spend time matching components. Either way, the best-selling PCs and components at Evetech include the small-form-factor boards and accessories that suit robotics tinkering.
Frequently Asked Questions
Why can't the Pi drive motors directly?
GPIO pins supply only milliamps, far below what a motor needs, and pulling that current through the Pi would damage it. A motor driver takes a low-power control signal from the Pi and switches the higher motor current from a separate supply.
Do I need to know how to code first?
Basic Python helps but is not essential to start. The common HATs ship with libraries and examples, so you can begin by editing a working drive-and-turn script and build understanding from there.
Is a kit or a parts build better for a beginner?
A kit like the PiCar-X is the gentler path, with matched parts and a guide. A parts build is cheaper and more educational but needs more research to make components play together.
Which Raspberry Pi should I use?
The Pi 5 gives the most headroom for adding a camera and on-board logic. Just confirm your motor HAT supports the current Raspberry Pi OS, as a few older HATs are not yet compatible with the Pi 5.