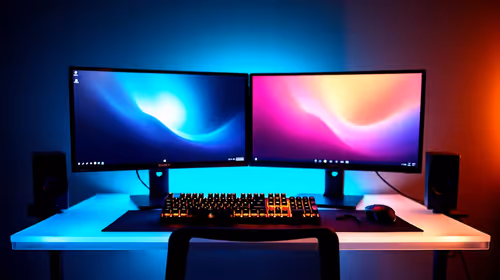
Is your gaming keyboard looking a bit… well-loved? We've all been there. Between the NikNaks dust from last night's session and the spilled cooldrink from that intense boss fight, your primary weapon can get grim. A dirty keyboard doesn't just look bad; it can slow your reaction time and feel gross. This guide is for every South African gamer who wants to know how to clean a gaming keyboard and restore their gear to pristine, battle-ready condition.
Your Weekly Keyboard Cleaning Ritual
Consistent, light cleaning is the best way to prevent a major grimepocalypse. Think of it as routine maintenance for your most important peripheral. A quick clean once a week can make a massive difference and keep your entire desk setup, from your mouse to your monitor, feeling fresh. It's a simple process that barely takes five minutes.
Here’s a quick-and-easy routine:
- Unplug It: First things first. Always disconnect your keyboard from your PC to avoid any accidental key presses or electrical mishaps.
- Turn and Tap: Turn the keyboard upside down over a bin and give it a few gentle but firm taps to dislodge any loose crumbs and dust. You'll be surprised what comes out.
- Brush and Blow: Use a soft-bristled brush or a can of compressed air to clear out the debris from between the keys.
- Wipe Down: Lightly dampen a microfibre cloth with water or a 50/50 mix of isopropyl alcohol and water. Wring it out thoroughly—it should not be dripping! Wipe down the keycaps and the keyboard frame. Don't forget to give your keyboard wrist rest a wipe too.
How to Deep Clean Your Mechanical Gaming Keyboard 🔧
Sometimes, a simple wipe-down isn't enough. For a truly satisfying deep clean that makes your keyboard feel brand new, you need to go a little further. This process is perfect for mechanical keyboards and is the definitive answer to how to clean a gaming keyboard that's seen serious action.
Step 1: Gather Your Tools
Before you start, get your cleaning kit ready. You’ll need:
- A keycap puller (essential!)
- A bowl of warm water with a few drops of dish soap
- A microfibre cloth
- Cotton swabs
- Isopropyl alcohol (70% or higher is ideal)
- A small, soft brush
Step 2: Unplug and Document
Disconnect your keyboard. Now, for the most important step: take a clear photo of your keyboard layout with your phone. Trust us, you will thank yourself later when it's time to put everything back together.
Compressed Air Alternative 💨
No compressed air? No problem. A simple rubber dust blower (the kind used for camera lenses) works brilliantly for blasting dust from under your keys without the icy residue. It's a great, reusable tool to have in your PC maintenance kit.
Step 3: Remove and Soak Keycaps
Use your keycap puller to gently lift each keycap off its switch. Place them all in the bowl of soapy water and let them soak for about an hour. After soaking, give them a gentle scrub if needed, rinse them thoroughly with clean water, and lay them out on a towel to air dry completely. This is also the perfect opportunity to upgrade your look with a fresh set of custom keyboard keycaps.
Step 4: Clean the Keyboard Body and Switches
With the keycaps off, you can now access the keyboard's main plate. Use your brush and compressed air to remove all the loose debris. For any sticky residue or stubborn grime, dip a cotton swab in isopropyl alcohol and carefully clean around each switch. If you find a switch is still sticky or unresponsive after cleaning, it might be faulty. Luckily, on many high-end boards, you can simply swap in new keyboard switches to fix the problem.
Step 5: Dry and Reassemble
Patience is key. Ensure the keycaps and the keyboard body are 100% dry before you start reassembly. Any moisture left behind can damage the electronics. Once you're certain everything is dry, use the photo you took earlier to carefully press each keycap back onto its corresponding switch until it clicks into place.
Knowing When to Say Goodbye ✨
This keyboard cleaning guide can revive most peripherals, but sometimes, a keyboard is just too far gone. If you've got permanently sticky keys that cleaning can't fix, widespread physical damage, or the tech is simply ancient, it might be time for an upgrade. A new board can offer better performance, satisfying aesthetics, and modern features.
Whether you're looking for a budget-friendly replacement or one of the best gaming keyboard deals on the market, there's an option for you. Even the cheapest gaming keyboards in South Africa today offer features that were premium just a few years ago. If your whole setup needs a refresh, you can often find great value in a keyboard and mouse combo.
Ready for a Fresh Start? A clean keyboard is great, but a brand-new one is even better. If your old board has fought its last battle, an upgrade can revolutionise your gaming with faster response times and satisfying new features. Explore our massive range of gaming keyboards and find the perfect weapon for your next victory.