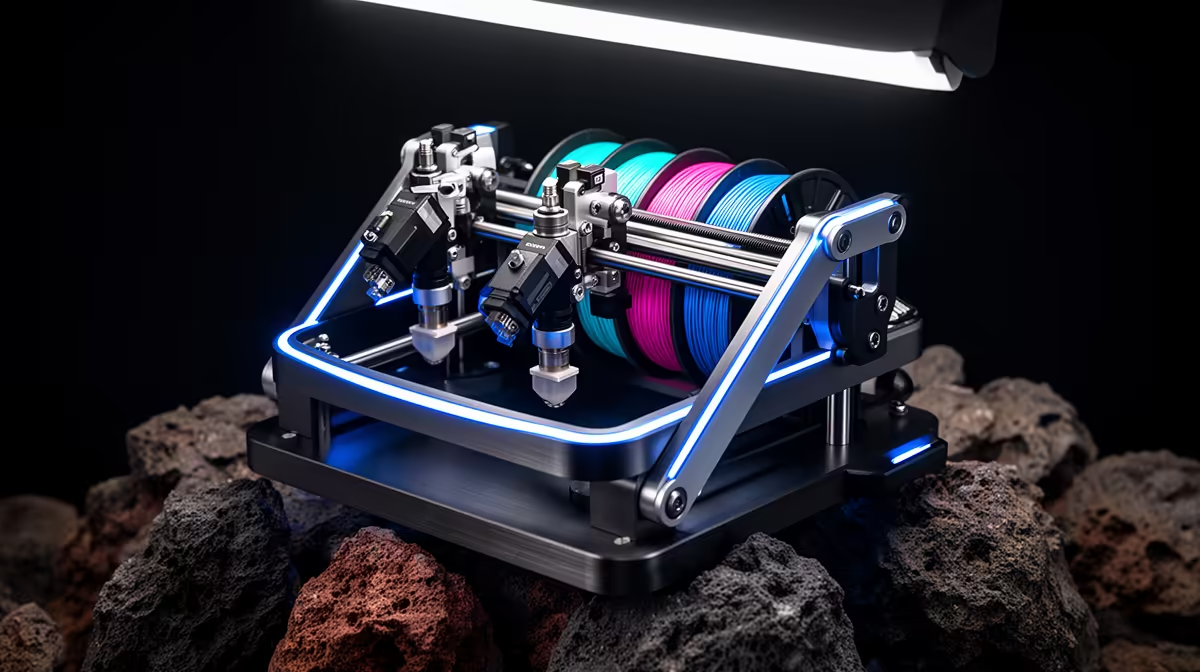
Watching two filaments blend into a muddy smear at every colour change is the moment most people realise that multi-colour printing with the AMS lives or dies on flush tuning. The AMS does not magically swap one clean colour for another. It unloads the old filament, loads the new one, and then has to flush the previous colour out of a hot nozzle that still holds a film of it. Get the flush volumes right and your transitions are crisp; get them wrong and you either bleed old colour into new or burn through a roll on purge alone.
Quick Answer
Tune flush volumes per colour pairing, not globally. Use the auto-calculated values as a starting point, push light-to-dark transitions down aggressively, and keep dark-to-light transitions generous because contamination shows far more there. On a busy multi-colour print, purge can eat 15 to 25 percent of your filament, so getting this right is real savings.
How a Filament Swap Actually Works
Every colour change runs the same sequence. The AMS retracts the current filament, feeds the next spool to the extruder, and the slicer then orders the nozzle to extrude a set volume of the new colour to push the old one out. That flushed material has to go somewhere, which is what the prime tower is for. The nozzle parks over the tower and lays down passes until the colour running through it is clean, then returns to the model.
The number that controls all of this is the flush volume: how many cubic millimetres of filament get purged for each specific transition. In Bambu Studio the values live in a grid, every colour to every other colour, because a swap from black to white is a completely different job to a swap from white to black.
Why the Prime Tower Matters
The melt zone in the hotend holds molten plastic, and the inner walls retain a thin coat of whatever ran last. If the printer jumped straight back to the model after a swap, the first few millimetres of the new colour would carry that residue. The prime tower absorbs those contaminated millimetres so they never land on the part you care about.
A taller, denser model with many colour changes will build a substantial tower beside it. That is expected. The tower is the price of clean colour, and the goal of flush tuning is to make that price as small as possible without smearing the model. You can browse the range of 3D printers stocked at Evetech to see which machines pair with an AMS for this kind of work.
Tuning Flush Volumes Per Pairing
This is where the savings live. Follow the sequence:
- Open the Flushing Volumes window and run the auto-calculate so every pairing has a sensible baseline.
- Drop the multiplier to around 0.5 as a first experiment. Lower values save filament but demand more testing.
- Print a small calibration swatch that runs each pairing you care about, light into dark and dark into light.
- Inspect the swatches. If a light colour shows streaks of the previous dark, raise that one pairing only.
- Where a dark colour looks clean over a light, pull that pairing down further. Dark hides contamination well.
Treat the grid as individual values, not one slider. A blanket reduction will over-purge the easy transitions and under-purge the hard ones at the same time.
Cutting the Waste Further
Bambu Studio can redirect purged filament into hidden parts of the print rather than the tower. Enable flush into infill and flush into support so the material that has to come out anyway ends up inside the model where nobody sees it. On a part with a lot of internal volume this can claw back most of the purge entirely. In Bambu Studio 2.0 the prime volume setting moved into filament settings, letting you set a load purge per spool, which is worth checking if one colour consistently loads dirty.
A roll of spare nozzles, a brass cleaning set and a few extra spools make this trial-and-error far less painful, and you can find those in the 3D printing and maker accessories that sell fastest at Evetech.
Frequently Asked Questions
Why do dark-to-light transitions need more purging?
A trace of dark filament in a light colour is immediately visible, while a trace of light in a dark colour vanishes. So you can purge aggressively when going light to dark, but must stay generous going dark to light to avoid a grey haze on the new colour.
How much filament does purging actually waste?
On a complex multi-colour print, purge can account for 15 to 25 percent of total filament and print time. A model using 30g of visible plastic might burn an extra 40 to 60g across all its colour changes before tuning.
Can I reduce the prime tower without ruining colours?
Yes, by lowering flush volumes pairing by pairing and by routing purge into infill and support. The tower shrinks as you redirect material into the model and trim the easy transitions, but never cut a dark-to-light pairing so far that streaks appear.
Does the AMS Lite work the same way?
The flush and prime-tower logic is identical. The AMS Lite handles the same multi-colour swaps, so the same per-pairing flush tuning and infill-purge tricks apply directly.
What is a good starting multiplier?
Start from the auto-calculated values at a 0.5 multiplier, then adjust individual pairings from a test swatch. It is a balance: too low and you smear, too high and you waste, so let the swatch decide.
Ready to move from single-colour to clean multi-colour prints? Pair the right machine with an AMS from the 3D printer range at Evetech and start dialling in your flush volumes today.