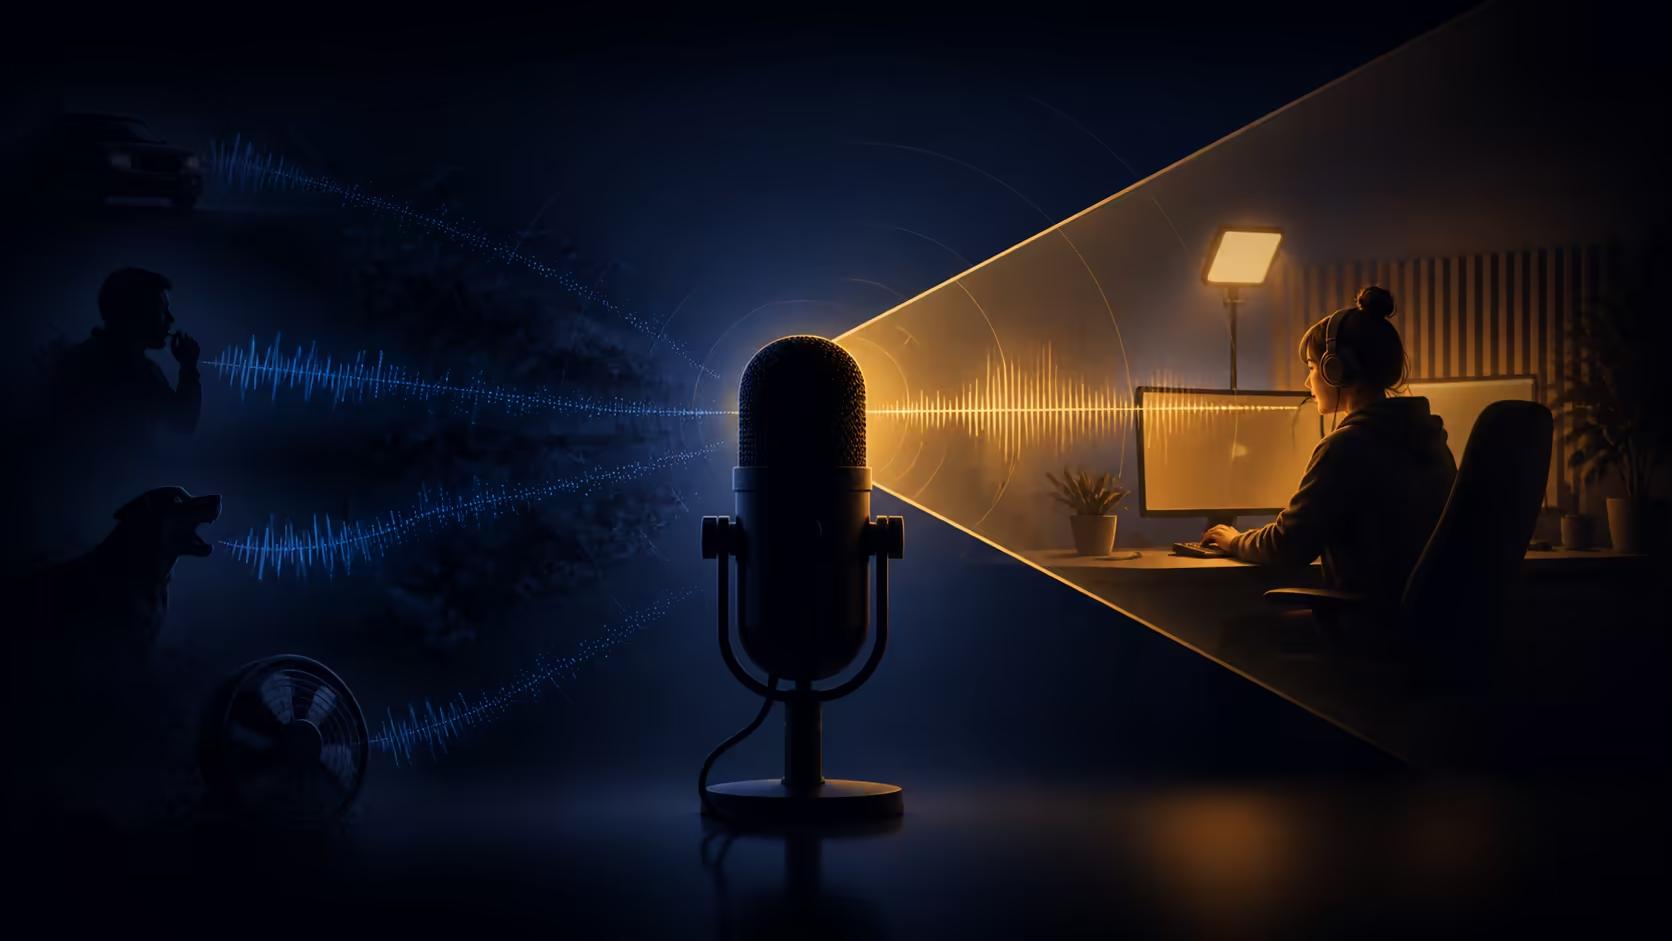
A clean stream begins before any filter is loaded. Put the USB cardioid microphone setup within easy speaking distance, aim its working face towards your mouth, and establish a steady input level with ordinary speech. The R299 MARVO Blast 50 supplies the practical controls needed for this process without adding a separate audio interface.
Quick Answer
Place the Blast 50 in front of the speaker, connect its USB 2.0 Type-A lead, select it as the recording input and monitor a short voice test through headphones. At R299, it combines front-focused capture and noise control with a physical mute button and 3.5mm monitoring, covering the essential stages of a simple streaming setup.
🎯 Build the desk layout around the voice
Start by sitting exactly as you will during a normal stream. The microphone should face the mouth rather than the side of the head, and it should remain close enough that you do not lean towards it whenever you speak. A position just outside the direct line between your eyes and the screen usually preserves both comfort and camera framing.
Cardioid pickup favours sound arriving from the front. Turn the less sensitive side towards the keyboard or the busiest part of the room where practical. Directionality does not erase every unwanted sound, but it improves the balance when the wanted voice reaches the capsule more strongly than distant distractions.
Keep the microphone support stable and prevent the USB cable from pulling it off angle. If a desk vibration reaches the body, move the microphone away from the keyboard or place its support on a firmer section of the surface. Compare other physical formats in Evetech's microphone selection before committing to a crowded layout.
🔌 Connect and select the right input
Insert the wired USB Type-A connector into the computer, then open the operating system's sound controls. Choose the Blast 50 as the input instead of assuming the newest device becomes active automatically. Speak at a normal level and watch the input meter respond.
Streaming applications, games and calling tools can each remember a different device. Open the application you intend to use and select the microphone there as well. Record ten seconds containing quiet speech, normal commentary and one energetic sentence. That range reveals whether the level remains useful throughout a real session.
🎧 Set level with real-time monitoring
Connect suitable headphones to the microphone's 3.5mm jack. Real-time monitoring makes mouth distance, breath noise, desk bumps and sudden changes in delivery easier to hear while they happen. Begin with a comfortable headphone volume; monitoring is a control tool, not a loudness contest.
Adjust the software input until ordinary speech is clearly represented without driving energetic words into obvious distortion. If the room becomes too prominent, move the microphone closer before adding more input level. A stronger voice-to-room balance at capture is generally more natural than heavy correction later.
Once the voice is stable, listen to the saved clip through the headphones you will use during the stream. Evetech's gaming headset range is relevant when you need a comfortable monitoring partner for long sessions.
🎙️ Rehearse the controls before going live
Practise one-touch mute while another application is in the foreground. Use it for coughs, private remarks and sudden nearby noise, then adopt a visible or audible state check before resuming. The physical control is most valuable when its use becomes automatic.
Run one private test stream or local recording with the same game, voice-chat and music arrangement planned for the broadcast. Confirm that the commentary remains clear beside the other sources. RGB lighting can be set for the desired desk appearance after the audio path is dependable.
Keep a repeatable baseline
Write down the chosen input, application level, microphone position and headphone volume. That small record makes recovery easier if a program update or moved desk changes the result.
Check the stream mix at two voice levels
Record a calm explanation and an excited gaming reaction against the same game or music level. The quieter passage must remain intelligible, while the louder one should stay free of obvious clipping. If only one delivery works, move the microphone slightly closer and reduce input gain before reaching for heavy compression. Repeat the test after sitting back naturally, because a setup that depends on rigid posture will drift during a long broadcast.
Save the stronger version as the desk reference.
Frequently Asked Questions
Where should a cardioid microphone sit for streaming?
Place it in front of the speaker and slightly off the direct sightline to the screen. Keep the working face aimed at the mouth and put likely noise sources towards the less sensitive side.
How close should I speak to the microphone?
Use a distance that supports relaxed posture and a strong voice without breath blasts. Test a few nearby positions, because the best point depends on speaking volume and desk layout.
What should I check after connecting the USB cable?
Confirm that the operating system and the streaming application both use the Blast 50. Then capture a short file and listen for useful level, clean speech and unwanted desk noise.
How does real-time monitoring help during setup?
It lets you hear changes in distance, delivery and incidental noise immediately. That feedback makes physical corrections quicker than repeatedly stopping to replay a file.
When is one-touch mute useful on a live stream?
Use it before a cough, private conversation or sudden interruption. Check the mute state before speaking to viewers again so the return is not silent.
What does the MARVO Blast 50 add to a simple setup?
For R299 it combines wired USB, cardioid pickup, noise reduction, RGB, a physical mute control and monitoring through a 3.5mm jack.
Ready to turn a quiet desk test into confident live commentary? Explore Evetech's microphone and gaming-audio categories, then choose the pieces that keep your voice close, controllable and comfortable for a full stream.