
Best Wireless Gaming Headset in South Africa - Updated July 2026
Wireless gaming headsets are available at Evetech from R499 including VAT, with 75 models in stock. The range runs to R999 for console-specific PDP Phantom Air models.
Read moreinstalling LED strips around corners — Checklist: assess surface; choose flexible strip type; plan corner transitions; secure seams. Get pro tips to bend, join, and finish long LED strips cleanly on corners and curves. 💡🔧

Setting up a world-class battlestation in South Africa usually involves a healthy dose of RGB. But nothing ruins the aesthetic faster than a drooping light strip or a messy, snapped corner. If you want that clean, professional glow behind your monitor or desk, you need to master the art of installing LED strips around corners. It is about more than just sticky tape... it is about precision 🔧.
When you are upgrading your setup with premium gaming accessories, you want the finish to look like a pro did it. Most LED strips are flexible, but they do not like being bent at sharp 90-degree angles. Forcing a fold can damage the internal circuitry... leading to dead zones or flickering colours.
There are two primary ways to handle a turn without cutting your strip. The first is the "Ribbon Fold". You bend the strip back on itself and then turn it in the new direction. This creates a small loop that stands off the surface slightly but keeps the electrical path intact. It is perfect for the back of a desk where the loop is hidden.
The second method is the "90-Degree Loop". Instead of a tight fold, you create a small, loose curve that arches over the corner. This is much safer for the long-term health of the LEDs. If you are hunting for the latest gaming accessory deals to save some ZAR, you might find strips with pre-scored sections that make these turns even easier.
Before sticking any adhesive, wipe the back of your desk or monitor with isopropyl alcohol. South African dust is relentless... this simple step ensures your LED strips stay put for years instead of peeling off during a hot summer week.
If folding feels too risky, L-shape connectors are your best friend. You cut the strip at the designated copper pads and clip them into a plastic corner piece. This creates a perfect 90-degree angle with zero stress on the strip. Before you buy, browse the Gaming Accessories category to ensure you have the right pin count for your specific RGB or ARGB setup.
Heat is the enemy of adhesive. In South Africa, our high ambient temperatures can cause the factory glue to fail over time. Using small mounting clips at the corners provides extra support where the tension is highest. This prevents the strip from pulling away and sagging... keeping your glow consistent and your cable management neat 🚀.
Ready to Level Up Your Lighting? A great gaming setup is built on the details. Whether you are adding ambient light or upgrading your peripherals, we have the gear to help you win. Explore our massive range of gaming accessories and find the perfect additions to your dream build.
Use flexible strips rated for bending, warm the adhesive slightly, and use low-tension bends or corner connectors to avoid stressing LEDs.
Yes—cut only at the marked cut lines, then use solderless connectors or solder joints to join segments on curved surfaces.
Use high-quality 3M VHB or silicone adhesive suitable for your surface; add mounting clips for extra support on curved edges.
Yes—corner and L-shaped PCB or solderless connectors let you maintain continuity without tight bends; see LED strip corner connectors guide.
Choose IP65 or higher waterproof strips, seal joints with silicone, and use waterproof corner connectors for durable outdoor installs.
Soldering gives the strongest connection but high-quality solderless connectors work for many installs—choose based on seam tightness.
Use recessed channels, diffuser profiles, or tight corner connectors and smooth adhesive to hide seams and keep a clean line.
Wireless gaming headsets are available at Evetech from R499 including VAT, with 75 models in stock. The range runs to R999 for console-specific PDP Phantom Air models.
Read more
Gaming keyboards are available at Evetech from R399 including VAT, with 41 models in stock. The best keyboards run from R3,999 analog and Hall-effect boards up to R6,699 flagships.
Read more
Gaming headsets are available at Evetech from R329 including VAT, with 120 models in stock. The best headsets open at R6,499 and run to R15,499 for the Arctis Nova Elite.
Read more
Gaming mice are available at Evetech from R199 including VAT, with 105 models in stock. The best mice start at R3,699 for the Razer DeathAdder V3 Pro and run to R4,199.
Read more
Gaming headsets are available at Evetech from R329 including VAT, and within a R1,000 ceiling the best options run from R899 wired up to R999 for wireless PDP Phantom Air.
Read more
Gaming mice are available at Evetech from R199 including VAT, with 25 models in stock under R500. The strongest options run from R399 up to R499 wireless tri-mode mice.
Read more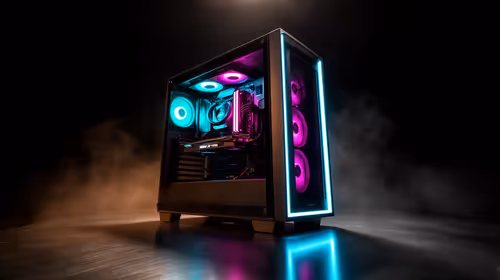
The great PC refresh of 2026 is driven by Windows 11 requirements: millions of machines lack TPM 2.0 or a supported CPU, forcing replacement over a simple upgrade. SA home and office users on 2017-era PCs are in this global wave with Windows 10 now unpatched.
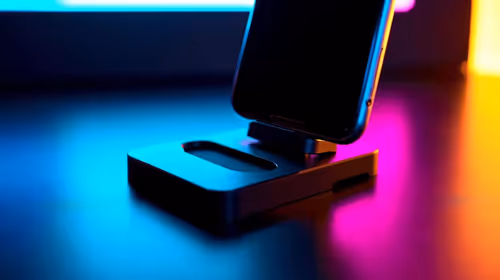
Searching for a universal smartphone mount in South Africa? 📱 Discover the essential features to ensure your device stays secure, stable, and perfectly positioned during your daily commute. 🚗
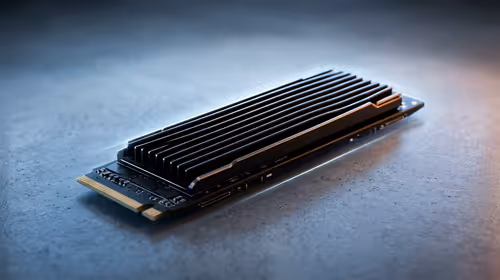
Pre-Black Friday NVMe SSD buying advice for SA should be shortlisted around the job it must do. South African buyers should compare capacity, speed, thermals, and motherboard support, warranty path, and upgrade room before treating any pick as best.

Wi-Fi 7 vs Wi-Fi 6e for cinematic story games comes down to router support, latency goals, device compatibility, and coverage. SA buyers should match the choice to the real network setup.
Wireless gaming headsets are available at Evetech from R499 including VAT, with 75 models in stock. The range runs to R999 for console-specific PDP Phantom Air models.

FPS drops blamed on a wireless mouse often point to input, driver, USB, network, or system-load checks. Use a quick SA-friendly troubleshooting flow to isolate software, firmware, thermals, storage, and game settings before replacing hardware.

How to fix fps drops on steam deck starts with power profile, shader cache, storage health, and per-game settings. For South Africa, check charger quality, heat, and download stability before assuming the handheld needs repair. Retest after updates.

How to fix low FPS after an RTX 5080 build upgrade starts with driver cleanup, display settings, thermals, and power mode. For SA gamers, verify GPU usage, PCIe speed, RAM profile, and CPU limits before changing parts.
Wireless gaming headsets are available at Evetech from R499 including VAT, with 75 models in stock. The range runs to R999 for console-specific PDP Phantom Air models.
Gaming keyboards are available at Evetech from R399 including VAT, with 41 models in stock. The best keyboards run from R3,999 analog and Hall-effect boards up to R6,699 flagships.
Gaming headsets are available at Evetech from R329 including VAT, with 120 models in stock. The best headsets open at R6,499 and run to R15,499 for the Arctis Nova Elite.
Gaming mice are available at Evetech from R199 including VAT, with 105 models in stock. The best mice start at R3,699 for the Razer DeathAdder V3 Pro and run to R4,199.