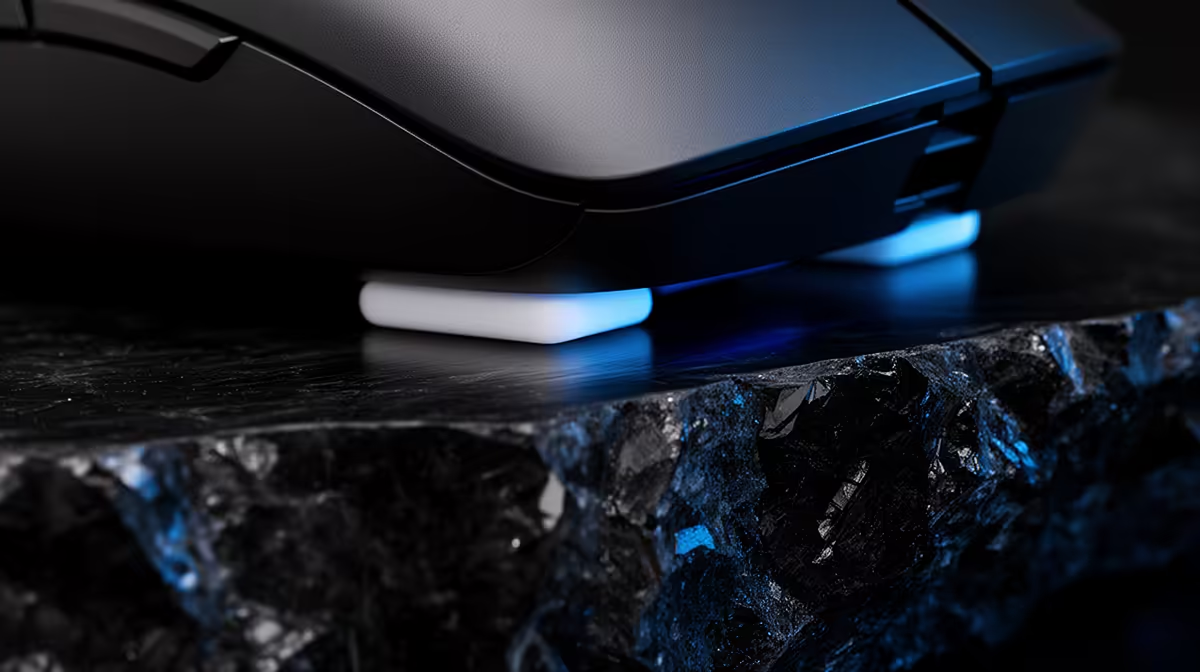
Mouse skates wear at different rates on cloth, hybrid and glass pads. Six months can be early for a smooth cloth setup and late for an abrasive hard surface. Replace them when glide, balance or scratch noise changes and inspection shows damage, not because a calendar says the feet have expired.
Quick Answer
Clean the mousepad and sensor opening first. Inspect every skate under side light for deep grooves, lifted edges and exposed plastic. Buy a replacement set cut for the exact mouse revision. Remove the old feet with gentle warmth, clean only with a material-safe method, then seat the new skates on a flat base and let their adhesive settle.
Compare current shapes and weights in Evetech's gaming-mouse deals and popular mouse range. The linked pages help you price a replacement mouse; check the maker or specialist skate supplier for exact replacement-foot availability.
Prove the Feet Are the Cause
Wipe the mousepad and test another clean section. Dust, skin oil and fabric polish can make a pad feel muddy or inconsistent. A hair around the sensor can change tracking without affecting friction.
Place the mouse on a flat surface and press each corner. Rocking can mean a skate is missing, folded or unevenly seated. Look for plastic around the skate touching the pad, which often creates a sharp scraping sound.
Compare slow diagonal movement and a fast swipe. Worn feet can increase static friction, but a new pad coating or humid cloth surface can create the same feeling. Test on another known-good pad before peeling anything.
Choose the Replacement Material
Pure PTFE skates are common because they glide well, but thickness, edge rounding and adhesive quality change the feel. Rounded edges reduce the chance of digging into a soft pad. Dye or additive claims are less useful than exact fit and reliable thickness.
Glass skates can feel fast on cloth and wear differently, yet they can slow as the pad surface changes and may be noisy on hard pads. Ceramic options have their own surface compatibility. Match feet to the pad and control preference.
Buy a full set from one pack. Mixing one new thick foot with worn originals tilts the mouse and can change sensor height. Keep a second set if the model is old or difficult to source.
Check whether the mouse hides screws beneath the skates. Removing feet for internal service can destroy their adhesive, so have replacements ready before opening the shell.
Prepare the Mouse
Unplug a wired mouse or switch a wireless model off. Remove batteries where the design allows it. Photograph the original skate positions and orientation, including any small sensor ring.
Work on a clean table with a tray for removed pieces. Dust trapped under new adhesive creates a bump. Wash and dry your hands so skin oil does not weaken the bonding surface.
Warm the old skate with your hand or a hair dryer on a low, distant setting for a few seconds. The goal is to soften adhesive, not heat the battery or deform the shell. Stop if the base becomes warm.
Remove the Old Skates
Lift an edge with a plastic pick or fine tweezers, keeping the tool shallow. Pull the skate back slowly rather than digging down into the mouse base. Avoid metal blades near a battery or thin plastic.
Check whether a black or clear adhesive layer stayed behind. Some skates separate into layers, and installing on top raises the new foot. Remove residue without scraping the shell.
Do not probe screw holes or the sensor window. If the old foot tears, lift each piece with the same shallow motion.
Clean Without Damaging the Base
Use the replacement-skate maker's and mouse maker's instructions. A lightly dampened lint-free cloth may be enough. Isopropyl alcohol can remove adhesive on many plastics, but coatings, labels and shell finishes differ. Apply it only where the exact material guidance permits, and never pour liquid onto the mouse.
Keep solvent away from the sensor lens, seams, rubber grips and printed serial label. Use the smallest amount on a swab and follow with a dry lint-free pass. Let the base dry fully.
Run a finger near, rather than across, the adhesive area to find raised residue. The surface should be flat and clean, not polished or gouged.
Install the New Set
Dry-fit each skate before removing its backing. Confirm orientation and whether the set includes optional centre or sensor-ring pieces. Do not stack replacements over transport film.
Peel the backing without touching the adhesive. Align one edge inside the recess, lower the skate and press across it with a clean fingertip or soft cloth. Use even pressure and avoid stretching the PTFE.
Repeat for the full set. Place the mouse on a truly flat surface and check for rocking. If one foot is misaligned, correct it before firm pressure sets the adhesive; repeated lifting can weaken it.
Some replacement skates have a thin protective top film that must be removed after installation. Read the pack. Leaving it on creates a rough glide that looks like a bad product.
Break In and Compare
Give the adhesive the settling time stated by the supplier. Use the mouse gently at first. Fresh edges and pad fibres can settle over several hours, so a new set may become smoother after normal play.
Keep DPI, pad and game sensitivity unchanged for the comparison. Faster feet can make stopping feel different even when sensor response is identical. Adjust sensitivity only after your control adapts.
Inspect the pad for hard debris that damaged the old feet. A glass pad needs frequent dust removal because one grain can scratch and sound severe. Cloth and hybrid pads need cleaning according to their maker.
When Replacement Does Not Help
Scraping after a correct install can come from a warped base, shell edge or mousepad debris. Rocking suggests inconsistent skate thickness or a foot not seated in its recess. Tracking changes can involve lift-off distance or a sensor ring of different thickness.
If the shell is cracked or warped, more feet will not level it. If the sensor fails on one surface, test another pad and reset lift-off controls before blaming PTFE.
For a new mouse with an uneven base or missing skate, preserve its condition and use the proper support route before modifying it.
FAQ
Must mouse skates be replaced every year?
No. Surface, use, pressure and material decide wear. Replace them when condition and glide evidence agree.
Can I install new skates over the old ones?
No. Stacking changes sensor height and can create an uneven base. Remove every old layer first.
Are glass skates always faster than PTFE?
No. Pad material, cleanliness, humidity and wear change their glide and control.
Prove the pad is clean, match a full skate set to the exact mouse and install it on a flat residue-free base before changing sensitivity.