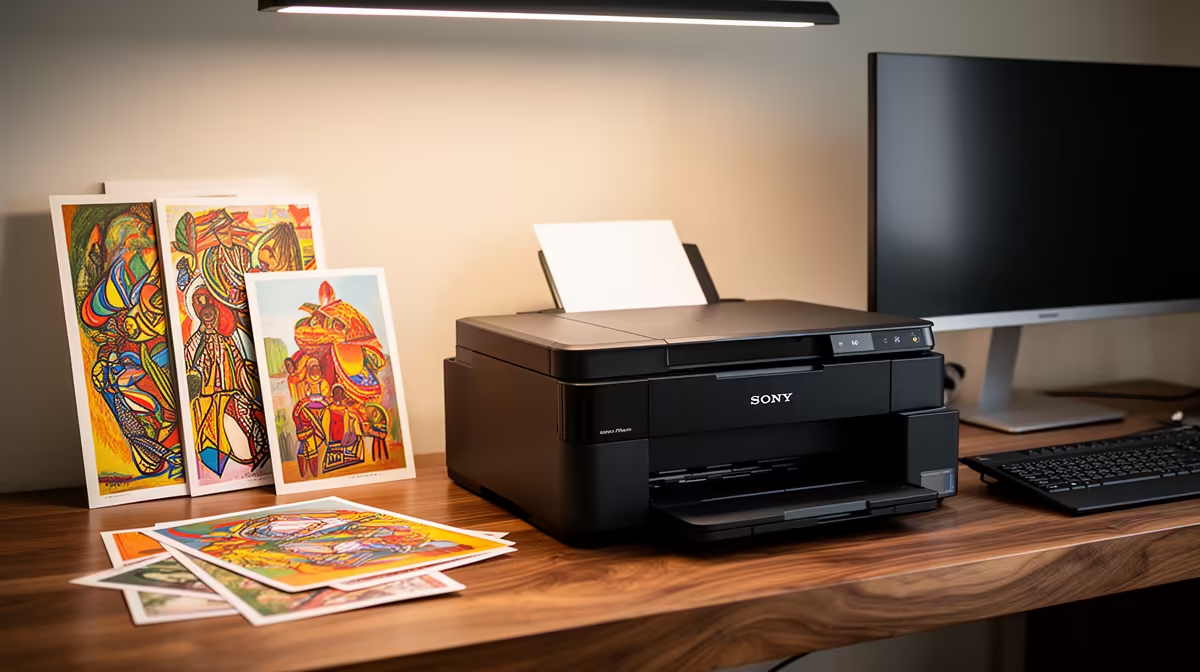
Pair a photo printer with a calibrated editing display, suitable paper and a dependable file-backup process. The printer only reproduces what the colour-managed workflow sends. The verified facts contain no photo-printer SKU, so compare devices elsewhere by ink system, supported sizes, profiles and local consumable availability.
Build the colour path first
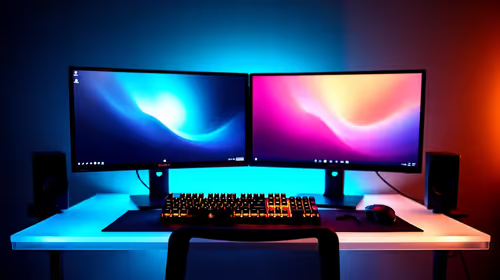
Use a suitable display under controlled room light and calibrate it with appropriate equipment. Install the printer and paper profiles supplied for the exact combination. Print a familiar image with skin tone, shadow detail and saturated colour. View the print under consistent light rather than beside a bright screen. Keep the digital master unchanged when making print-specific adjustments.
Add paper, maintenance and backup
Store paper flat in a clean, dry place and follow the printer guidance for regular use and nozzle care. Include spare ink, cleaning cycles and rejected sheets in the cost. Keep camera originals, layered files and print masters in versioned backups; paper is an output, not an archive. Add a dedicated work surface that prevents dust and vibration. Buy the printer when monthly volume and control justify the maintenance.
Order one professional reference print before purchase so the home setup has a real quality target.
Keep one known photo and matching paper profile for periodic checks, making colour drift or clogged nozzles easier to spot before an important print job.
Pro Tip ⚡
Completing a photo-print workflow? > Explore Evetech monitors and storage, then source a printer around paper, ink and colour-management needs.