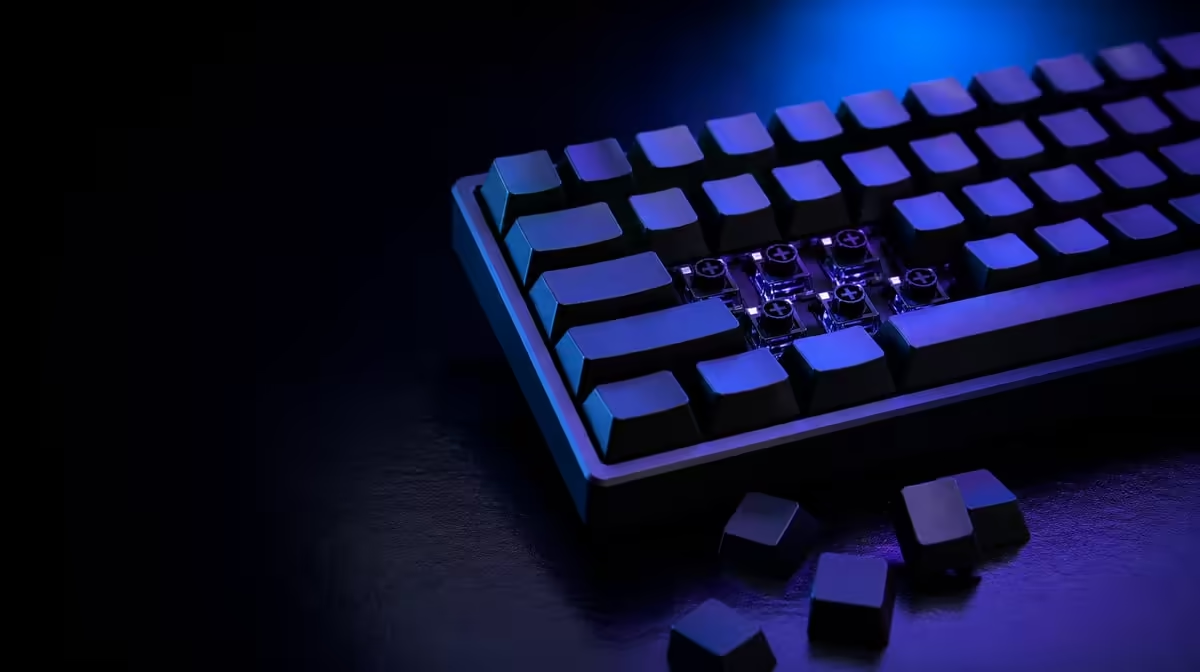
Hot-swap sockets remove soldering from routine switch replacement, not the need for care. Changing hot-swappable keyboard switches safely means proving compatibility, using the right tools, supporting the board, inspecting every pin and testing a small group before continuing.
Quick Answer
Disconnect the compatible hot-swap keyboard, remove the keycap and switch with suitable pullers, keep the switch straight and inspect its pins. Align the replacement gently with the supported socket, stop if resistance feels wrong, then reconnect and test before changing more keys.
🧰 Prepare the board and workspace
Confirm that the keyboard is hot-swappable and identify the switch format its sockets accept. A mechanical-looking board is not automatically hot-swap, and not every socket supports every switch.
Read the keyboard's own instructions before removing anything. Note warranty terms, approved tools and any steps required to expose the plate safely.
Some hot-swap designs accept different pin arrangements or switch families. Write the exact supported format on the storage box so a later replacement is not chosen from memory.
Check whether the board requires removal from power only or another preparation step. Follow its guide rather than treating all hot-swap sockets as identical.
Use a clean, well-lit table. Disconnect the keyboard and move drinks, loose metal objects and clutter away. Keep a container ready for keycaps and removed switches.
A keycap puller lifts the cap without prying against its edge. A switch puller should engage the switch housing tabs rather than crushing the case or scratching the plate.
Photograph the starting layout. Keycaps in compressed arrangements can be easy to mix up, and a reference prevents a small experiment from becoming a puzzle.
Back up software profiles before hardware changes. The switch replacement should not coincide with an unrelated key-map loss that confuses the final test.
Browse Evetech's Logitech gaming-keyboard selection to understand current keyboard layouts before planning a modification.
🧷 Remove one switch without twisting
Start with a less critical, easy-to-reach key. Pull the keycap upward with controlled, even force, avoiding sharp sideways motion that can stress the stem.
Position the switch puller on the housing tabs. Squeeze only enough to release them, then lift in line with the switch. Rocking aggressively can damage the plate, housing or socket.
If the switch will not release, stop. Recheck the board instructions, tool position and whether another retention method is present. More force is not evidence that the technique is correct.
Support the keyboard on a flat, non-scratching surface. Flexing the case while pulling can place force away from the switch and make controlled removal more difficult.
Inspect the removed switch and empty socket under good light. Look for bent metal pins, debris or a socket that has moved. Do not insert another part when damage is visible.
Store the original switch in a labelled container. Its position and type matter if the experiment is reversed or a fault is compared later.
Avoid touching or bending exposed pins during storage. Small rigid compartments keep switches from pressing against one another and protect the reference parts.
Compare the wider gaming-keyboard category only after recording the exact compatibility format required.
📌 Align the replacement precisely
Check the new switch against the supported format and inspect every pin. A slightly bent pin should not be forced into the socket; correct it only through appropriate guidance or choose an undamaged part.
Orient the housing to match the plate and socket. Place it squarely and press gently in a straight line. Correct installation should not require a violent push.
If resistance appears, remove the switch and inspect again. A pin can fold underneath the housing and appear installed while making no electrical contact.
Replace the keycap in the correct orientation without striking it. Confirm that the key moves freely and returns normally before reconnecting the board.
Change only a small group at first. This limits the search area if a key fails and protects the user from repeating the same alignment mistake across an entire keyboard.
A mixed sample can help compare feel. Place alternatives on keys performing similar repeated actions and use them across gaming and typing, but record every position so the test remains understandable.
Match the sample by switch category and intended question. Comparing two alternatives for feedback or force is more useful than scattering unrelated switches across random keys.
Do not use a critical competitive match as the first evaluation. A quiet input test and ordinary practice environment reveal faults without risking a live session.
Never work on a connected board merely because hot-swap sounds immediate. The term refers to solder-free switch replacement; the maker's safe procedure still applies.
Frequent changes can wear sockets over time. Hot-swap makes careful experimentation possible, not endless pulling for entertainment. Once a preferred switch is found, leave a reliable configuration in place.
🧪 Test before expanding the change
Reconnect the keyboard and use a simple input view outside a live match. Press the changed key repeatedly, hold it, release it and compare it with neighbouring controls.
Check for missed input, chatter and unusual feel. If a problem appears, disconnect again before inspecting the switch.
Compare the failed position with the original known-good switch. If the original works, the replacement or its pin alignment deserves attention; if neither works, stop before stressing the socket.
Test stabilised keys only when the user understands their additional parts. Large keys can involve stabilisers that need different handling from an ordinary single-unit key.
Keep a change log with switch type, key position and date. Mixed-switch experiments become useful only when the user can remember which feeling belongs to which part.
Once a small sample passes, continue in manageable groups and repeat the test after each. Speed is not the objective; a functional board is.
Test modifiers and multi-key combinations as well as single presses. A keyboard can pass a basic letter test while a game binding reveals an unexpected mapping or registration issue.
Run a final typing passage after the game test. It can expose a changed key position, inconsistent return or fatigue that rapid single-key checks overlook.
Store tools, spare switches and keycaps where pins cannot be crushed. A labelled organiser preserves the parts for future maintenance.
Keep the purchase record and warranty guidance with that organiser. If a socket or plate appears damaged, contact the appropriate support channel instead of attempting an undocumented repair.
Review Evetech's accessories best sellers after the compatibility and tool plan is complete, then check current availability.
Frequently Asked Questions
Do hot-swappable switches require soldering to replace?
No. Compatible hot-swap sockets are designed for switch removal and insertion without soldering.
What tools make a first switch change safer?
A suitable keycap puller, switch puller, good lighting and labelled storage support controlled work.
How should a switch be pulled from the plate?
Release its housing tabs and lift in line with the socket, avoiding aggressive twisting.
What must be inspected before inserting the replacement?
Check switch compatibility, pin alignment, housing condition and the socket for visible damage or debris.
How much force should installation require?
Only gentle, straight pressure; unexpected resistance means the switch should be removed and reinspected.
What test should follow each small group of changes?
Confirm repeated presses, holds and releases in an input view before modifying more keys.
Can any mechanical switch fit every hot-swap keyboard?
No. Socket format and physical compatibility vary, so the specific board's support must be established.
Planning a careful first switch change?
Compare Evetech gaming keyboards by their documented hot-swap support, then organise compatible parts and tools before lifting a key.