So, you’ve got a box of shiny new PC parts, and the excitement is real. But so is the anxiety, right? What if you break something? Forget that. This isn't rocket science; it's more like high-tech LEGOs. This easy PC setup guide is designed for South African gamers just like you. We'll walk you through the key steps to get your rig from box to boot-up in no time, without needing an expert looking over your shoulder.
Your Simple PC Setup Starts with Preparation
Before you even touch a component, let's get your workspace ready. A successful build is 90% preparation and 10% execution. Find a large, clean, well-lit table or floor space. Grab a Phillips-head screwdriver and some small zip ties or velcro straps for cable management later.
Most importantly, ground yourself! Static electricity is the silent enemy of PC parts. The easiest way to do this is by periodically touching the metal part of your PC case while it's unplugged. This simple PC setup habit ensures you don't accidentally fry your precious hardware. 🔧
The Core Component Installation Guide
This is the fun part where everything comes together. Don’t rush it. Follow the manuals that came with your motherboard and case, but here’s the general order of operations that makes life easier.
Step-by-Step Assembly
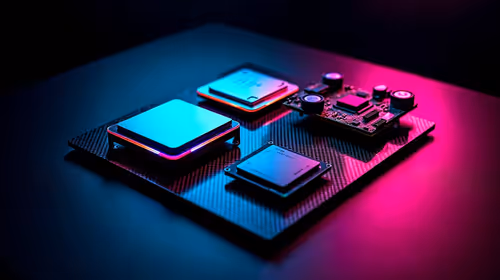
- CPU & RAM on the Motherboard: Start by installing the CPU and RAM onto the motherboard before you put it in the case. It’s much easier to work with it on a flat, static-free surface (like its own box).
- Motherboard into the Case: Gently lower the motherboard into the case, aligning it with the pre-installed standoff screws. Secure it, but don't overtighten.
- Power Supply (PSU): Mount your power supply unit. Route the main cables towards the motherboard and other key areas before things get too crowded.
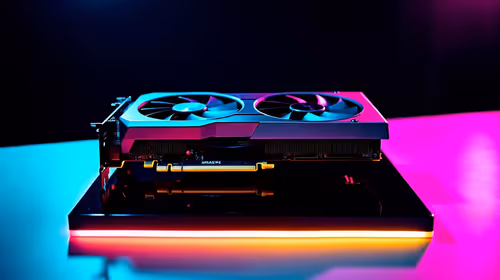
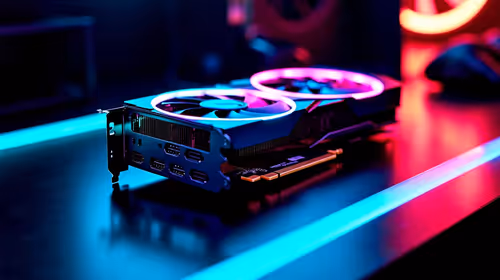
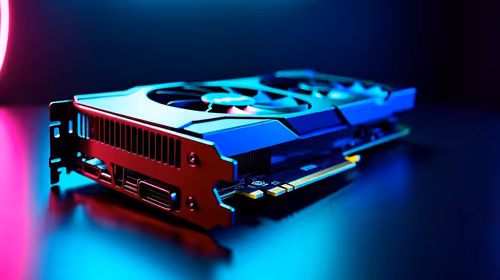
- Graphics Card (GPU) & Storage: Slot your GPU into the top-most PCIe slot for maximum performance. Then, install your SSDs or hard drives into their designated bays.
Cable Management Pro-Tip
Don't connect all the power cables at once. Route them neatly behind the motherboard tray first. Connect the big ones (motherboard, CPU) and then the smaller ones (GPU, drives). This not only looks better but vastly improves airflow, keeping your rig cool and quiet. ✨
Powering On and First Boot Success
With everything connected, it's the moment of truth. Plug in your power cable, connect a monitor, and press the power button. If everything lights up and you see a manufacturer logo on the screen (prompting you to enter BIOS/UEFI), congratulations! You’ve successfully assembled your PC.
From here, you'll install your operating system (like Windows) from a USB drive. This final step in our PC setup guide for beginners is what turns your collection of parts into a fully functional gaming machine.
Beyond the Build: Elevating Your Gaming Space 🚀
Now that your rig is purring, why limit its power to a small screen? To truly appreciate the graphical horsepower you’ve just assembled, you need an immersive display. Imagine playing the latest AAA titles on a massive, wall-sized screen. A high-quality Viewsonic projector can make that a reality, turning your room into a private cinema.
And you don't need to break the bank for an epic visual upgrade. There are incredible projectors under R20,000 that deliver stunning colour and clarity, making every game an event.
Ready for the Ultimate Setup? Your new rig deserves a display that does it justice. Explore our full range of projectors and transform your room into a true gaming sanctuary.