Getting started with Home Assistant comes down to three decisions made in order: pick the hardware it runs on, flash Home Assistant OS onto it, then walk through the onboarding that sets up your first devices through a local web dashboard. Do those three things and you have a private, locally-controlled smart home hub that does not depend on any cloud account staying online. This guide takes a South African newcomer from an empty desk to a first working automation.
Quick Answer
Buy a small computer to run it on (a Raspberry Pi 5 with 8GB and an SSD is the sweet spot, a Pi 4 with 4GB the practical baseline), flash Home Assistant OS to the drive, boot it, then open http://homeassistant.local:8123 in a browser and follow the onboarding. Budget roughly R2,000 to R4,000 for the hardware depending on the board and storage you choose.
Step 1: Choose your hardware
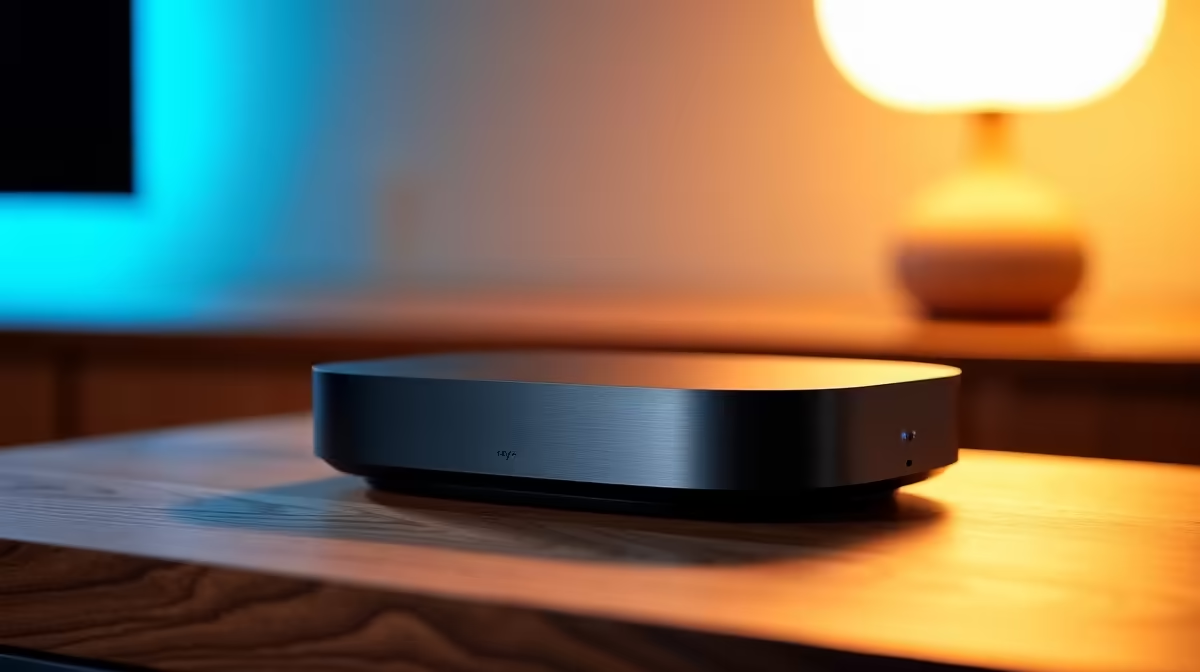
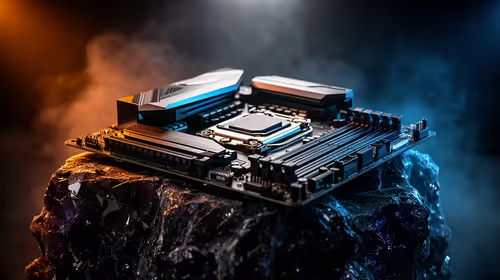
Home Assistant runs on modest hardware, but the choice of board shapes your experience for years, so it is worth getting right the first time.
The Raspberry Pi route
A Raspberry Pi is the most common starting point. The practical baseline is a Pi 4 with 4GB of RAM, which runs a typical smart home smoothly. If you want headroom for many integrations and add-ons running at once, a Raspberry Pi 5 with 8GB is the stronger pick: it is faster and handles concurrent integrations comfortably. Either way, the board is only part of the bill, and you will want a proper power supply and a case.
Skip the SD card, use an SSD
The single most important hardware lesson in 2026 is storage. Home Assistant writes to disk constantly, and that steady stream of small writes wears out SD cards, leading to corruption and a dead hub months later. Use an SSD instead. On a Pi 5, an NVMe SSD gives excellent performance and stability; on a Pi 4, a USB 3.0 SSD is already a major improvement over a card. This one decision is the difference between a hub that lasts and one that fails.
Step 2: Install Home Assistant OS
Home Assistant OS, or HAOS, is the recommended way to install. It is a purpose-built Linux system that manages updates, backups and add-on containers for you, so you do not need to be a Linux user to keep it healthy.
- Download the official Home Assistant imaging tool and the HAOS image for your board.
- Flash the image onto your SSD using that tool.
- Connect the drive, plug in Ethernet, and power on.
- Wait about 3 to 5 minutes on first boot. HAOS is resizing the filesystem and pulling the latest core version, so let it finish without interrupting power.
Ethernet is strongly preferred over Wi-Fi for a hub, because it should be a stable, always-on device sitting near your router rather than something you carry around.
Step 3: Onboarding and first devices
Once HAOS has booted, open a browser on the same network and go to http://homeassistant.local:8123. The onboarding flow guides you step by step.
- Create your account: set a username and password, and enter your location so the system knows your sunrise, sunset and local weather, useful for time-based automations.
- Let auto-discovery run: Home Assistant scans your network and finds compatible devices on its own, things like media players, your router and various smart devices, and offers to add them.
- Add anything it missed manually through the integrations page.
From here you have a working dashboard. The smart home and appliances category gives you a feel for the kind of devices that slot in, and the smart home range at Evetech is a useful starting point for picking compatible plugs, sensors and lights.
Step 4: Add Zigbee, Thread and Matter
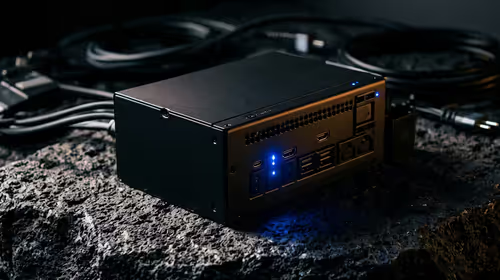
Many affordable smart devices speak Zigbee or the newer Thread and Matter standards rather than Wi-Fi, and Home Assistant needs a radio to talk to them. A small USB dongle adds Zigbee 3.0, Thread and Matter support to any Home Assistant system, whether you built it on a Pi or bought a dedicated box. Plugging one in opens the door to a huge range of low-cost, battery-friendly sensors and switches that do not clog your Wi-Fi. It is the most worthwhile early upgrade after the hub itself.
Step 5: Your first automation
With a couple of devices added, build something small to learn the flow. A classic first automation is a motion sensor that switches on a light after dark and turns it off again after a few minutes of no movement. In the automation editor you set the trigger (motion detected), a condition (only after sunset, using the location you entered), and the action (turn the light on). Save it, walk past the sensor, and watch it fire. That single working rule teaches the trigger-condition-action pattern that every later automation builds on.
For the cables, USB hubs, power supplies and small extras that round out a build, it is worth scanning the accessories best sellers before you place an order, so you order everything in one go.
Frequently Asked Questions
What hardware do I need to start with Home Assistant?
A small always-on computer is enough. A Raspberry Pi 4 with 4GB is the practical baseline and a Pi 5 with 8GB is the comfortable choice for heavier setups. Pair it with an SSD rather than an SD card, plus a power supply and a case.
Why should I avoid an SD card?
Home Assistant writes to storage constantly, and that wears out SD cards over time, causing corruption and failure. An SSD, NVMe on a Pi 5 or USB 3.0 on a Pi 4, is far more reliable and is the standard recommendation in 2026.
How do I open Home Assistant after installing it?
Once Home Assistant OS has booted, open a browser on the same network and go to http://homeassistant.local:8123. Give it 3 to 5 minutes on the very first boot before it becomes reachable.
Do I need a separate dongle for Zigbee or Matter?
Yes, if you want to use Zigbee, Thread or Matter devices. A small USB dongle adds those radios to any Home Assistant system. Wi-Fi devices work without it, but a Zigbee or Thread radio unlocks a much wider range of affordable sensors.
Can I run Home Assistant without coding?
Yes. Home Assistant OS handles updates and backups automatically, and the onboarding plus the visual automation editor let you set up devices and rules without writing code. Advanced users can dig into configuration files later if they want to.