SSD vs HDD – Which is Better?
Discover the perfect storage solution - Explore the benefits of SSD vs HDD and find out which powers your laptop best. 💾🚀
101 days ago·4 min read
Loading tags...
Clone drive to NVMe SSD safely with this clear, step-by-step guide covering backups, cloning tools, BIOS/UEFI boot setup, and post-clone checks ✅🔧

Stuck in loading screens longer than a queue at Home Affairs? Is your rig's startup a slow waltz instead of a lightning-fast sprint? Many South African gamers and tech enthusiasts face this daily grind, often held back by an ageing storage drive. Upgrading to a blazing-fast NVMe SSD is the ultimate performance boost, but the thought of migrating all your precious data can feel like a mission. Don't stress, we've got you covered. This step-by-step guide will show you how to clone your drive to an NVMe SSD safely, ensuring a smooth transition without losing a single frag or spreadsheet.

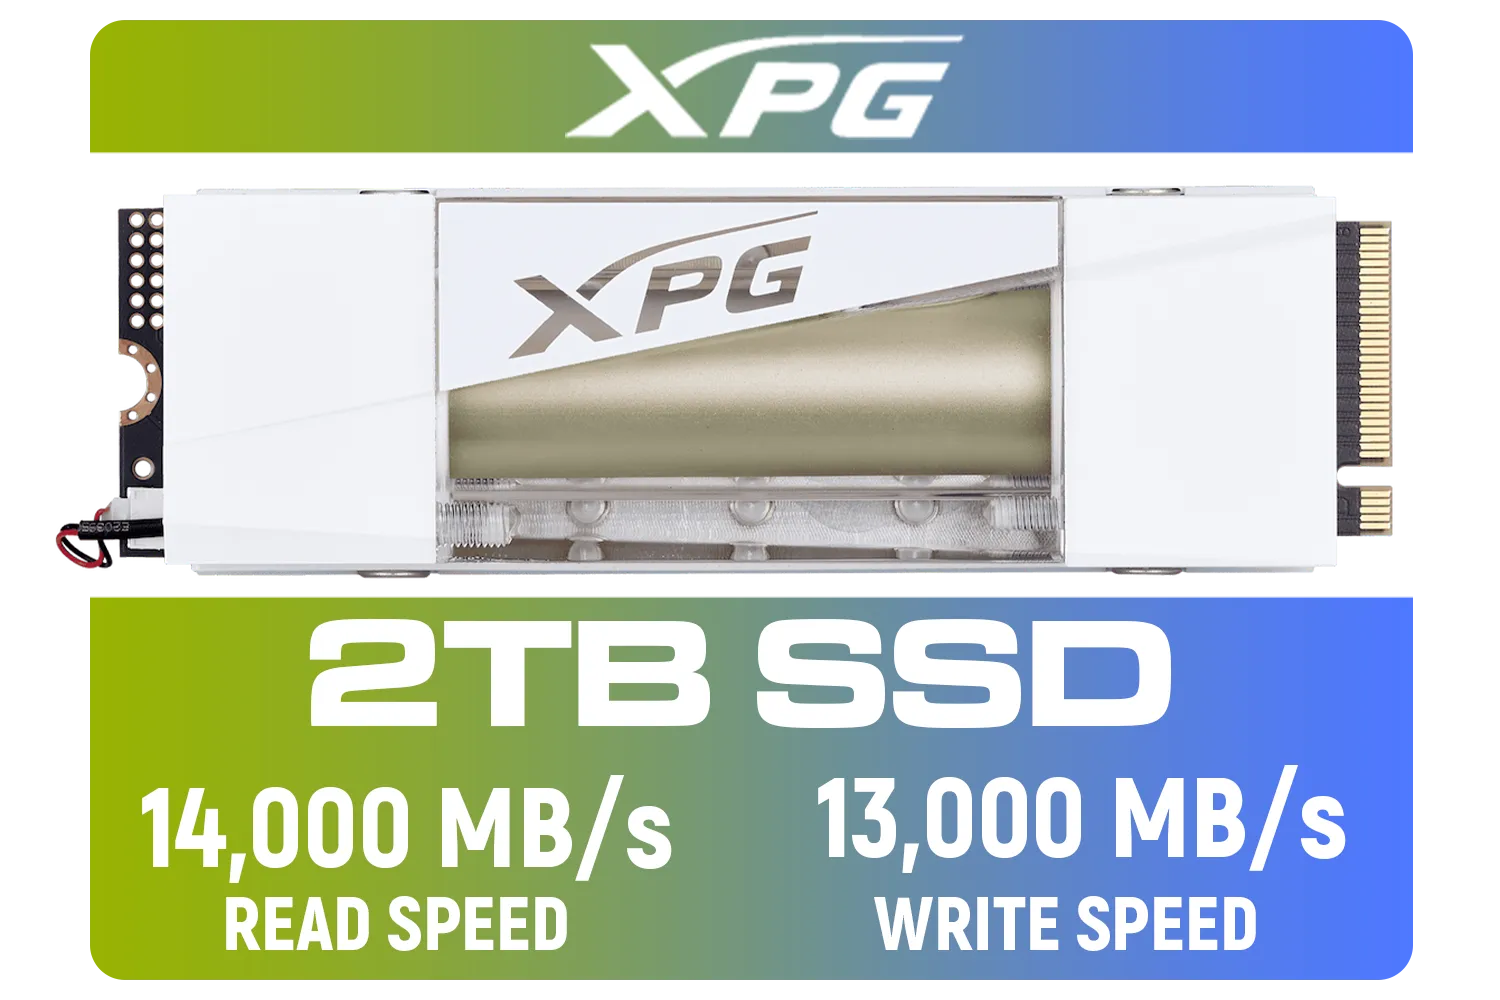
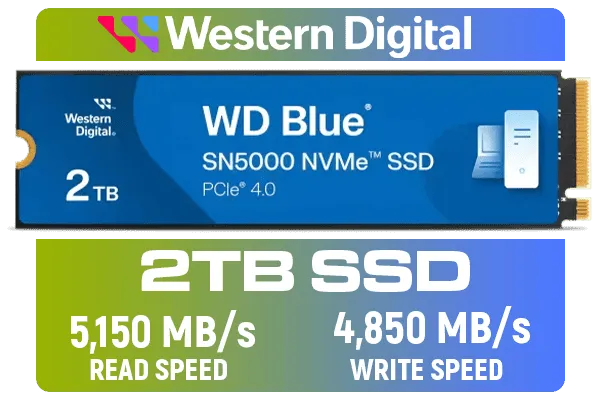

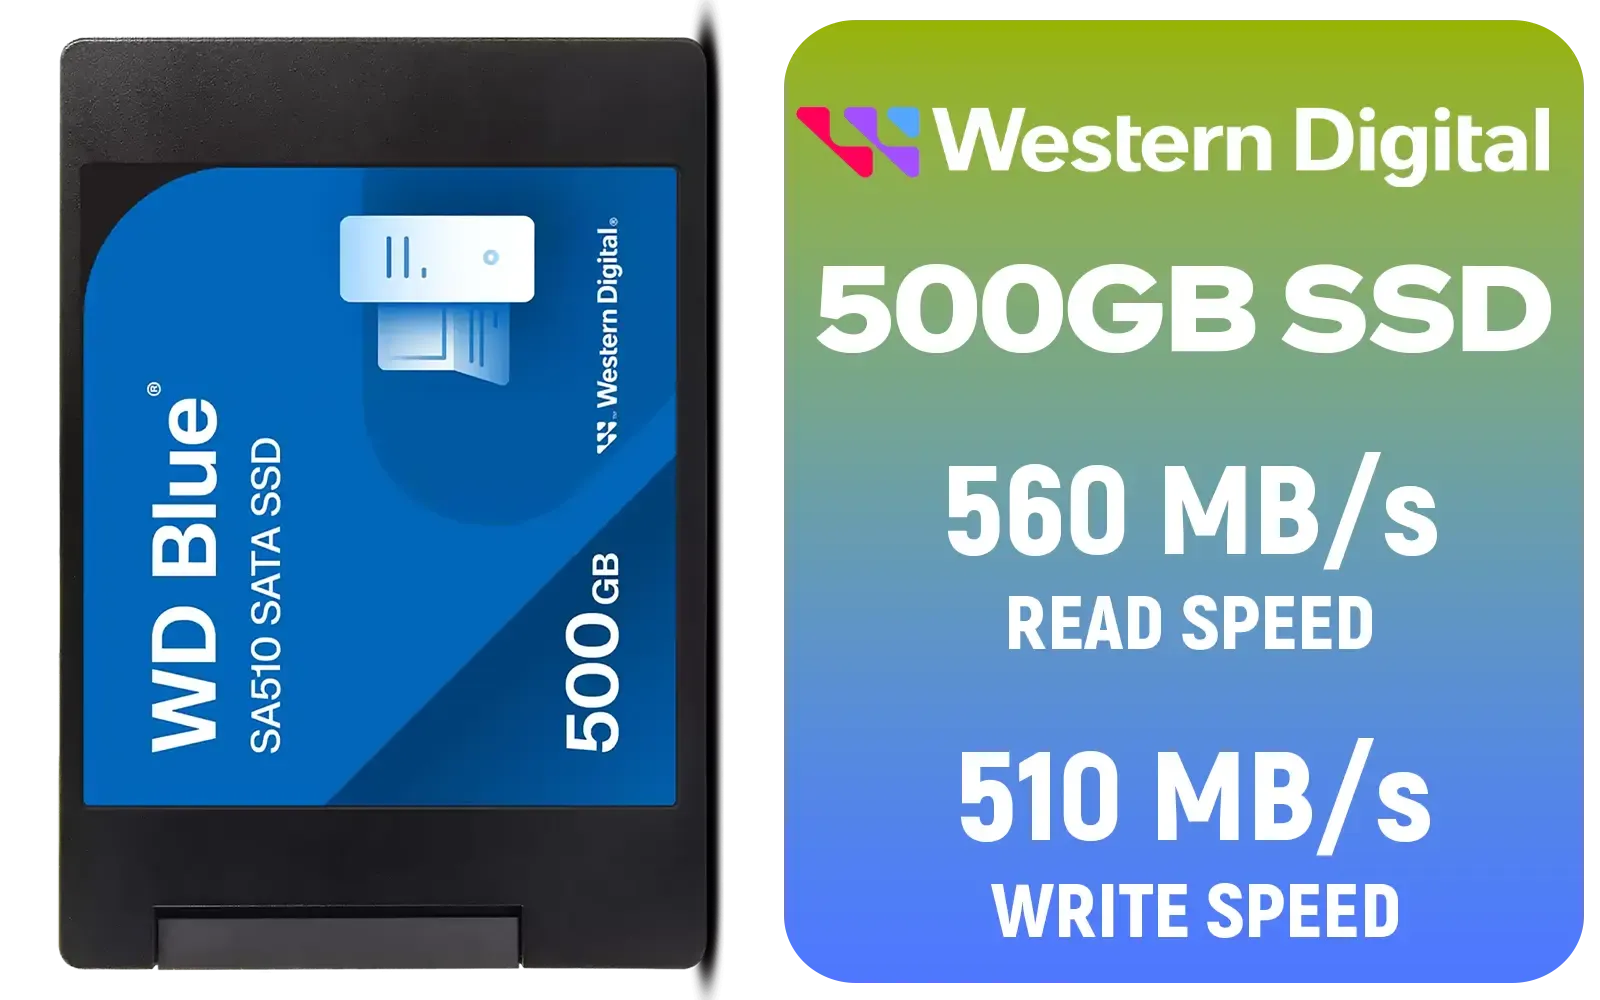
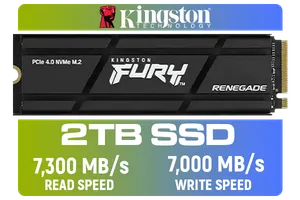
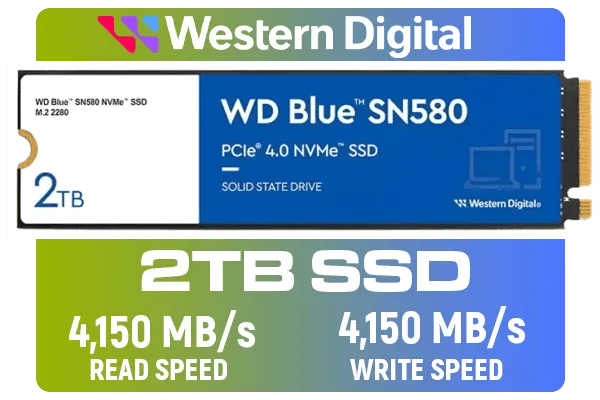
Traditional HDDs are dinosaurs, and even older SATA SSDs can't keep up with modern demands. NVMe (Non-Volatile Memory Express) SSDs, especially those available on Evetech, plug directly into your motherboard's M.2 slot, bypassing SATA bottlenecks. This means insane read/write speeds, drastically reduced loading times for games and applications, and a far more responsive system overall. Imagine jumping into your favourite title in seconds, not minutes. This isn't just an upgrade; it's a transformation. Ready to experience the speed? You'll find a wide range of solid-state drives, including high-capacity 2TB NVMe SSD options that cater to even the most demanding setups.
Before you dive into the nitty-gritty of how to clone drive to NVMe SSD safely, a little prep goes a long way. This ensures a hassle-free migration.
Seriously, do it. While cloning is generally safe, power outages or human error can happen. Use an external drive or cloud service to back up your critical files. Better safe than sorry, eh?
Does your motherboard have an M.2 slot that supports NVMe? Most modern boards do, but it's worth a quick check of your motherboard manual. You might also need a PCIe adapter card if you're running an older system without an M.2 slot but still want NVMe speeds.


You'll need a new NVMe drive. Consider your storage needs. Are you just cloning your OS and essential games, or do you want to move everything? Evetech offers a variety of reliable Corsair NVMe drives and trusted options from other top brands.
Many NVMe SSDs come with bundled cloning software (like Acronis True Image or Samsung Data Migration). If yours doesn't, free alternatives like Macrium Reflect Free or MiniTool Partition Wizard are excellent choices.
Here's the detailed guide to successfully transferring your operating system and data to your new, lightning-fast drive.
Power down your PC and unplug it. Open your case. Locate the M.2 slot on your motherboard (it’s usually clearly labelled). Carefully insert the NVMe drive at a slight angle, then push it down and secure it with the tiny screw provided (often with your motherboard or the SSD itself). Close up your PC, but leave the old drive connected for now.
Reconnect power and boot into Windows. Your new NVMe SSD won't show up immediately in File Explorer. You need to initialise it.


Open your chosen cloning software. The exact steps vary slightly between programs, but the core process is similar.
Always double-check that you've selected the correct source and destination drives. Mixing them up could lead to data loss on your old drive! Take your time, confirm your choices, then proceed.
Most software will offer options like "disk clone" or "migrate OS." Choose the option that copies the entire drive. Ensure that the cloning software is set to optimise for SSDs. This ensures proper alignment and performance for your new drive. Click "Start" or "Proceed." This process can take anywhere from 30 minutes to a few hours, depending on the amount of data. Grab a coffee, or perhaps a boerewors roll!
Once the cloning is complete, power down your PC. It's time to tell your system to boot from the new drive.
Your PC should now boot from the NVMe SSD. If Windows loads successfully, congratulations! Your NVMe SSD upgrade is complete. You can now format your old drive for extra storage or remove it.
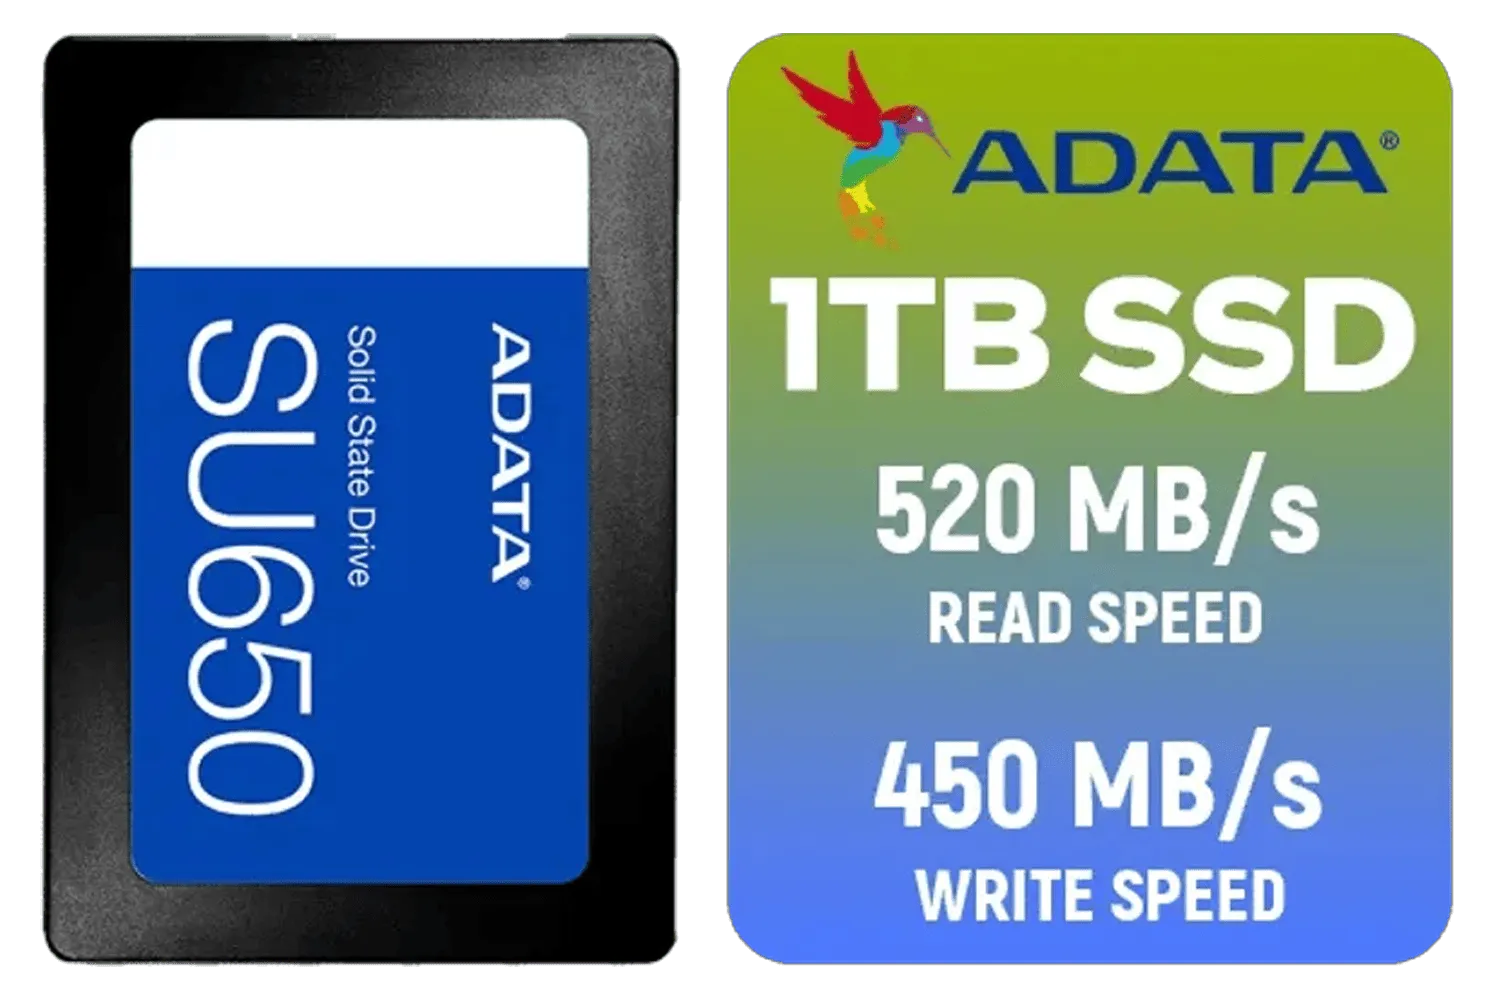
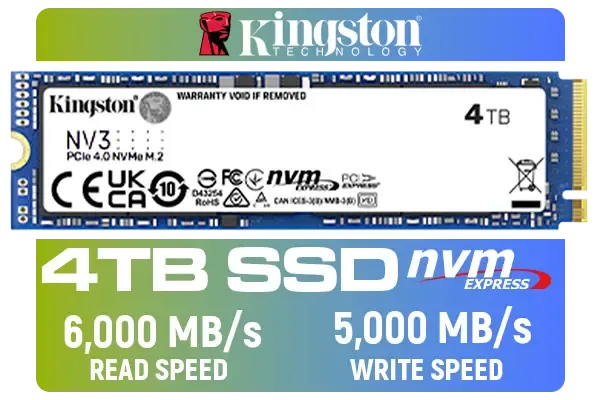
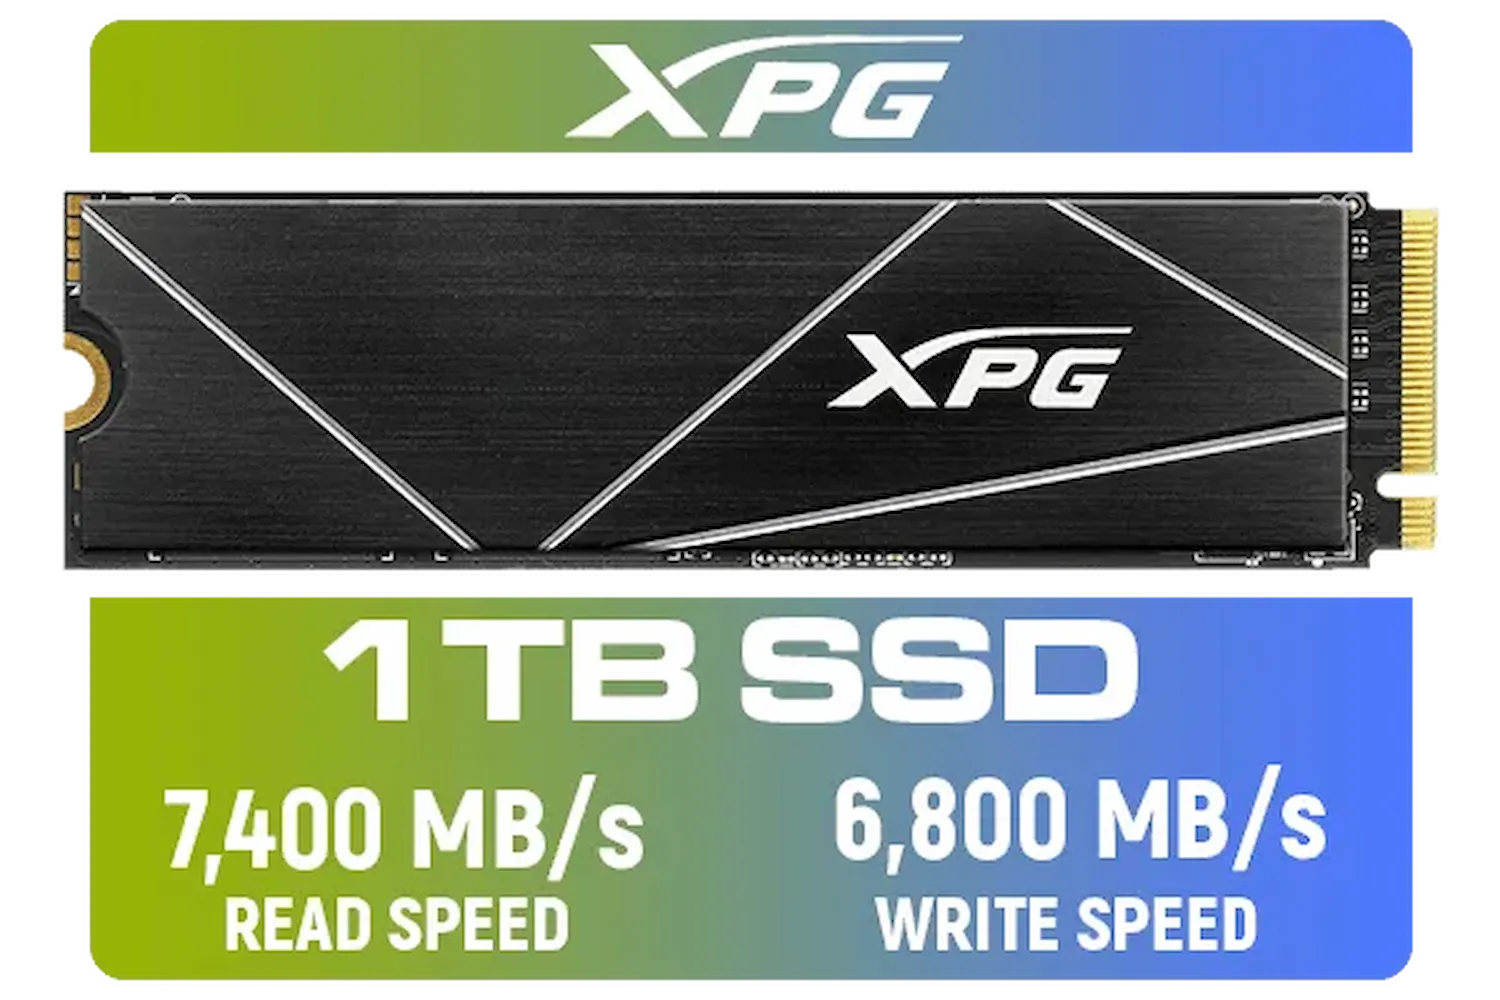
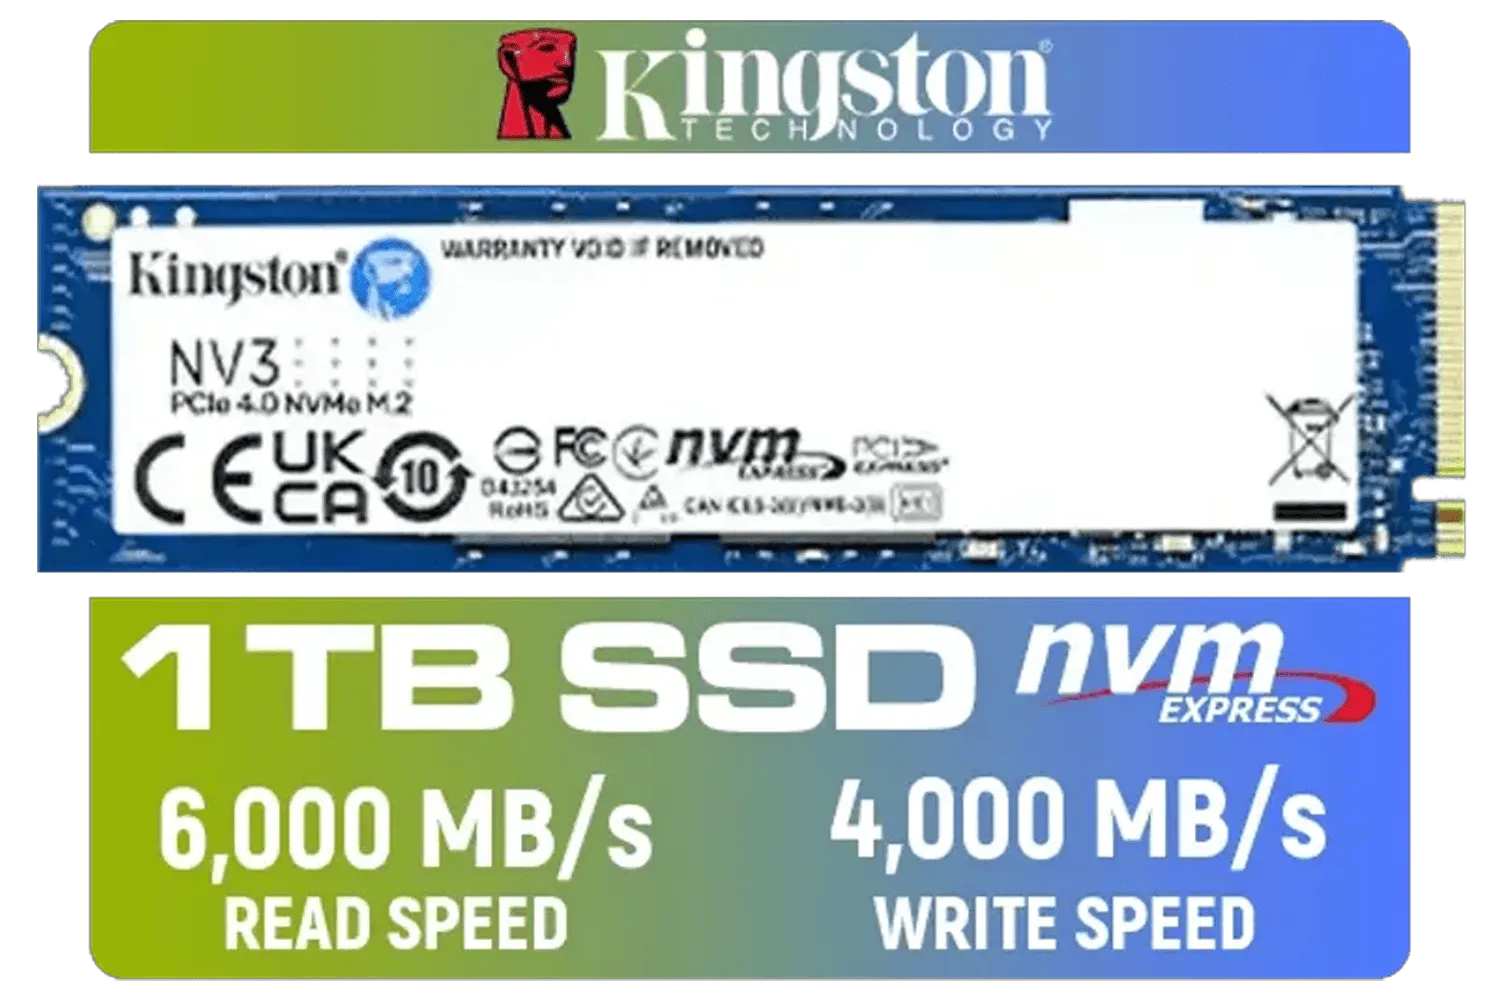
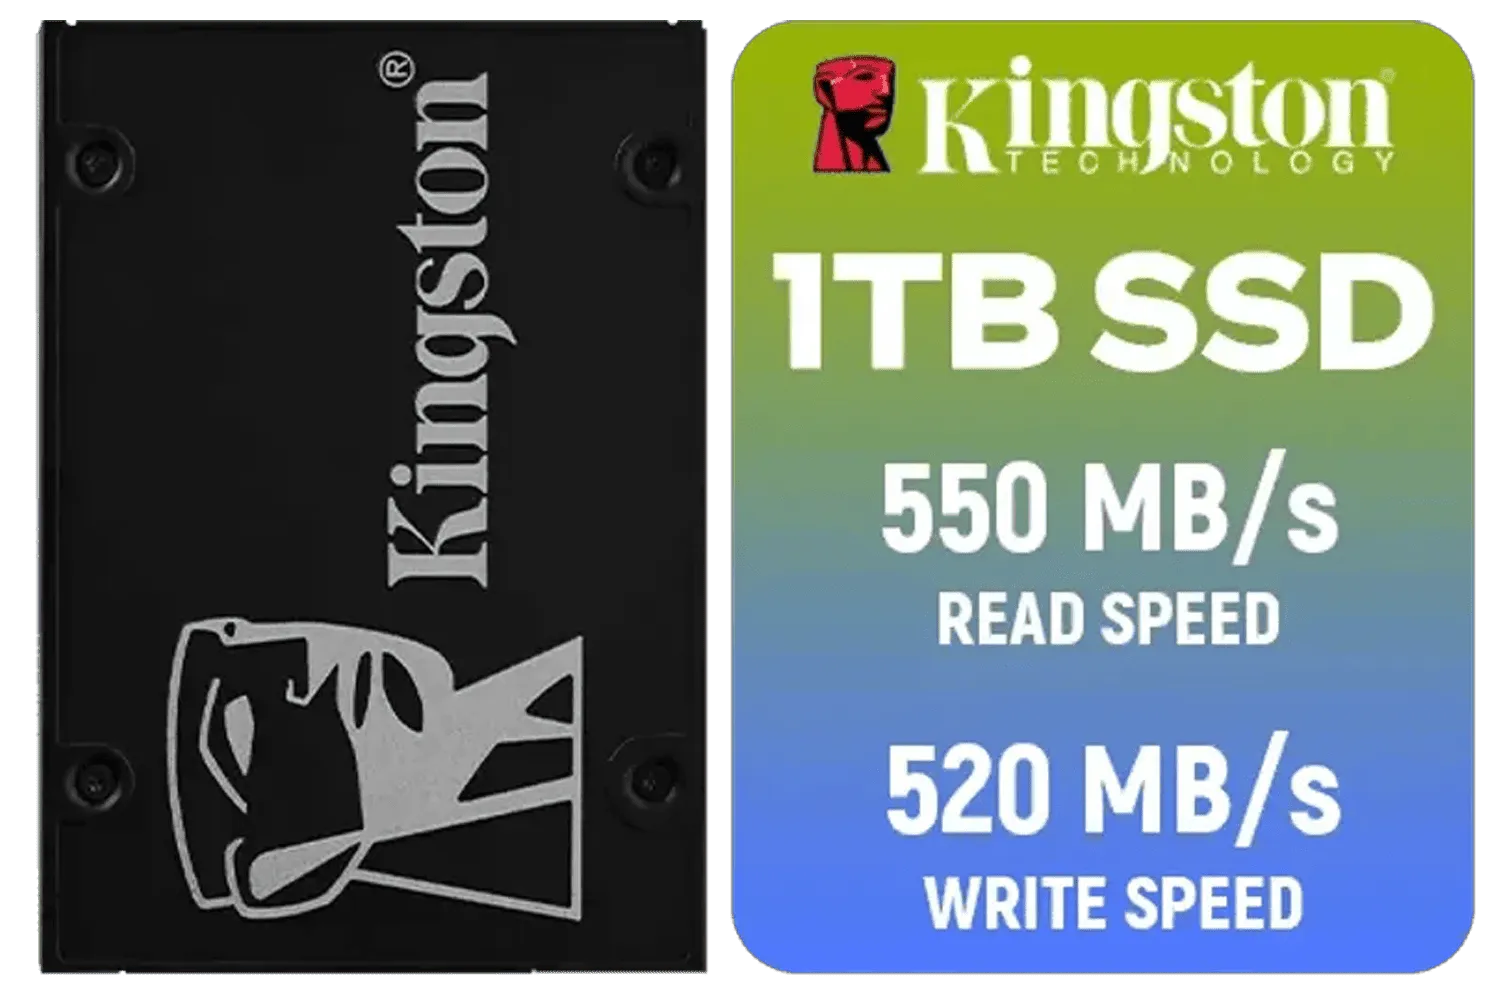
With your operating system and games now running on an NVMe SSD, you'll notice an incredible difference. Faster boot times, quicker application launches, and games that load in a flash are just the beginning. This isn't just about speed; it's about a smoother, more enjoyable computing experience. Whether you're a hardcore gamer needing every millisecond, or a creative professional crunching large files, this upgrade path is a no-brainer. Explore high-performance options like Kingston's trusted SSD range or perhaps a lightning-fast ADATA SSD to truly unlock your PC's potential.


This guide on how to clone drive to NVMe SSD safely: step-by-step should give you the confidence to tackle this essential upgrade. Say goodbye to lag and hello to pure, unadulterated speed!
Upgrade Your Rig, Dominate the Game. Stop waiting for your PC and start playing. A lightning-fast NVMe SSD is the upgrade you deserve. Shop now at Evetech for performance that leaves lag in the dust.

Yes. Always back up critical files or create a system image before you clone to an NVMe SSD to avoid accidental data loss.
Yes. You can clone HDD to NVMe SSD using cloning software, provided the used data fits the NVMe target drive.
Popular tools include Macrium Reflect, Acronis, and Clonezilla. Choose one that supports NVMe cloning and boot repair.
Usually yes. Cloning preserves your OS and activation, but OEM licenses tied to hardware may require reactivation after migration.
Yes. Set the NVMe as the primary boot device and ensure the correct UEFI/Legacy mode so the system boots correctly.
Boot from the NVMe, inspect partitions, run chkdsk, and confirm files and apps open normally as part of verification.
Only if the used data fits. Shrink partitions and reduce used space before cloning to a smaller NVMe SSD.
Discover the perfect storage solution - Explore the benefits of SSD vs HDD and find out which powers your laptop best. 💾🚀

🚀 Discover enterprise-grade docks with built-in boot protection. Safeguard sensitive data and enhance productivity for modern workforces.

Upgrade to the best SSDs for gamers and experience lightning-fast load times, smoother gameplay✅Discover top picks, speed comparisons & savings🔥 | Evetech

🚀 Discover what to consider before installing a large triple fan GPU. Maximize performance and avoid common pitfalls with our expert guide.

Boost your build with the best SATA III cables trusted by gamers and builders. 🔥 Discover high-speed, durable options that enhance system reliability and maximize data transfer efficiency.

🚀 Boost your data processing with the Intel Arc A730M PCIe 4 graphics card. Learn efficiency secrets now!

Unlock lightning-fast performance with our guide to motherboard storage speed for gaming. Learn how M.2 slots, PCIe 5.0, and SATA connections impact your load times and overall experience. Stop waiting and start playing faster! 🚀 We break down what you need to know. 🎮