Why SSDs Outperform HDDs
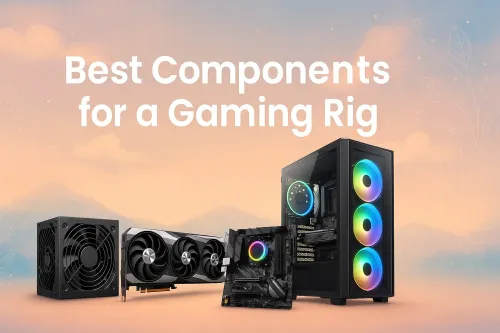
Upgrade to the best SSDs for gamers and experience lightning-fast load times, smoother gameplay✅Discover top picks, speed comparisons & savings🔥 | Evetech
79 days ago·6 min read
Loading tags...
• Check compatibility • Install & secure the drive • Tune BIOS, drivers, and thermals. Install PCIe 5.0 NVMe drive for maximum speed with step-by-step setup, benchmarking tips, and troubleshooting. ⚡️🔧

So, you’ve got your hands on a blazing-fast PCIe 5.0 NVMe SSD. Lekker! But just plugging it in won't guarantee you those face-melting speeds you see in benchmarks. To truly unleash its power, you need a proper setup. This guide will walk you through how to install a PCIe 5.0 NVMe drive correctly, ensuring you get every last drop of performance for your rig, right here in South Africa. Let's get building. 🔧


Before you even open your PC case, let's make sure your system is ready for this serious upgrade. A successful PCIe 5.0 NVMe installation depends on having the right supporting hardware.
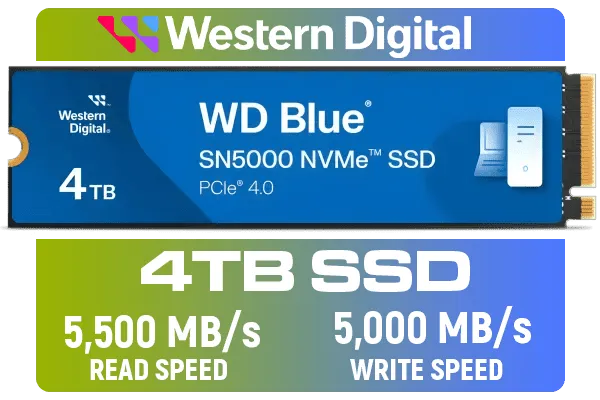
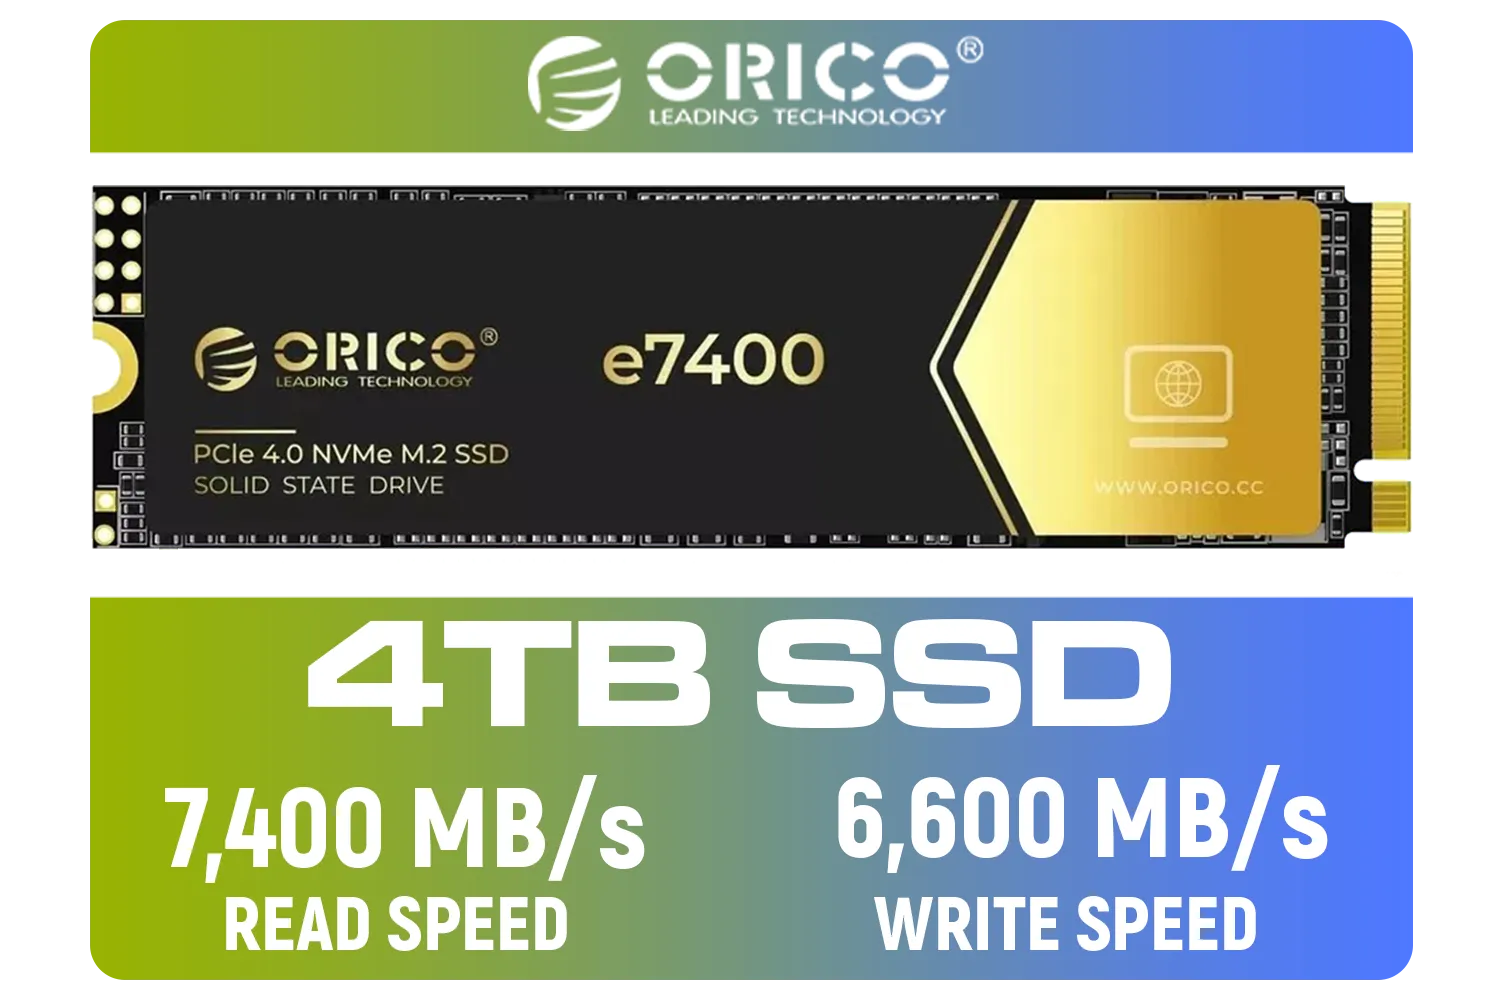
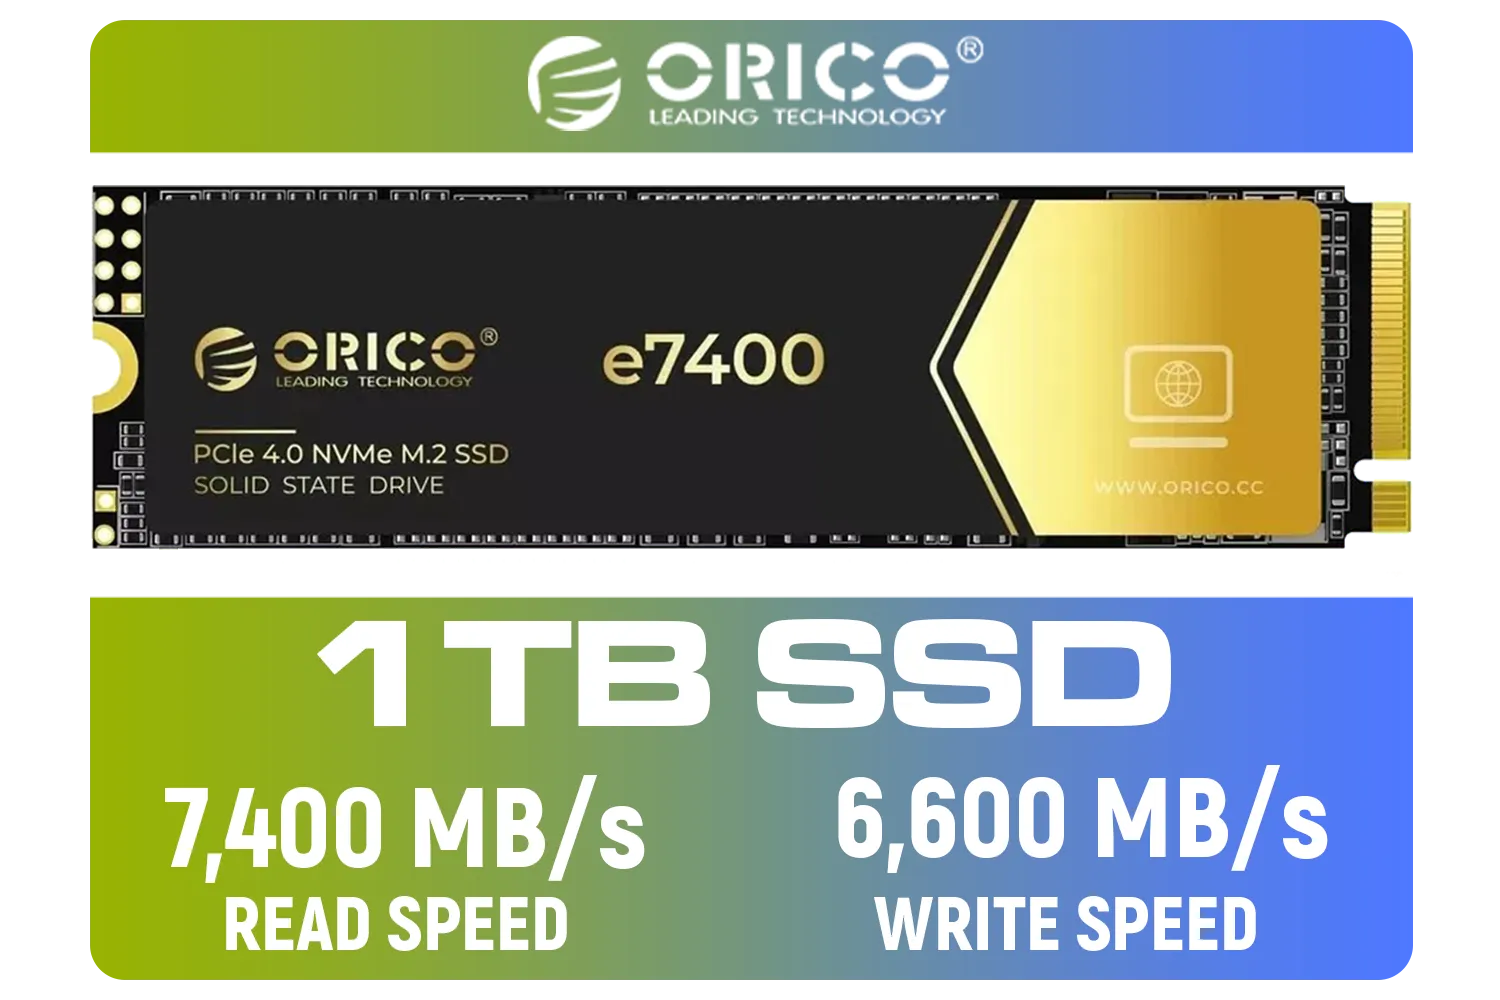
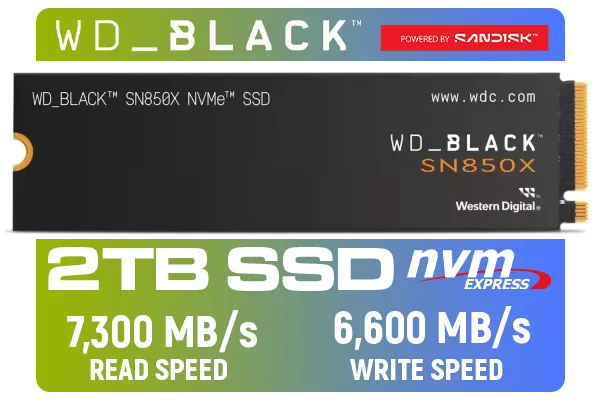
If you're still planning your build, it's the perfect time to browse the latest solid-state drives to find one that matches your new motherboard.
Got all the right gear? Awesome. Now for the easy part. Follow these steps carefully to install your PCIe 5.0 NVMe drive without any hassles.
Safety first! Shut down your PC completely, switch off the power supply unit (PSU) at the back, and unplug it from the wall. Press the power button on your case a few times to discharge any remaining electricity. It's also a good idea to use an anti-static wrist strap to protect your components.


Open your PC case and find the primary M.2 slot on your motherboard. As mentioned, this is typically the one located above your main graphics card slot, closest to the CPU, and is often covered by a metal heatsink.
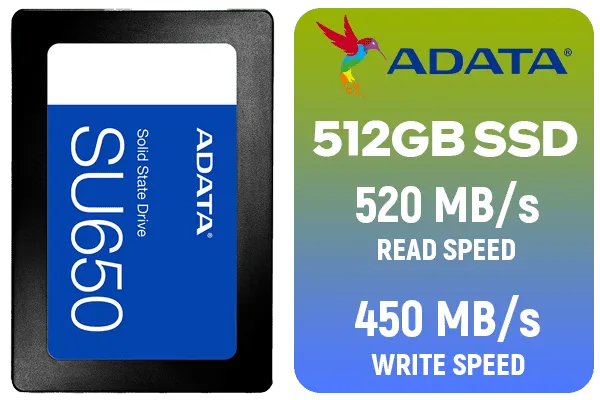
Unscrew and remove the M.2 heatsink. You'll see the M.2 connector and a small standoff screw at the other end. Take your NVMe drive—whether it's a quality drive from ADATA or one of the other excellent brands—and slide it into the M.2 slot at a slight upward angle (about 30 degrees). It should click in firmly.
Gently press the drive down so the semi-circular notch at the end lines up with the standoff. Use the tiny screw you removed earlier (or the one that came with your motherboard) to secure it in place. Don't overtighten it! Now, peel the protective plastic film off the thermal pad on the underside of your heatsink and screw the heatsink back into place.
Your drive is physically installed, but the job isn't done. You need to tell your system how to use it for maximum performance.
Re-connect your PC and boot straight into the BIOS (usually by pressing 'DEL' or 'F2' on startup). Navigate to the storage or advanced settings. You're looking for an option that controls the PCIe speed for your M.2 slot. Make sure it's set specifically to "Gen 5" and not "Auto". This forces the system to use the highest possible speed.


Once you save and boot into Windows, you'll need to initialise the drive.
For the absolute best performance, we recommend a fresh installation of Windows on your new PCIe 5.0 drive. While cloning your old drive is convenient, a fresh install ensures there are no leftover driver conflicts or legacy settings slowing you down. It's the best way to give your OS a clean, lightning-fast foundation.
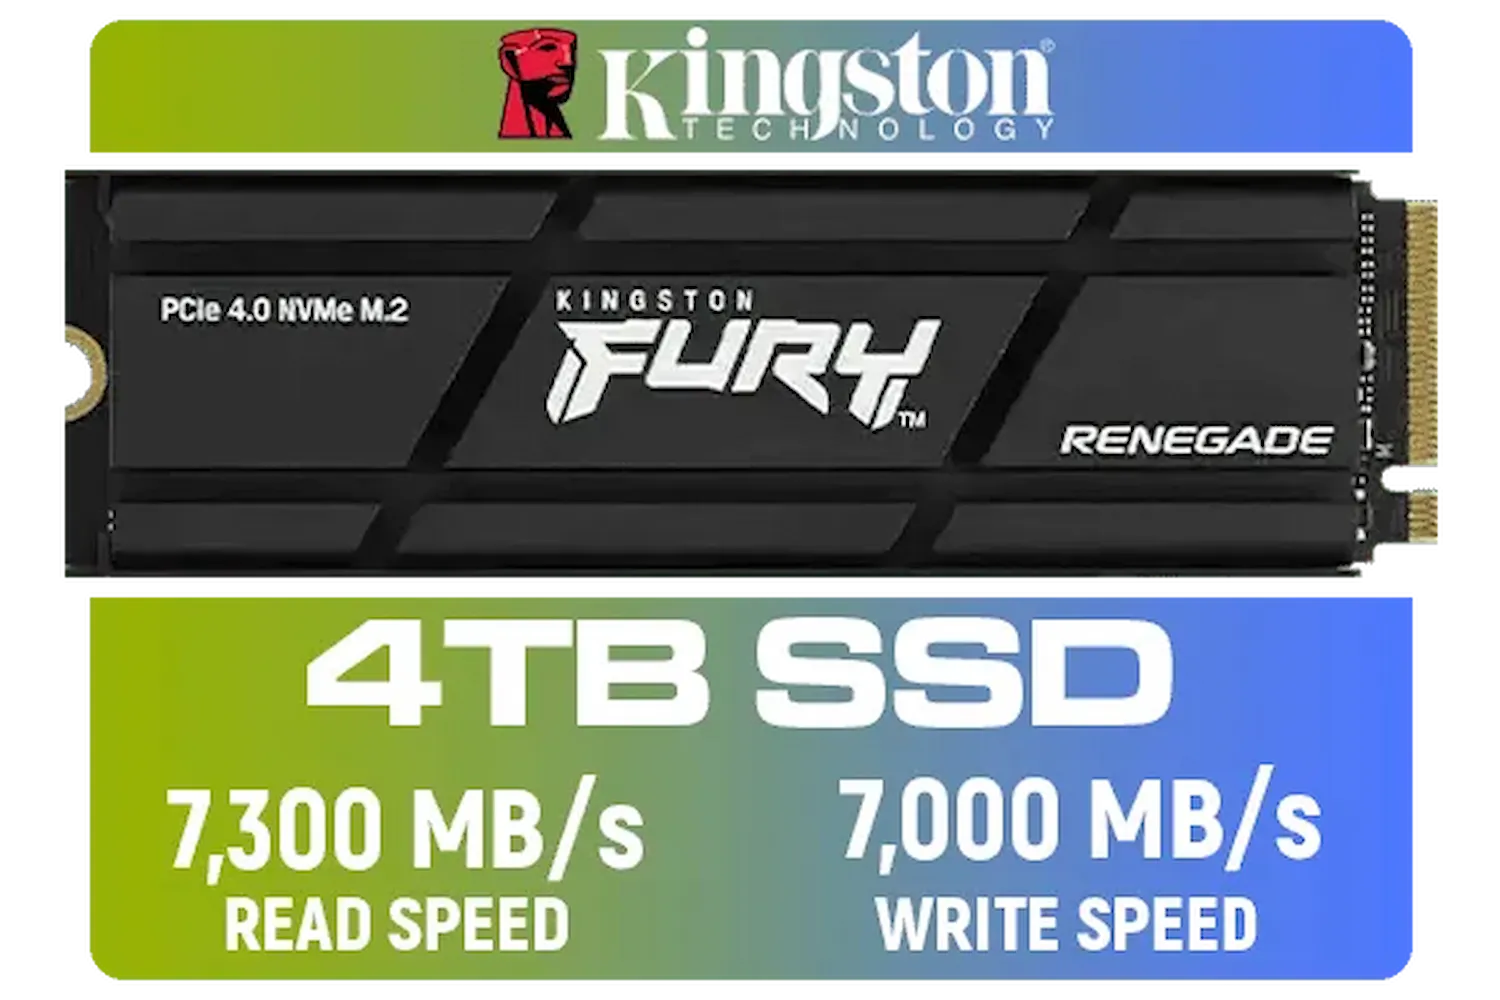
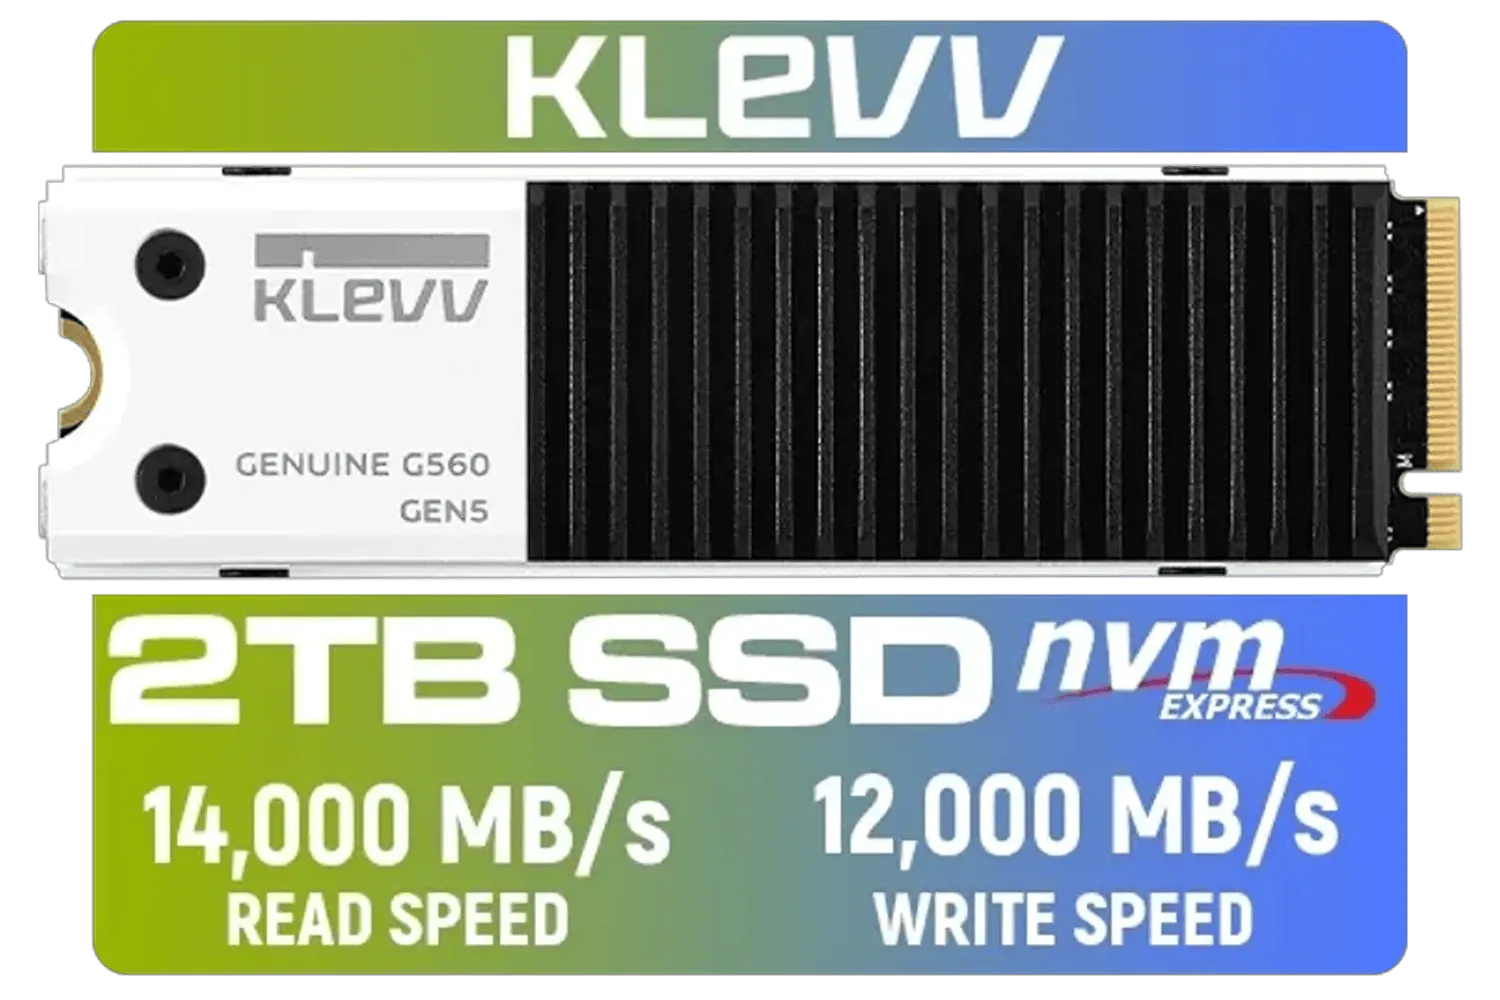
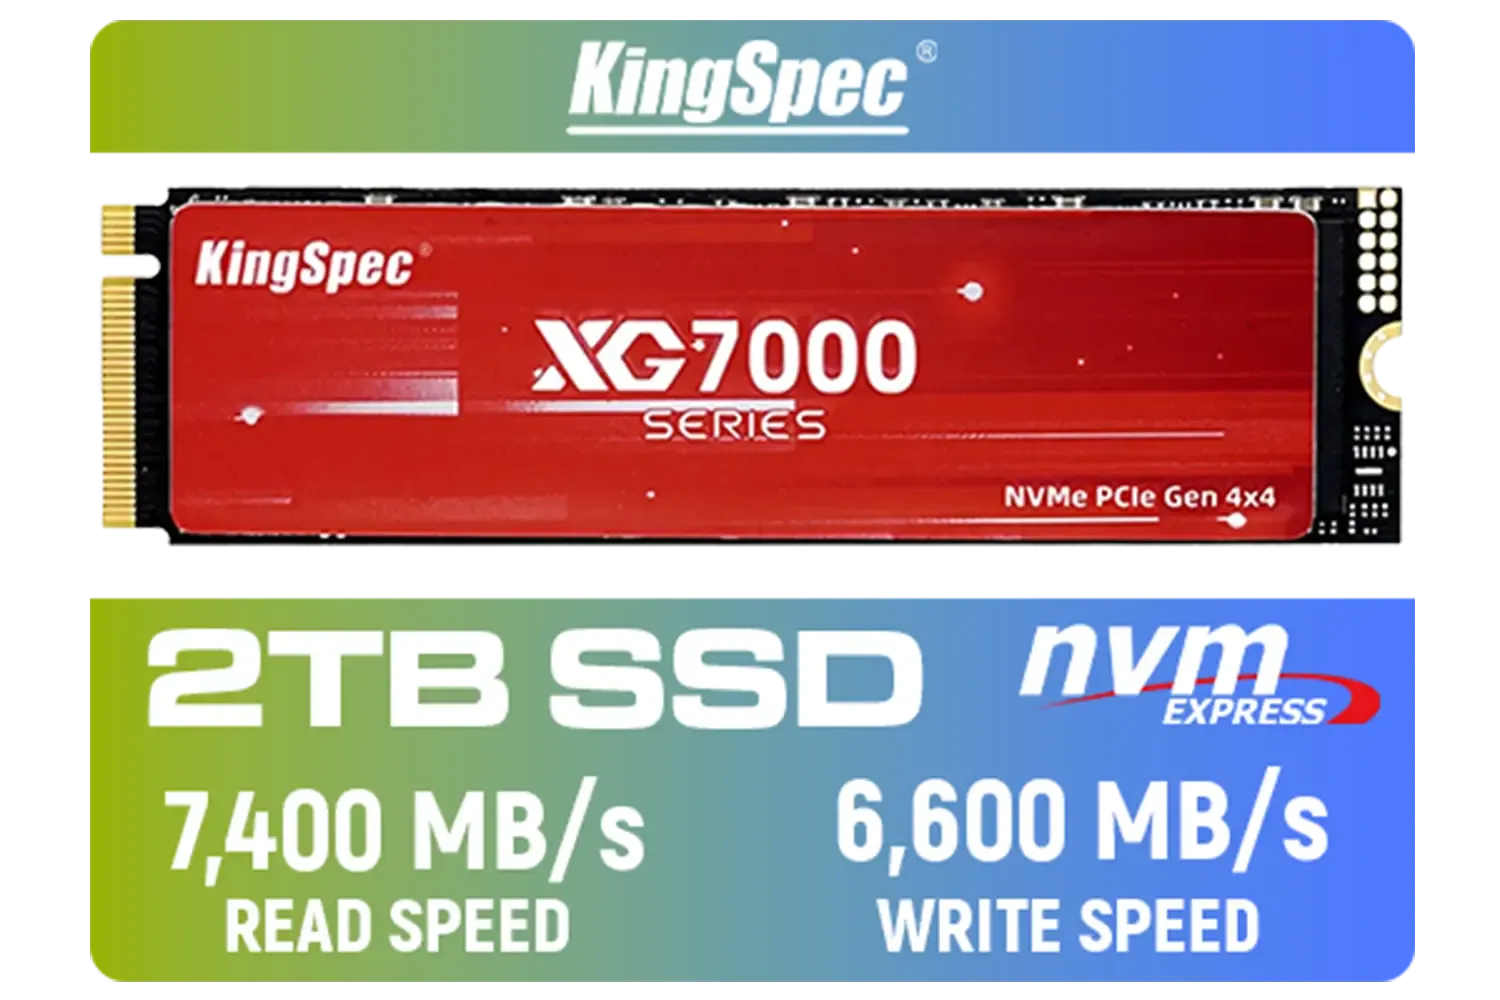
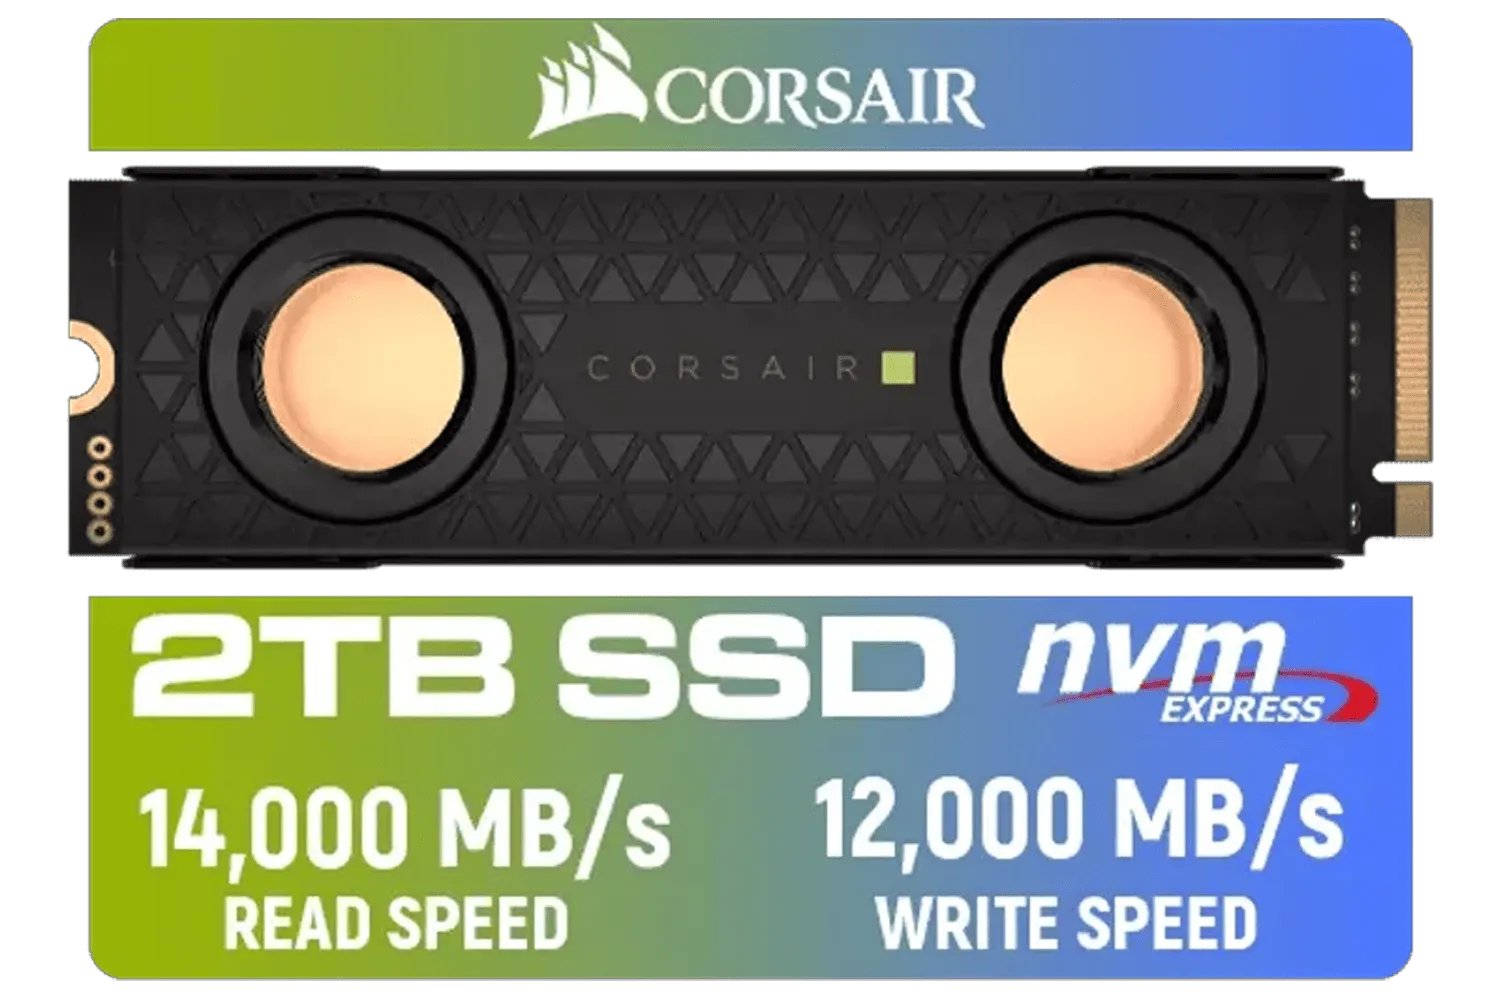
With modern games easily topping 100GB, choosing a spacious 2TB NVMe drive is a smart move for any serious gamer. When you're looking for raw throughput for editing 8K video or handling massive datasets, high-performance CORSAIR SSDs are built to deliver. Similarly, you can find other top-tier options from Kingston that offer a fantastic balance of speed and reliability.
That's it! Your PC is now equipped with some of the fastest storage on the planet. Enjoy those non-existent loading screens. ✨
Ready to Unleash Next-Gen Speed? A PCIe 5.0 NVMe drive is the ultimate upgrade for any serious PC enthusiast in South Africa. Explore our massive range of solid-state drives and find the perfect speed demon to conquer your load times.


Power down, unplug, fit the M.2 drive into the PCIe 5.0 slot at a 30° angle, secure the screw, then boot to configure BIOS and drivers. (pcie 5.0 nvme drive installation guide)
Check your motherboard specs and M.2 slot mapping; the manual lists PCIe generation and lane support for M.2 slots. (m.2 slot pcie 5.0 compatibility)
Enable PCIe Gen5 or Auto, set x4 M.2 lane configuration, disable legacy boot where needed, and enable NVMe controller support. (pcie 5.0 nvme bios settings)
Install a heatsink or active cooling, apply thermal pads, and monitor temps during benchmarks to prevent thermal throttling. (nvme thermal management pcie 5.0)
Yes. Update the NVMe firmware and the latest controller and chipset drivers to unlock stability and peak throughput. (pcie 5.0 nvme driver update)
Use tools like CrystalDiskMark or ATTO, run multiple sequential and random tests, and compare results to rated speeds. (benchmark pcie 5.0 nvme speeds)
Enable write caching, ensure proper power plan, disable unnecessary background tasks, and use NVMe-aware drivers for best results. (tune windows for nvme performance)
Upgrade to the best SSDs for gamers and experience lightning-fast load times, smoother gameplay✅Discover top picks, speed comparisons & savings🔥 | Evetech

Discover mini PCs that deliver seamless plug-and-play versatility 🚀. Boost productivity with instant setup and space-saving design 🔥!

Upgrade your PC build with PCIe cables that deliver performance without breaking the bank. Find cost-effective options for every setup 💸💻

🚀 Disrupting the myth: Low PCIe lanes don’t doom Intel Arc A310 performance in HTPCs. Stay future-ready with power-efficient builds. 💻✨

🚀 Boost your data processing with the Intel Arc A730M PCIe 4 graphics card. Learn efficiency secrets now!

Find the best upgradeable gaming motherboards in SA right here at Evetech. We break down top AM5 and Intel boards with PCIe 5.0 and DDR5 support, ensuring your rig stays powerful for years to come. Build a future-proof PC today and dominate tomorrow's games! 🚀🎮

Unlock lightning-fast performance with our guide to motherboard storage speed for gaming. Learn how M.2 slots, PCIe 5.0, and SATA connections impact your load times and overall experience. Stop waiting and start playing faster! 🚀 We break down what you need to know. 🎮