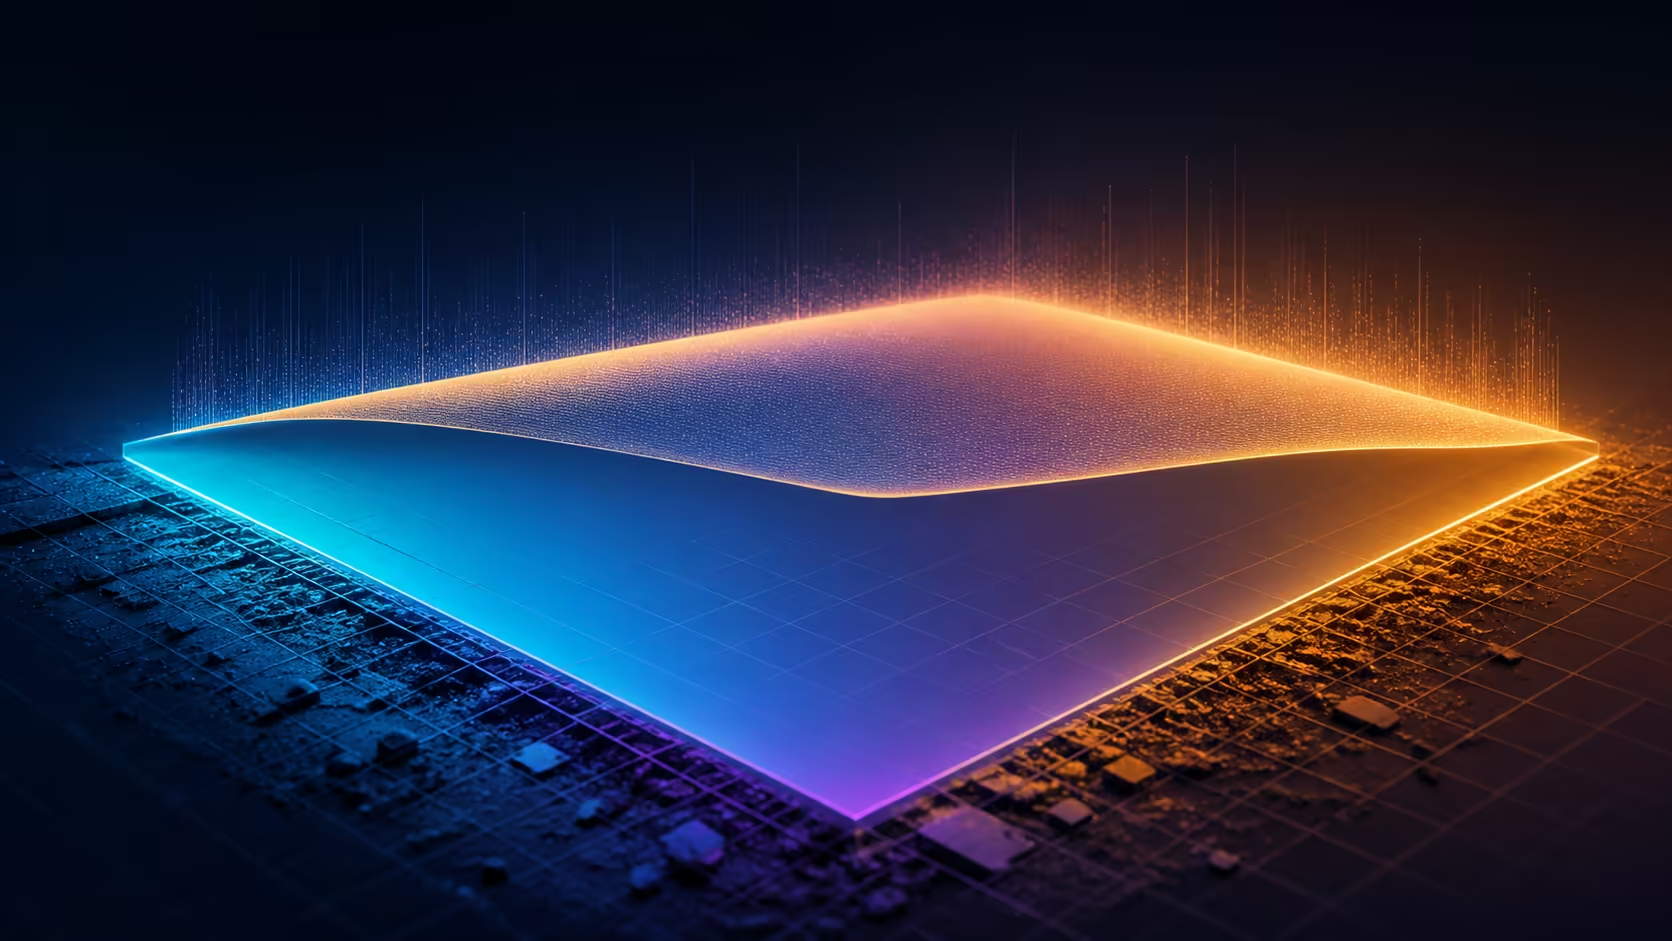
Preparing a 320 x 320mm build plate for reliable first layers means controlling surface condition, levelling and initial extrusion in a known order. A large bed gives the test more area to cover, so a small centre patch cannot represent every region used by the final part.
Quick Answer
Prepare the Neptune 4 Plus plate by choosing its low-temperature PLA face or textured PEI reverse, cleaning that surface and running automatic levelling.
At R7,799, the Neptune 4 Plus provides a 320 x 320mm bed within a 385mm-tall build volume. Choose its specialised PLA face or textured PEI reverse, clean it appropriately, run automatic levelling and print a broad first-layer pattern before a full-size job.

🧽 Match Cleaning to the Plate
Remove the previous part and let the printer reach the condition required for handling. The double-sided plate provides a dedicated PLA face and a textured PEI reverse for ABS, TPU and carbon-fibre blends. Match cleaning, removal and adhesion methods to the selected side.
Keep fingers away from the printable area after cleaning because skin oils can change adhesion. Inspect the nozzle for residue that could affect the starting distance, using the printer's proper maintenance process.
The 300C nozzle figure is a thermal ceiling, not a cleaning instruction. Surface preparation should remain tied to the actual plate and material rather than the printer's maximum temperature.
🎯 Level the Full Area
The Neptune 4 Plus includes automatic bed levelling. Run its exact model routine after the surface is prepared and avoid assuming a probe type, mesh density or manual adjustment sequence.
Because the bed measures 320 x 320mm, test more than the centre. Use a pattern that reaches the zones a planned job will occupy, while remaining simple enough to stop quickly if contact is poor.
Compare build sizes among large 3D printers at Evetech with plate procedure and first-layer checks included.
🧪 Read the Layer Pattern
Look for consistent adjacent lines, similar coverage across regions and clean turns at the edges. A line that sits loose, disappears under the nozzle or varies sharply between zones signals a setup issue that should be resolved before adding height.
Change one factor at a time. Surface condition, levelling, initial settings and extrusion can all influence the same visible layer. Automatic assistance cannot identify every cause without a controlled diagnostic sequence.
Use one known spool from Evetech 3D printing filament so material changes do not obscure the plate test.
📋 Approve the Job Area
After a good sample, confirm the sliced part fits inside 320 x 320 x 385mm on every axis. Printable volume is not the printer's exterior size, so measure the machine and its access space separately when planning a bench.
See Evetech's broader 3D printer selection for alternative capacities and features.
Record the cleaning method, levelling step, filament and accepted layer appearance. A reusable baseline makes later diagnosis faster without promising identical results after the plate, profile or material changes.
After relocation or relevant physical work, print the broad check again. If one region begins to differ, stop at the diagnostic pattern and correct it before a large model turns a local setup issue into a long failed print.
The specialised PLA side aims for strong adhesion with less warping at lower bed temperatures. Textured PEI grips ABS, TPU and carbon-fibre blends and releases them after cooling. Keep fingers off the cleaned area, inspect the whole 320mm square and use a first-layer pattern before loading a large model.
Let the plate cool before judging release, especially on textured PEI. If one region repeatedly fails, rotate the diagnostic pattern rather than changing the entire temperature profile immediately. That distinguishes a local surface issue from a global offset or feed problem across the broad build area.
Record which face was used so later adhesion results are not compared across different surfaces.
Frequently Asked Questions
What is the usable build-area size in this example?
The Neptune 4 Plus offers 320 x 320mm across the bed and 385mm of printable height.
Why should the surface be prepared first?
Contamination or residue can alter contact and make a levelling or extrusion problem harder to distinguish.
Which build-plate material does this printer use?
Match cleaners, tools or adhesion products to the selected PLA coating or textured PEI surface.
How does automatic levelling fit preparation?
Run the model's auto-levelling routine after cleaning, then verify the combined setup with a broad print.
What should a first-layer check cover?
It should reach relevant bed regions and show consistent line contact, joining and turns without dragging or looseness.
Can plate preparation remove every print variable?
No. Initial settings, material flow, geometry and later motion still affect the complete output after a good first layer.
Preparing a large bed for a job worth finishing?
Compare 320mm 3D printers at Evetech with plate material, levelling and first-layer approval treated as one process.