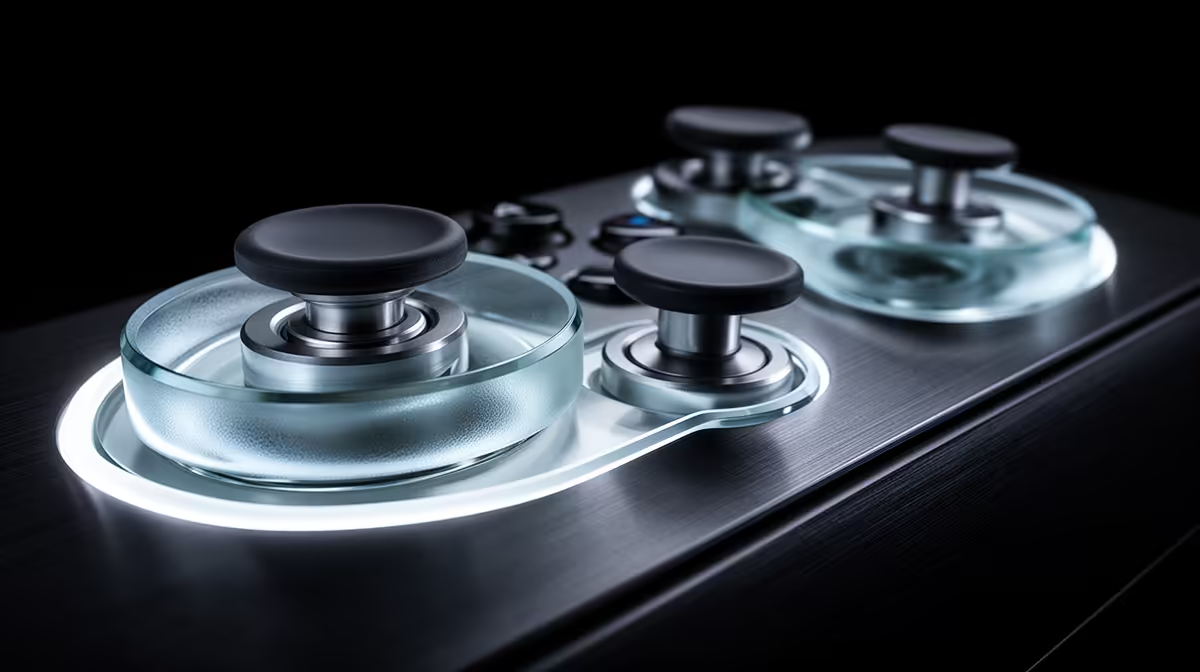
Drift does not always require retiring the whole controller when the design exposes a supported replaceable part. Replaceable stick modules help only after you prove the fault and match the exact controller revision, side and calibration process.
Quick Answer
A replaceable stick module can make controller drift easier to repair when the controller was designed for user-swappable modules. Many controllers still use soldered assemblies or require deeper disassembly. Diagnose calibration, contamination, firmware and game dead zone first. Then check warranty, exact module compatibility, tools and calibration. A module swap is not universally a five-minute job.
Start with platform support and modular features across the current controller selection. You can then scan the popular peripheral collection for other input-device designs. Save the full controller revision before ordering a spare.
Prove that the stick is drifting
Return game dead zones and controller profiles to supported defaults. Use the platform or maker's official input test and release the stick without touching it. Record centre movement, range and whether one direction fails to reach full value.
Test another game and connection. A custom response curve, wireless issue or damaged thumb cap can feel like sensor drift.
Watch the readings for more than a quick circle around the test screen. A stick can return to centre cleanly when cold, then wander after repeated movement. It can also hold centre but report a rough path near the edge. Those symptoms help you separate a module fault from a loose cap, damaged shell or software profile.
Identify the module design
Read the controller manual. A user-replaceable module may unlock through a front plate and require no soldering. Another design can need the shell opened, ribbon cables handled or the joystick assembly desoldered.
Match left or right position, connector, firmware support and module revision. A Hall effect or TMR replacement cannot be assumed compatible with a controller designed around another sensor.
Magnetic sensing can avoid the same resistive wear mechanism as a potentiometer, while springs, centring parts, magnets, electronics and calibration can still fail.
Swap through the supported route
Check warranty before opening anything. Power off, disconnect the controller and follow the maker's tool and static-safety guidance. Keep screws and parts organised.
Seat the module without forcing its connector, reassemble, update official firmware and run the required calibration. Test centre, full range, click and game movement before a ranked session.
Replace one side when the maker supports independent modules and only one has failed. Keep the working original labelled.
Do a final check in the games you use. Begin with their standard controller settings, then restore your preferred dead zone and response curve one change at a time. Confirm slow camera movement, a held sprint and diagonal input. If the result changes when the cable moves or the wireless link is busy, keep investigating the connection instead of blaming the new sensor.
FAQ
What causes drift?
Sensor wear, centring wear, contamination, calibration and physical damage can all contribute. Diagnose the exact controller.
Do I need special tools?
It depends on the design. User-swappable modules may need a supplied tool; internal repairs can require specialist work.
Does a replacement affect warranty?
Check the exact controller terms and approved process before opening or modifying it.
Prove drift at default settings, match the exact controller and module revision, and follow the supported swap plus calibration process before buying a new pad.