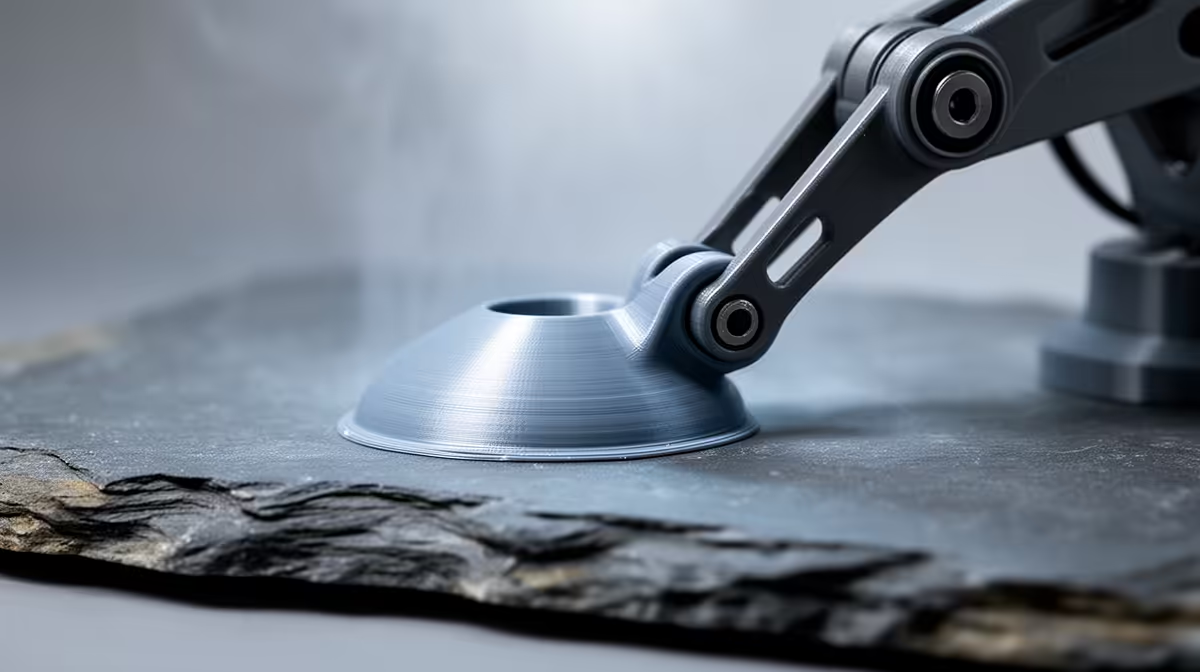
That faint vertical line running top to bottom on an otherwise clean print has a name, and it is not a flaw in the model. The Z-seam is the scar left where every layer starts and stops, created by the tiny pressure change as the nozzle pauses to begin a new ring. You cannot delete it entirely, but a few slicer settings can move it, blur it, or tuck it where nobody looks.
Quick Answer
The Z-seam is unavoidable because each layer has to start and finish somewhere, but it is easy to hide. Set seam placement to sharp corners or a fixed rear position in your slicer, then tune retraction, coasting, and outer-wall speed so the start point lays down cleanly. Done well, the seam fades from an obvious scar to a barely visible line.
Why the Seam Forms
When the print head finishes a perimeter loop, it has to lift, retract, and begin the next layer's loop. At that handover the molten plastic pressure inside the nozzle is never perfectly matched, so you get either a small blob where extrusion restarts or a tiny gap where it cut off early. Stack those start points directly above each other, layer after layer, and the result is a continuous vertical mark. Modern machines like those in the 3D printer range at Evetech handle this far better than older units, but the physics never fully disappears.
Move the Seam, Then Hide It
Start with seam placement. For boxy models with defined edges, set the slicer to put the seam on the sharpest corner, where the natural angle change disguises it. For display pieces meant to face one way, force the seam to the rear so it never appears on the visible face. An aligned seam keeps it on one tidy vertical line, while newer scarf-seam modes overlap the start and end of each perimeter over a short distance so the join blurs rather than ending abruptly.
Then clean up the start point itself. A retraction distance around 0.5 to 1mm on a direct-drive extruder, or 5 to 7mm on a Bowden setup, pulls back enough filament to stop oozing without stringing. A small coasting distance, roughly 0.2 to 0.5mm, stops the extruder just before the loop closes so leftover nozzle pressure finishes the line instead of dumping a blob. Dropping outer-wall speed by 10 to 20 percent gives each transition time to lay flat. A fresh, correctly sized nozzle helps too, and you can keep spares from the accessories best sellers on hand for when an old one starts dragging.
Frequently Asked Questions
Can the Z-seam be removed completely?
No. Every layer must begin and end at some point, so a seam always exists somewhere. The goal is to relocate it to a corner or hidden face and minimise its visibility through retraction and coasting tuning, not to eliminate it.
Which seam placement setting looks best?
It depends on the model. Sharp-corner placement suits angular parts because the existing edge hides the join. A fixed rear position is best for one-sided display prints. Scarf seam works well on smooth, high-detail surfaces by overlapping the start and end so the line softens.
Why do I get a blob at the seam instead of a gap?
A blob means too much pressure remains in the nozzle at the layer start. Increase retraction slightly and add a small coasting distance so the extruder eases off before the loop closes, letting residual pressure finish the line cleanly.
Does print speed affect the seam?
Yes. A slower outer-wall speed, typically 10 to 20 percent below your normal perimeter speed, gives the plastic time to settle at each transition, producing a cleaner and less visible start point.
A clean seam starts with a capable machine. Browse the 3D printers stocked at Evetech, dial in your slicer, and push that scar somewhere nobody will ever notice.