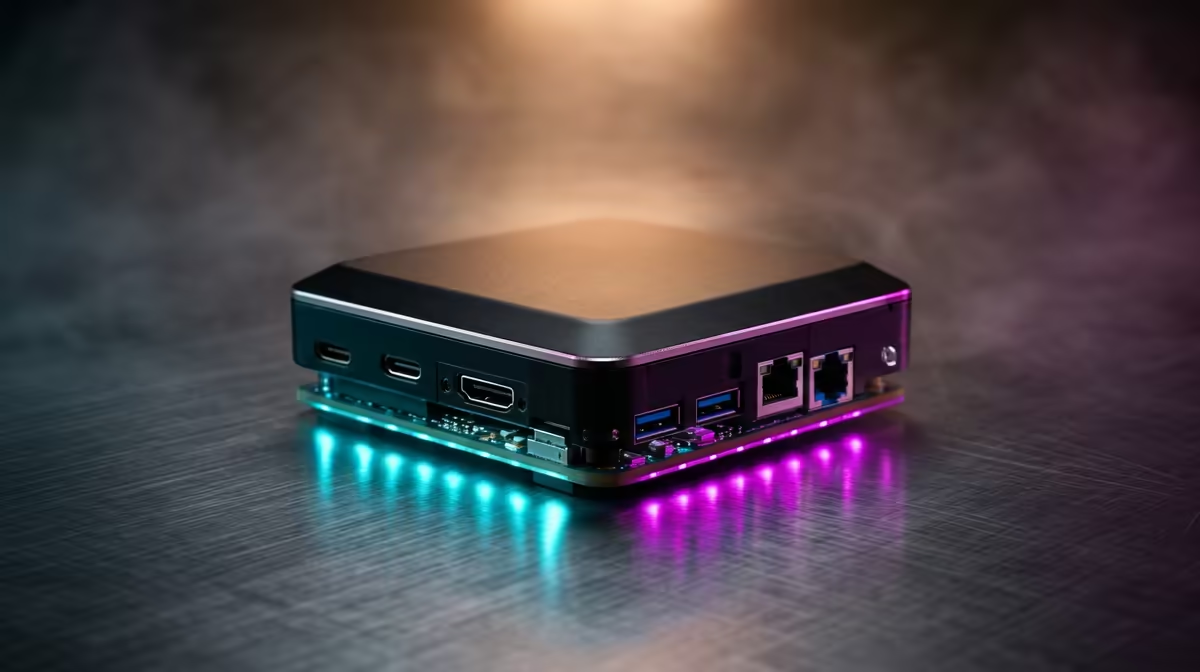
A Raspberry Pi sitting in a drawer is a missed weekend. The board is small, cheap and capable of solving real problems around the house, and the best part is that the most useful starter projects need zero programming and finish in a Saturday afternoon. Raspberry Pi projects for beginners have never been more accessible, because tools like the official Raspberry Pi Imager flash a ready-made system to an SD card in a few clicks, no Linux background required.
Quick Answer
The four best beginner projects are a Pi-hole network ad blocker, a RetroPie or Batocera retro gaming console, a LibreELEC media centre, and a Home Assistant smart-home hub. Each can be set up in a few steps with the Raspberry Pi Imager and finished in a weekend by someone with no prior Linux experience.
What you need before you start
Every project here shares the same short shopping list: a Raspberry Pi board, a microSD card, a power supply and the free Raspberry Pi Imager on your normal computer to write the system image. A Pi 5 with 8 GB of RAM handles the demanding builds like retro gaming or local AI comfortably, while a cheaper Pi Zero 2 W is perfect for always-on, lightweight jobs like Pi-hole.
If you would rather not chase parts, compact ready-built machines in the mini PC range at Evetech cover the same always-on, low-power role with no assembly. For the projects below, though, a single Pi and an SD card is all the hardware you need.
Project 1: Pi-hole, a network-wide ad blocker
This is the project that converts people. Pi-hole runs on the Pi and acts as your home network's DNS server, blocking ad and tracker domains for every device at once, your phone, your TV, every laptop in the house, with no software installed on any of them.
Setup is roughly thirty minutes. Flash Raspberry Pi OS Lite with the Imager, run the Pi-hole install script, then point your router's DNS at the Pi's address. From that moment ads vanish across the whole network. A Pi Zero 2 W is ideal here because the job is light and the device runs silently around the clock.
Project 2: A retro gaming console
Turn the Pi into a console for classic games using RetroPie or Batocera. You flash the image, plug in a USB controller, and you have a menu-driven system for the older platforms you legally own games for. No coding, just configuration through on-screen menus.
A Pi 5 with 8 GB is the pick if you want to push into the more demanding older systems, while a lighter board handles the early consoles fine. This is the project that wins over a household, because everyone immediately understands what it does.
Project 3: A media centre
LibreELEC turns the Pi into a dedicated, fast-booting media centre built around Kodi. Plug it into your TV, connect it to your network storage, and you have a tidy front-end for your own video and music library that boots straight into the media interface.
It is one of the most appliance-like builds: once configured, you treat it like any other device on the TV stand. For a permanently connected media box, the silent low-power draw of a Pi is a real advantage over leaving a full PC running.
Project 4: A smart-home hub
Home Assistant OS gives you a private, local hub that ties together smart plugs, lights, sensors and more, without routing everything through a manufacturer's cloud. The Imager can write Home Assistant OS directly, and the rest of the setup happens through a friendly web dashboard in your browser.
This is the most open-ended of the four and the one you will keep tinkering with, but the initial setup is still a few-clicks affair. Browsing the best-selling PCs at Evetech is worth doing if a project grows beyond what a Pi can handle and you decide you want more horsepower behind it.
How to pick your first project
Choose by the problem you most want solved. Annoyed by ads everywhere? Start with Pi-hole. Want a weekend of nostalgia? Build the retro console. Tidy up your media? LibreELEC. Curious about home automation without the cloud? Home Assistant. All four are beginner-safe, finish in a weekend, and teach you enough to tackle the next one with confidence.
Frequently Asked Questions
Do I need to know Linux or coding for these projects?
No. All four projects are configured through the Raspberry Pi Imager and on-screen menus or web dashboards. You point and click rather than writing commands, which is exactly why they suit complete beginners.
Which Raspberry Pi should I buy?
A Pi 5 with 8 GB of RAM handles everything here, including demanding retro gaming. For light always-on jobs like Pi-hole, the cheaper Pi Zero 2 W is plenty and uses very little power.
Can these really be finished in a weekend?
Yes. Pi-hole takes around thirty minutes, and the media centre, retro console and smart-home hub each take an afternoon of setup and tweaking. None require prior experience to get running.
What else do I need besides the board?
A microSD card, a power supply, and the free Raspberry Pi Imager running on your normal computer to write the system image. Some projects also want a controller, like retro gaming, or a network connection, like Pi-hole.
Is a Raspberry Pi or a mini PC better for an always-on project?
A Pi is cheaper and draws very little power, which suits silent always-on jobs. A mini PC offers more performance for heavier tasks, so pick the Pi for light duties and a mini PC when a project outgrows it.
Ready to build something this weekend? Explore the mini PCs and best-selling systems at Evetech to find the right always-on machine, whether you start small with a Pi-style project or want more power behind it.