If your Home Assistant install keeps mysteriously corrupting and dying every few months, the culprit is almost certainly the microSD card it boots from, and the best SSD for Home Assistant is the fix that ends the problem for good. Home Assistant is unusually hard on storage because it writes to its database constantly, roughly fifteen times every second, logging every sensor reading and state change. MicroSD cards were never built for that relentless write pattern, so they wear out and fail. Moving to an SSD turns a fragile setup into one you can leave running for years.
Quick Answer
The best SSD for Home Assistant is any reliable USB 3.0 or NVMe SSD that replaces the microSD card. Home Assistant writes about fifteen times per second to its database, which burns out SD cards within months. An SSD has vastly higher write endurance, so the corruption simply stops. On a Raspberry Pi or mini PC, this is the single most impactful upgrade you can make.
Why MicroSD Cards Keep Dying
A microSD card stores data in flash memory cells that can only be written to a limited number of times before they wear out. Home Assistant's database, history, logbook, and recorder components write to storage almost continuously as sensors report in. That constant churn concentrates writes on the card far faster than typical use, and once enough cells fail, you get corruption, refusal to boot, or data loss, often with little warning.
This is not a sign of a bad card, it is a fundamental mismatch between the workload and the medium. Cards marketed for cameras and phones simply are not rated for a database hammering them every second of every day. The fix is to move that workload onto storage designed to endure it. Many Home Assistant setups live inside a broader smart home, so it is worth seeing what Evetech stocks across smart home and appliance gear while you plan the upgrade.
What an SSD Changes
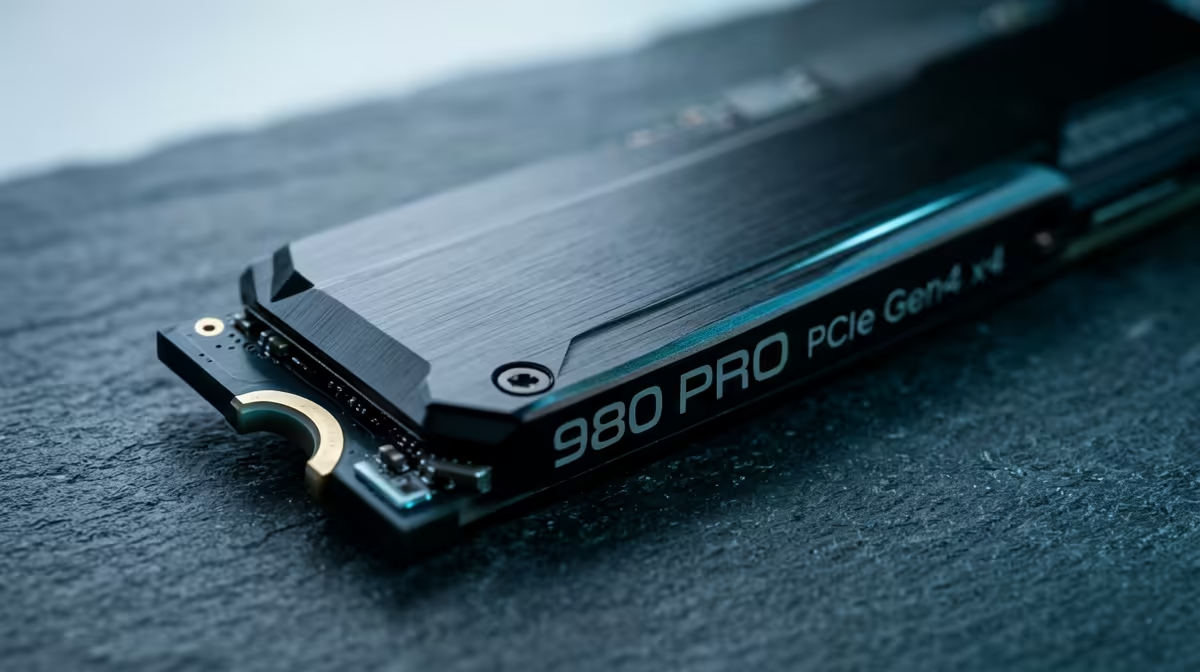
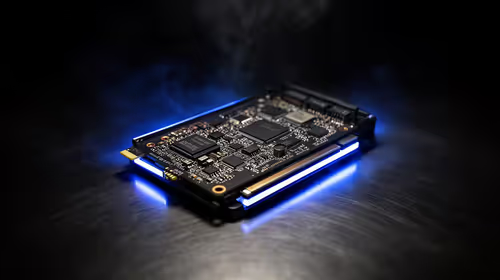
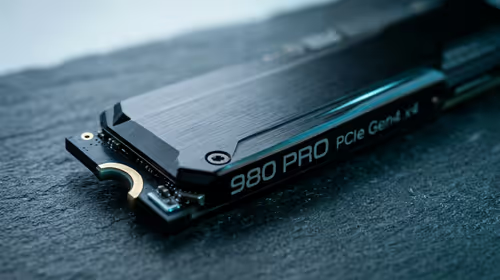
An SSD, whether a 2.5-inch SATA drive in a USB enclosure or an NVMe drive, has dramatically higher write endurance than a microSD card and is built for sustained, repeated writes. Put Home Assistant's database on one and the wear problem effectively disappears for the lifetime of a typical install. As a bonus, the system feels faster: the interface loads quicker, history graphs render without lag, and database operations that crawled on a card become instant.
The reliability gain is the headline, though. The whole point of a home automation hub is that it runs quietly in the background and you forget about it. An SSD lets it do exactly that, instead of demanding a fresh reflash and lost history every few months.
Choosing the Right SSD for Your Setup
The best choice depends on the device running Home Assistant.
Raspberry Pi 4 and Earlier
These boards connect storage over USB. A 2.5-inch SATA SSD in a quality USB 3.0 enclosure, or a compact USB SSD, is the standard upgrade and a huge step up from a card. Use a good enclosure and a powered setup if needed, since underpowered USB can cause its own instability.
Raspberry Pi 5
The Pi 5 adds a PCIe interface, which means you can fit an NVMe SSD using an official or third-party adapter for the fastest, most reliable result. NVMe on the Pi 5 is the current best-in-class option for a Pi-based Home Assistant install.
Mini PCs and NUCs
If you run Home Assistant on a mini PC, it almost certainly takes an internal SATA or NVMe SSD directly. This is the most robust platform of all, since the drive sits on a native interface with no USB quirks to manage.
How Much Capacity
You do not need a huge drive. Home Assistant itself and its database are modest, so a smaller SSD is plenty for most installs, with extra capacity only mattering if you store long history, camera recordings, or run additional add-ons. Prioritise a reliable drive from a known brand over chasing the largest size.
Making the Move
The migration is straightforward: take a full backup from your current install, write the Home Assistant image to the SSD, boot from it, and restore the backup. Your dashboards, automations, and history come across intact. Keeping a recent backup is good practice anyway, and it makes the switch low-risk. Once you are on an SSD, the maintenance burden of constant reflashing is gone, and you can get on with expanding the system, whether that is adding sensors, smart plugs, or other devices from the smart home best sellers that Evetech customers favour.
Frequently Asked Questions
Why does Home Assistant corrupt SD cards so often?
Home Assistant writes to its database about fifteen times per second to log sensor data and state changes. MicroSD cards have limited write endurance and are not built for that constant load, so the flash cells wear out and the card corrupts, often within months.
Will an SSD really stop the corruption?
Yes. An SSD has far higher write endurance than a microSD card and is designed for sustained, repeated writes. Moving Home Assistant's database to one effectively removes the wear problem for the life of a typical install, and it also makes the system noticeably faster.
Do I need an NVMe SSD or is a SATA SSD fine?
Both work well. On a Raspberry Pi 4, a SATA SSD in a good USB 3.0 enclosure is the standard upgrade. On a Pi 5 you can use NVMe via an adapter for the fastest result, and mini PCs usually take an internal SATA or NVMe drive directly.
How big an SSD do I need for Home Assistant?
Not very. Home Assistant and its database are modest in size, so a smaller reliable drive is plenty for most users. You only need more capacity if you keep long history, store camera recordings, or run many heavy add-ons.
How do I move Home Assistant from an SD card to an SSD?
Take a full backup, write the Home Assistant image to the SSD, boot from it, and restore the backup. Your automations, dashboards, and history transfer across, and keeping a recent backup makes the whole switch low-risk.
Stop reflashing your hub every few months. Browse the smart home range at Evetech and pair it with a reliable SSD to keep Home Assistant running for years, delivered anywhere in South Africa.