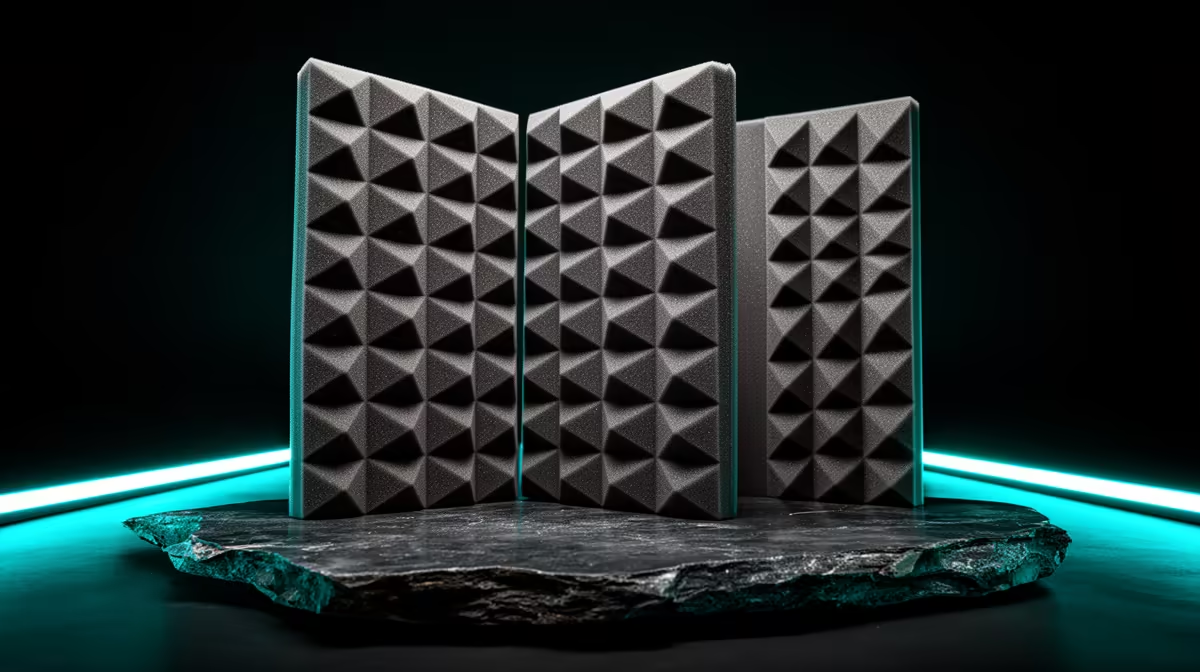
Bare walls can make an expensive microphone capture the room twice. Budget acoustic treatment starts with thick soft materials at the strongest reflection points, then uses a test recording to show what still needs attention.
Quick Answer
Fix an echoey streaming room by moving the microphone closer, aiming it away from hard reflections, and adding soft material where sound bounces between bare surfaces. Thick curtains, a rug, a filled bookshelf, or a safely hung duvet can improve speech before you replace the microphone.
Use the streaming essentials range to compare microphone patterns, mounts, and monitoring gear after testing the room. If the stream includes video, check the framing options in the webcam range before placing treatment where it will block the shot or light.
Prove that echo is the problem
Record thirty seconds of speech from the normal streaming position. Clap once and listen for a hard tail, flutter, or repeated metallic bounce. Then move the microphone closer without changing gain and record again.
If the close take sounds clearer, distance was raising the room relative to your voice. Lower input gain to suit the new position and place the capsule a little off the direct breath path. This free adjustment often does more than adding panels around a far-away microphone.
Separate echo from steady noise. A fan, traffic, electrical hum, and keyboard impacts need different fixes. Soft furnishings can reduce reflections but will not isolate the room from outside sound or repair a noisy cable.
Use headphones to compare takes at the same listening volume. Phone or laptop speakers can hide low-level room tails. Keep the raw recordings so each change has a baseline.
Treat the nearest hard surfaces first
Look at the wall behind the microphone and the wall behind you. Sound from your voice can bounce from either surface back towards the capsule. Put a thick curtain, filled bookshelf, moving blanket, or other safe soft furnishing at the strongest reflection point and repeat the test.
A rug helps when the floor is tile, laminate, or concrete and the ceiling is hard. It also reduces chair and foot noise. Use a non-slip backing suited to the floor and keep edges out of walkways.
Curtains work best when they have folds and cover a meaningful area. A thin flat sheet changes less. Keep fabric away from heaters, hot lights, PC exhausts, and power equipment. Secure any temporary hanging so it cannot fall onto the streamer or gear.
A duvet behind the microphone or speaker can create a useful temporary booth wall. Hang it from a stable support designed for the load. Do not drape it over the PC, monitor, lights, or a door needed for exit.
Use furniture as part of the treatment
A filled bookshelf breaks up and absorbs some reflections better than a bare wall. Uneven book depths can help scatter sound. Secure tall furniture to the building only with the property owner's approval and an appropriate safe method.
A sofa or upholstered chair adds a broad soft surface. Place it where it helps the room without forcing the streamer into an uncomfortable camera or microphone angle. Cushions can fill an exposed corner during recording, then return to normal use.
Avoid making a tiny sealed space around your head. It can become hot, uncomfortable, and dull in the upper frequencies while low-frequency room problems remain. Keep ventilation and a clear exit.
If you rent, use freestanding clothes rails, curtain frames, or existing furniture rather than attaching treatment to walls. Measure stability and keep stands outside the camera and walking routes.
Place the microphone to reject what remains
Read the microphone manual to identify its active side and pickup pattern. A cardioid microphone tends to reject more from its rear, so aim that area towards the main noise when the design allows. Do not speak into the top of a side-address microphone by mistake.
Keep the capsule within a repeatable close distance. A boom arm makes adjustment easier, while a stable desk stand can work when it reaches mouth height. Test keyboard vibration because a clamp and microphone may share the same desk.
Set gain from normal speech and the loudest expected line. Leave headroom. A gate can close low room noise between sentences, but it cannot remove echo underneath your words. Aggressive gating also cuts quiet syllables.
What acoustic foam can and cannot do
Purpose-made panels can reduce reflections when thickness, placement, and coverage suit the room. Small decorative foam tiles may change some high-frequency bounce, but they do not soundproof a room. They will not stop a neighbour, taxi, dog, or building work.
Do not cover every wall by guesswork. Make one change, record the same script, and compare. Treating the first-reflection area may be enough for a close streaming microphone.
Check fire safety, mounting instructions, and rental restrictions before installing any product. Adhesive can damage paint, and poorly secured panels can fall. Freestanding treatment keeps the room easier to restore.
A low-cost test sequence
Begin with the mic closer and gain lower. Add the rug if the floor is hard. Close existing curtains and place one thick soft surface behind either the microphone or speaker. Record the same lines after each move.
Once speech is clear, bring the webcam and lights back into position. Fabric should not touch hot equipment or block the PC's airflow. Check that treatment does not cast an unwanted shadow or force the camera too close.
Save a photo of the working room arrangement. Mark microphone distance and gain in a note. A repeatable setup makes future streams sound consistent even when the room returns to everyday use between sessions.
FAQ
Will curtains and a rug remove all echo?
They can reduce reflections, especially across broad bare surfaces, but the result depends on thickness, coverage, room size, and microphone placement. Test each change with the same recording.
Do I need acoustic foam for streaming?
No. Start with close microphone placement and existing soft furnishings. Buy treatment only after a recording shows which reflection remains, and do not expect thin foam to block outside noise.
Where should I put treatment first?
Test the large hard surface behind the microphone and the one behind the speaker. Treat one position, record again, and keep the placement that produces the clearest speech without creating a safety or ventilation problem.
Test your room with closer mic placement and one soft surface at a time, then keep the arrangement that makes speech cleaner in a real recording.