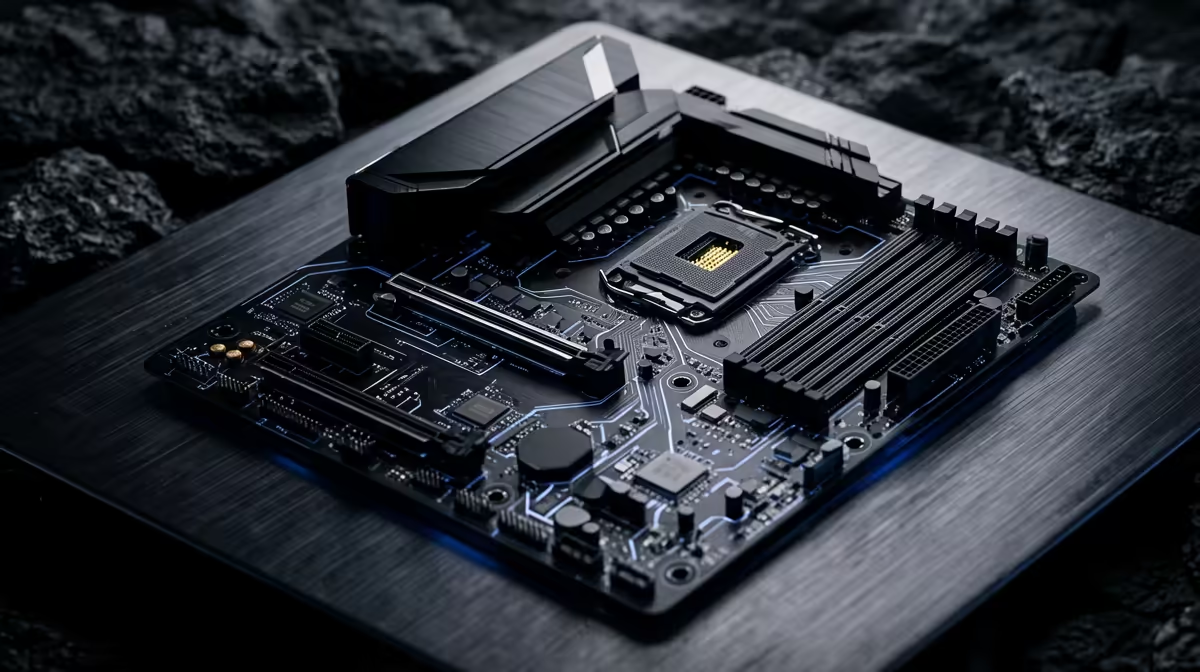
Quick Answer
If your Core Ultra 9 285K build won't boot after a BIOS update, the three most common causes are: (1) Arrow Lake microcode regression — boards shipping 0x114 microcode have stability bugs, update to 0x117 or later; (2) CMOS not properly cleared after the flash; (3) EXPO/XMP profile wiped by the update and now failing to re-train. Work through the six recovery steps below before concluding the board or CPU is faulty.
Why Arrow Lake BIOS Updates Cause Boot Failures
The Core Ultra 9 285K (LGA1851) launched with 0x114 microcode, which had documented stability issues. Intel and board partners shipped BIOS updates containing 0x117+ microcode — but those updates also changed the DDR5 memory training algorithm. A post-update no-boot often happens because your EXPO/XMP profile is no longer recognized by the new training sequence.
The LGA1851 socket also introduced a new cooler bracket spec. If your cooler wasn't perfectly seated, added thermal stress during a full-load BIOS flash can expose a marginal contact — another overlooked no-boot source.
6-Step Recovery for 285K No-Boot After BIOS Update
Step 1 — Clear CMOS properly. Power off, unplug from wall. Locate the CMOS jumper (JBAT1 or CLR_CMOS label near the battery) and short it for 10 seconds. On boards with a CMOS button (ROG, MSI MEG), hold it 5 seconds with PSU connected but power switch off.
Step 2 — Boot with one RAM stick. Remove all but one DDR5 stick. Use slot A2 (second from CPU). POST without any EXPO profile — let it train at JEDEC DDR5-4800.
Step 3 — Check microcode version. If you reach BIOS: navigate to CPU Info and confirm microcode shows 0x117 or higher. If it shows 0x114, flash a newer BIOS via Asus BIOS Flashback, MSI Q-Flash Plus, or Gigabyte Q-Flash — all function without a CPU or RAM installed.
Step 4 — Load Optimized Defaults. After clearing CMOS, enter BIOS and hit Load Optimized Defaults before enabling any profiles. Re-enable EXPO only after a successful POST to desktop.
Step 5 — Check LGA1851 cooler bracket pressure. Arrow Lake's PCB is slightly thinner than LGA1700. Coolers using LGA1700 adapters can apply uneven pressure. With power OFF, loosen the four mounting screws by half a turn and retighten in an X pattern — this has resolved boot failures on Asus Z890 + Noctua NH-D15 setups.
Step 6 — BIOS recovery via Flashback. Asus: hold the USB Flashback button 3 seconds with a correctly named FAT32 USB in the dedicated port. MSI: use Q-Flash Plus USB slot (hold Q-Flash Plus button). Gigabyte: power on and hold F8 for Q-Flash. This reflashes without a working CPU or RAM.
FAQ
How do I confirm my 285K BIOS has the 0x117 microcode fix?
Enter BIOS (press Del at POST). Go to System Information or CPU Info and look for a microcode version line. 0x117 or 0x118 means you have the stable release. If you see 0x114, update via BIOS Flashback without needing a working CPU or RAM.
Will clearing CMOS permanently erase my overclocking settings?
Yes — CMOS clear wipes all BIOS settings including XMP/EXPO profiles, fan curves, and overclocking. After clearing, enter BIOS, load Optimized Defaults, then manually re-enable EXPO and any custom settings. Save your BIOS profile to a USB stick before future updates to make restoration quick.
Can a bad BIOS update damage the Core Ultra 9 285K CPU itself?
Very rarely — BIOS updates change board firmware, not the CPU permanently. The 285K CPU is almost never damaged by a BIOS flash. If the board won't enter BIOS Flashback mode, the board likely needs replacement, not the CPU.
BIOS update on a 285K build, save your current BIOS profile to a USB drive using the Profile Save option in BIOS — most Z890 boards support this. It lets you reload EXPO and fan settings in under a minute after any forced CMOS clear.