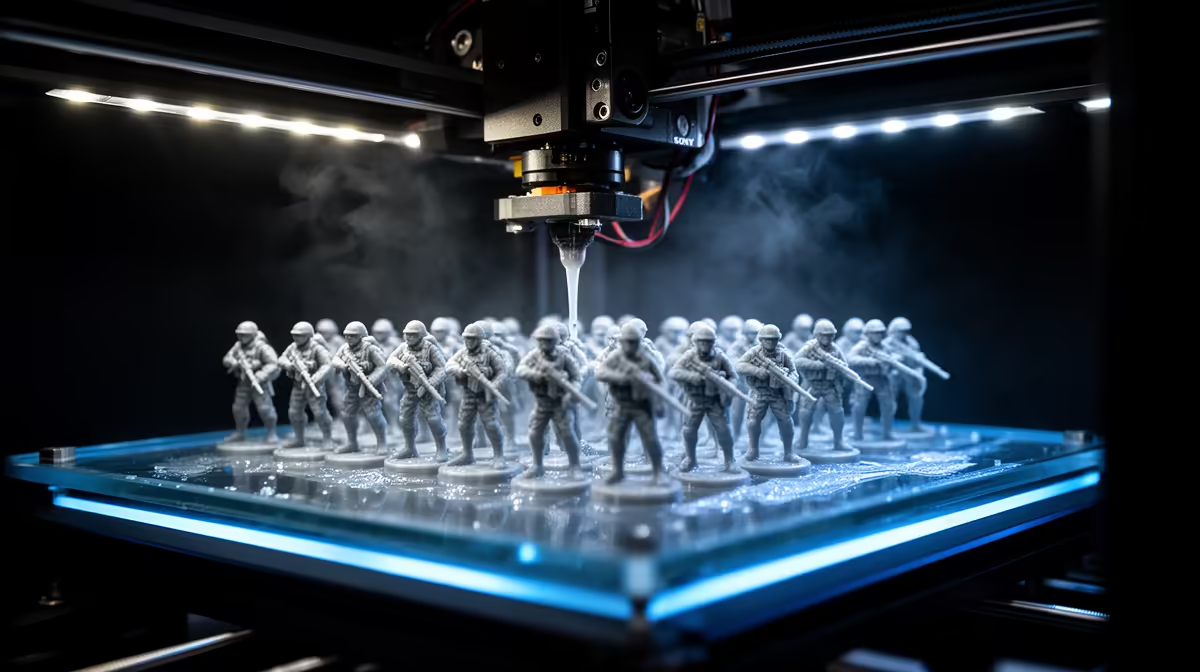
A resin printer does not care whether one miniature or thirty sit on the build plate. Each UV exposure cures an entire layer in a single flash, so a packed plate finishes in the same time as a lonely one. That single fact is why batch-printing a miniature army on an MSLA machine is the most efficient way to fill a tabletop force, and the workflow below gets you there cleanly.
Quick Answer
A large MSLA build plate holds dozens of nested miniatures, and printing all of them costs no extra time over printing one, because every layer cures the whole plate at once. Nest your minis in slicer software like Lychee or CHITUBOX, add supports, and a full unit of infantry can finish in a single overnight run.
Why MSLA Makes Batch Printing Free
Filament printers move a nozzle through space, so two parts take roughly twice as long as one. MSLA resin works the opposite way. An LCD panel masks a UV light source and flashes a full layer in seconds, curing every model on the plate simultaneously. Whether that layer contains one shield or forty, the exposure time is identical.
The only thing that grows with model count is resin volume and support cleanup, not print time. That makes resin uniquely suited to armies. When you are comparing MSLA machines, the 3D printers at Evetech cover the build-plate sizes and pricing you need to plan a full batch workflow.
Step 1: Prepare Your Models
Import your STL files into a slicer built for resin, such as Lychee Slicer or CHITUBOX. Both read the model geometry and let you arrange, support, and hollow each mini before slicing.
If your minis are large, hollow them with a wall thickness of around 2mm and add drain holes. Hollowing cuts resin use dramatically across a full army and reduces suction forces that can pull a model off its supports. Small infantry-scale minis usually print solid without issue.
Step 2: Orientate Each Miniature
Tilt each model rather than printing it flat or bolt upright. A lean of roughly 30 to 45 degrees does three things: it reduces the cross-sectional area peeling off the film on each layer, it keeps suction forces low, and it pushes support marks onto less visible surfaces like the back or underside.
Orientation is where most failed army prints go wrong. A flat-printed mini fights the FEP film on every layer and is far more likely to tear loose mid-print, taking your whole batch down with it.
Step 3: Add Supports
Auto-supports get you most of the way, but walk the model afterward. Check overhangs, weapon tips, capes, and outstretched arms, and add manual supports anywhere the software left a gap. Heavy supports on contact points, lighter supports on detail surfaces.
For an army, support consistency matters because one under-supported model that detaches can contaminate the resin vat and ruin every other print on the plate. Spend the extra few minutes per mini up front.
Step 4: Nest The Full Plate
Now fill the bed. Arrange your supported minis so they sit close together without touching, using the full build area. This is the step that turns the time-saving theory into reality, since a half-empty plate wastes the free capacity MSLA hands you.
Leave a small gap between models so supports do not fuse, and keep tall pieces clear of one another. A large plate can hold an entire squad or more in a single layout.
Step 5: Slice, Print And Cure
Slice with your resin profile, checking exposure time and lift settings match your machine and resin brand. Send the job and let it run. An overnight print is normal and convenient for a full army.
Once complete, wash the batch in isopropyl alcohol to clear uncured resin, snap off supports, then UV-cure the models to finish hardening them. Cure in short sessions and rotate the minis so every surface sees the light evenly. Over-curing makes resin brittle, so stop once the surface is firm and dry.
Resin Choice For Tabletop Use
Standard resin prints crisp detail but shatters if a model takes a knock off the table. For minis that get handled and gamed with, a tough or ABS-like resin, or a blend, trades a little fine detail for real durability. Many army painters mix a few drops of flexible resin into standard resin to toughen the result without losing edge sharpness.
The consumables, gloves, wash containers, and curing gear that keep a resin workflow clean are worth ordering before your first big batch, so check the popular accessories at Evetech so nothing is missing when you open the lid.
Frequently Asked Questions
Does printing more miniatures take longer on a resin printer?
No. MSLA cures an entire layer in one UV flash, so a plate of thirty minis finishes in the same time as a single one. Only resin use and cleanup scale with model count, not print time.
How should I orientate minis for batch printing?
Tilt each model roughly 30 to 45 degrees rather than printing flat or vertical. This lowers the peel force on each layer, reduces the chance of a model tearing loose, and hides support marks on less visible surfaces.
Why did my whole batch fail?
One under-supported or flat-orientated model usually detaches, drops into the vat, and disrupts the rest of the plate. Walk every model's supports before printing and tilt each one to keep the full army safe.
Should I hollow my miniatures?
Hollow larger minis to around 2mm walls with drain holes to save resin and cut suction forces across a big batch. Small infantry-scale models generally print solid without trouble.
What resin lasts for gaming?
A tough or ABS-like resin, or a blend of standard and flexible resin, survives table handling far better than brittle standard resin. You trade a touch of fine detail for models that do not shatter when knocked.
Want to print a full force overnight instead of one mini at a time? Compare MSLA machines and build-plate sizes in the 3D printer range at Evetech (https://www.evetech.co.za/components/3d-printers-130) and start nesting your army.